Introduction: Build a Stronger Upper Body From the Comfort of Home
You do not need an expensive gym membership or a room full of equipment to strengthen your upper body. With the right movements, a little space, and consistent practice, an upper body workout at home can help you improve muscle endurance, support better posture, and develop functional strength for everyday activities.
Many people avoid upper body training because they think they need dumbbells, machines, or complicated routines. The reality is that bodyweight exercises can provide an effective challenge by using your own body as resistance. Exercises such as push-ups, planks, dips, and shoulder movements can target important muscle groups, including the chest, shoulders, arms, upper back, and core.
A well-designed home upper body workout can be adapted for beginners, busy professionals, parents, or anyone who prefers exercising at home. You can increase difficulty over time by changing repetitions, slowing your movements, improving form, or adding simple equipment like resistance bands.
This guide covers 10 effective upper body exercises at home that require minimal equipment and can be included in a practical weekly fitness routine. Each exercise includes how to perform it, benefits, helpful tips, who it may suit, and important safety considerations.
Before starting any new exercise routine, especially if you have existing injuries, joint concerns, or medical conditions, consider speaking with a qualified healthcare professional or fitness expert.
1. Standard Push-Ups for Chest, Shoulders, and Arms
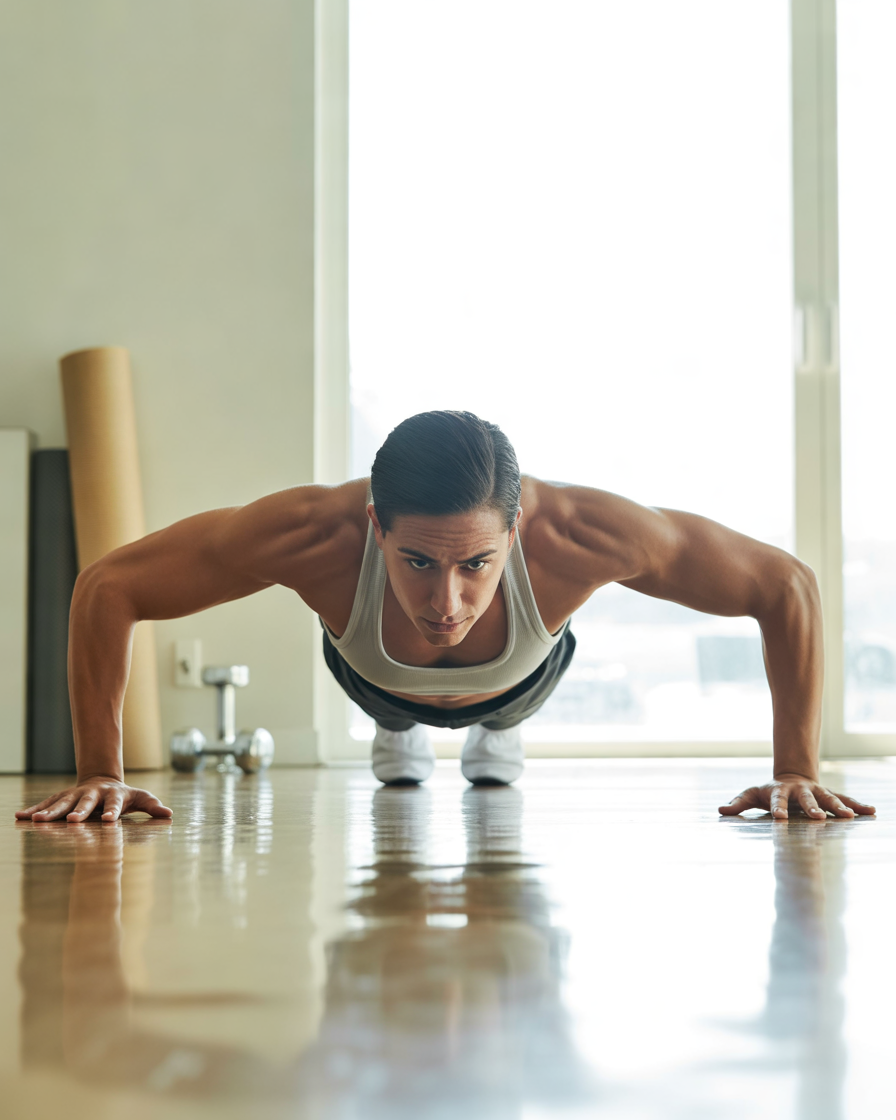
Push-ups are one of the most accessible bodyweight upper body exercises because they train multiple muscles at the same time. They primarily target the chest muscles while also engaging the shoulders, triceps, and core.
This classic movement does not require equipment and can be performed almost anywhere, making it a foundation exercise for an effective upper body workout at home.
Benefits
Regular push-ups may help improve upper body muscular endurance and strengthen pushing movements used in daily life, such as opening doors, lifting objects, or pushing yourself up from the floor.
Additional benefits include:
- Strengthening chest and arm muscles
- Improving shoulder stability when performed correctly
- Engaging core muscles for body control
- Supporting overall upper body coordination
How to Perform Push-Ups
- Start in a high plank position with your hands slightly wider than shoulder-width apart.
- Keep your body in a straight line from your head to your heels.
- Lower your chest toward the floor while bending your elbows.
- Push through your hands to return to the starting position.
- Repeat for your chosen number of repetitions.
Beginners can perform modified push-ups with their knees on the floor, while more advanced exercisers can try decline push-ups or slower repetitions.
Practical Tips
- Avoid letting your hips drop toward the floor.
- Keep your neck relaxed and look slightly ahead.
- Focus on controlled movement rather than rushing through repetitions.
- Exhale as you push upward.
A good starting point may be 2–3 sets of 8–12 repetitions, depending on your fitness level.
Who It May Suit
Push-ups can suit:
- Beginners using modified variations
- People looking for a no-equipment upper body workout
- Individuals wanting to improve general strength
- Home exercisers with limited space
Important Considerations
People with wrist, shoulder, or elbow discomfort should adjust hand placement or try easier variations. Pain during exercise is a signal to stop and evaluate your technique.
2. Incline Push-Ups for Beginners and Joint-Friendly Training

Incline push-ups are a beginner-friendly variation of traditional push-ups. By placing your hands on an elevated surface such as a sturdy table, countertop, or bench, you reduce the amount of body weight being lifted.
This makes them an excellent choice for people starting their upper body workout at home journey.
Benefits
Incline push-ups help build the strength needed for regular push-ups while still working the chest, shoulders, and arms.
Potential benefits include:
- Easier progression for beginners
- Improved pushing strength
- Lower stress on wrists and shoulders compared with floor push-ups
- Better confidence with upper body training
How to Perform Incline Push-Ups
- Place your hands on a stable elevated surface.
- Walk your feet backward until your body forms a straight line.
- Bend your elbows and lower your chest toward the surface.
- Push back to the starting position.
The higher the surface, the easier the movement becomes. As strength improves, gradually move to a lower surface.
Practical Tips
- Choose a surface that will not move.
- Keep your core engaged throughout the exercise.
- Avoid bending from your waist.
- Maintain controlled breathing.
Try 2–3 sets of 10–15 repetitions as part of a beginner home workout routine.
Who It May Suit
This variation may suit:
- Complete beginners
- People returning after a break from exercise
- Those building confidence before traditional push-ups
- Older adults seeking a manageable strength exercise
Important Considerations
Make sure furniture is stable before using it. Avoid surfaces that can slide or tip.
3. Chair Dips for Triceps and Upper Body Strength
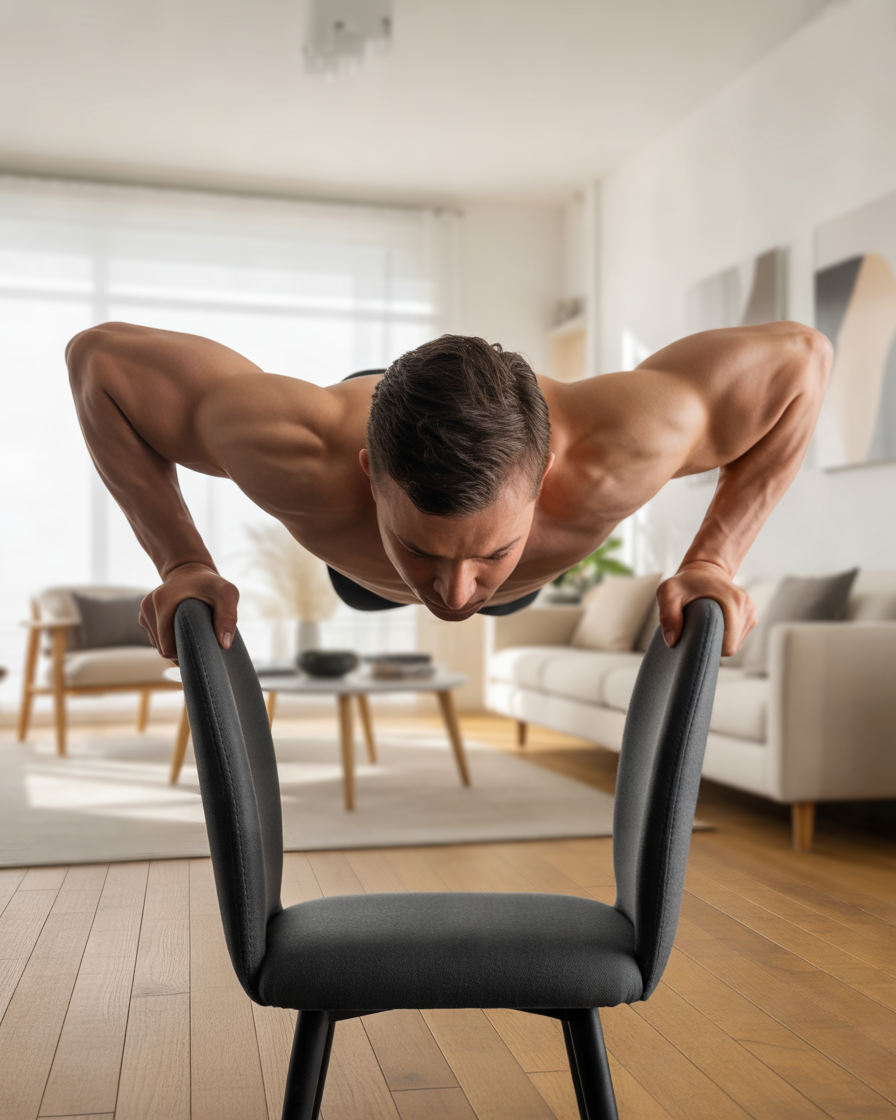
Chair dips are a simple way to target the triceps using a stable chair or bench. The triceps are the muscles located at the back of the upper arm and play an important role in pushing movements.
This exercise can add variety to a home upper body workout without equipment because it requires only a sturdy surface.
Benefits
Chair dips may help strengthen:
- Triceps muscles
- Shoulder-supporting muscles
- Upper body pushing ability
- Arm endurance
They can complement exercises like push-ups by focusing more directly on the back of the arms.
How to Perform Chair Dips
- Sit on the edge of a sturdy chair.
- Place your hands beside your hips with fingers facing forward.
- Slide your hips slightly forward.
- Lower your body by bending your elbows.
- Push through your hands to return upward.
Keep the movement slow and controlled.
Practical Tips
- Keep your shoulders away from your ears.
- Do not lower too deeply if you feel shoulder discomfort.
- Keep your back close to the chair.
- Use a stable chair placed against a wall if needed.
Start with 2 sets of 8–10 repetitions.
Who It May Suit
Chair dips may suit:
- Intermediate home exercisers
- People wanting stronger arms
- Those who enjoy bodyweight training
- Individuals without access to gym equipment
Important Considerations
Chair dips can place stress on the shoulders for some people. Use a comfortable range of motion and stop if you experience joint pain.
4. Plank Shoulder Taps for Core Stability and Upper Body Control
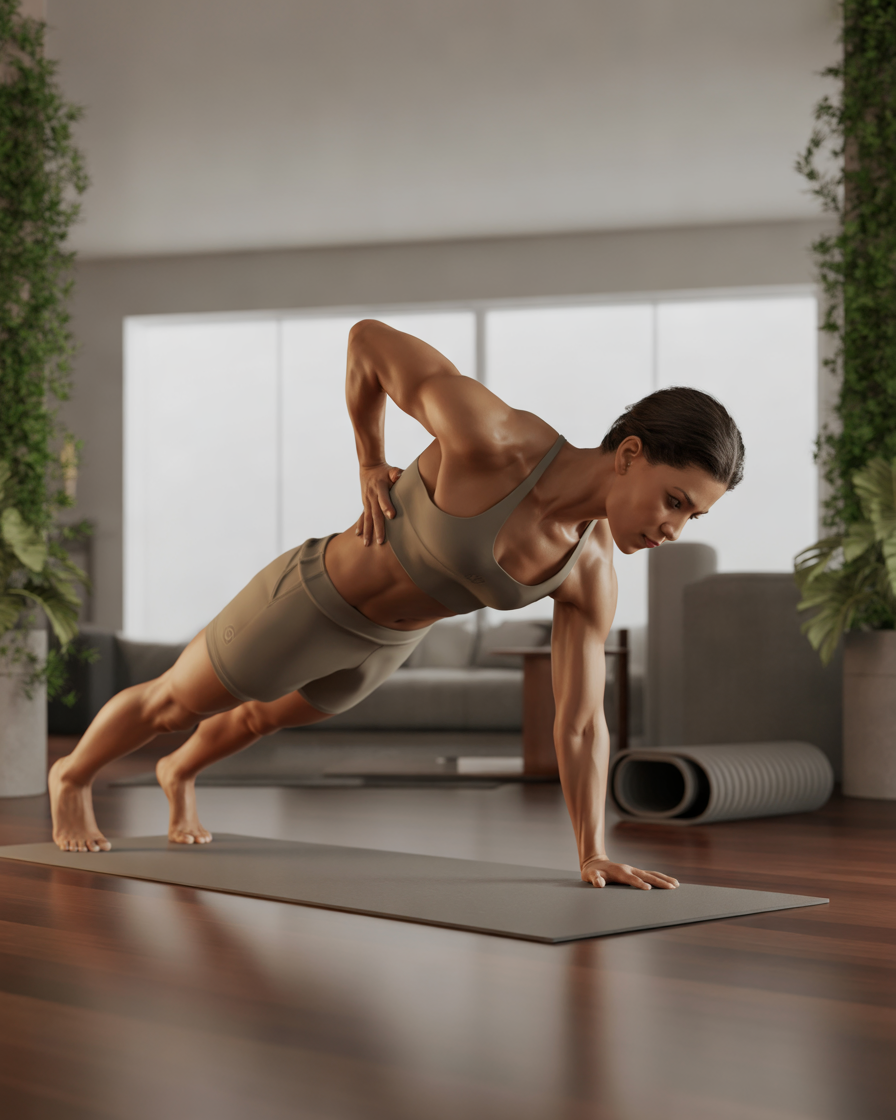
Plank shoulder taps are a dynamic exercise that combines upper body strength with core stability. Unlike traditional strength movements that focus only on pushing or pulling, this exercise challenges your ability to maintain control while shifting your weight.
As part of an upper body workout at home, plank shoulder taps can help train the shoulders, arms, chest, and core together while improving body awareness.
Benefits
Plank shoulder taps may help improve:
- Shoulder stability and control
- Core engagement during upper body movements
- Balance and coordination
- Muscular endurance in the arms and shoulders
This exercise is especially useful because many daily activities require your upper body and core to work together rather than separately.
How to Perform Plank Shoulder Taps
- Begin in a high plank position with your hands directly under your shoulders.
- Keep your feet slightly wider than hip-width apart for balance.
- Lift one hand and gently tap the opposite shoulder.
- Place your hand back down and repeat on the other side.
- Continue alternating sides while keeping your hips stable.
Practical Tips
- Avoid rotating your hips from side to side.
- Move slowly instead of rushing through repetitions.
- Keep your abdominal muscles gently engaged.
- Focus on maintaining a strong plank position.
Beginners can perform the exercise from their knees, while advanced users can increase difficulty by slowing down the movement.
How to Apply It in Your Routine
Add plank shoulder taps after strength exercises like push-ups or chair dips. A beginner-friendly approach is:
- 2–3 sets
- 10–20 shoulder taps per side
- Rest for 45–60 seconds between sets
Who It May Suit
This exercise may suit:
- People wanting a full-body home workout
- Individuals improving core and shoulder control
- Those who enjoy functional training
- Intermediate exercisers looking for variety
Important Considerations
People with wrist discomfort may need modifications, such as performing the exercise on handles, dumbbells, or a raised surface to reduce wrist pressure.
5. Pike Push-Ups for Shoulder Strength at Home
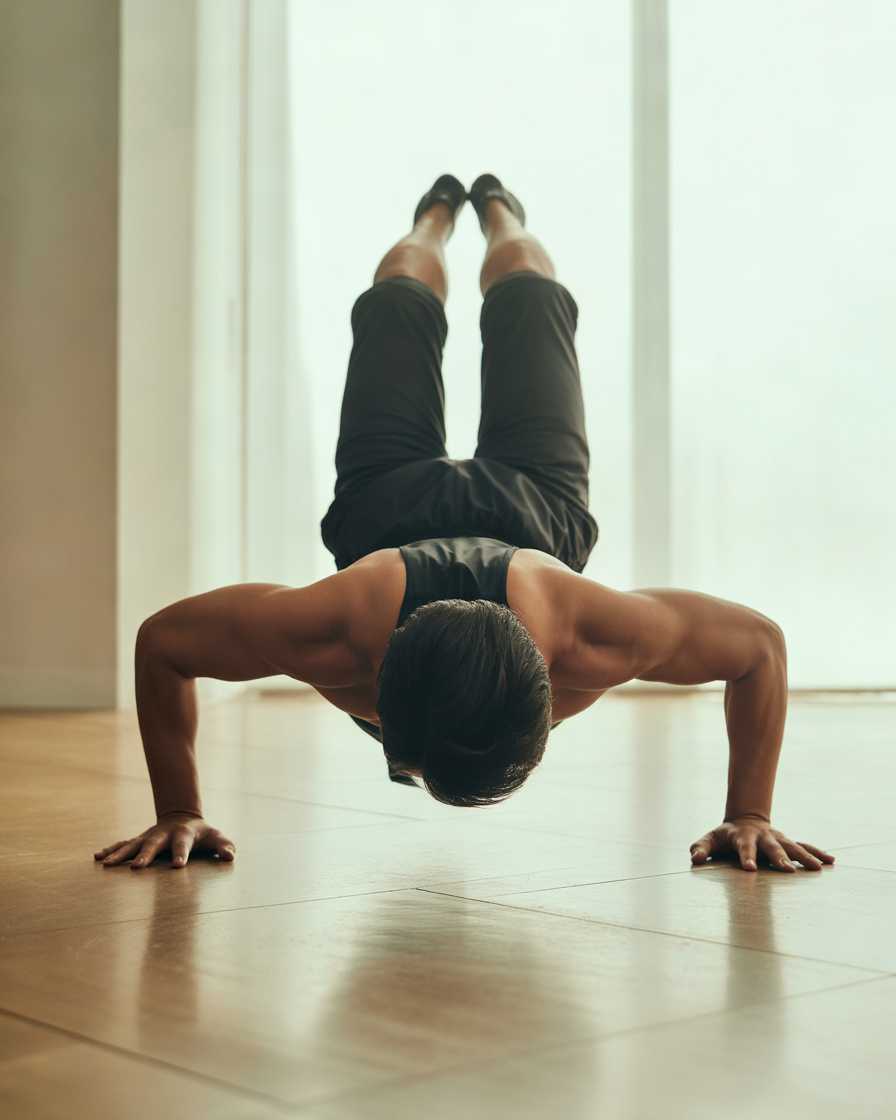
Pike push-ups are an effective bodyweight exercise that places more emphasis on the shoulders compared with traditional push-ups. They are a useful addition to an upper body workout at home because they require no equipment while creating a challenging strength movement.
This exercise resembles the pushing pattern used in overhead movements and can help develop upper body control.
Benefits
Pike push-ups may help target:
- Shoulder muscles
- Upper chest
- Triceps
- Core stability
Additional benefits include:
- Improving pushing strength
- Building shoulder endurance
- Enhancing body awareness
- Adding variety to no-equipment workouts
How to Perform Pike Push-Ups
- Start in a downward-facing “V” position with your hips raised.
- Place your hands slightly wider than shoulder-width apart.
- Bend your elbows and lower your head toward the floor.
- Push through your hands to return upward.
- Maintain control throughout the movement.
Practical Tips
- Keep your hips lifted throughout the exercise.
- Avoid collapsing your shoulders forward.
- Move slowly to maintain control.
- Focus on pressing through your palms.
Beginners can practice holding the pike position before attempting full repetitions.
How to Use It
A simple approach:
- Perform 2–3 sets
- Complete 6–12 repetitions
- Include it after easier pushing exercises
You can make it harder by increasing the range of motion or elevating your feet.
Who It May Suit
Pike push-ups may suit:
- Intermediate exercisers
- People wanting stronger shoulders
- Those progressing beyond basic push-ups
- Home fitness enthusiasts without equipment
Important Considerations
If you have shoulder problems or discomfort during overhead movements, consider using an easier variation and seek professional guidance if needed.
6. Resistance Band Rows for Upper Back Strength
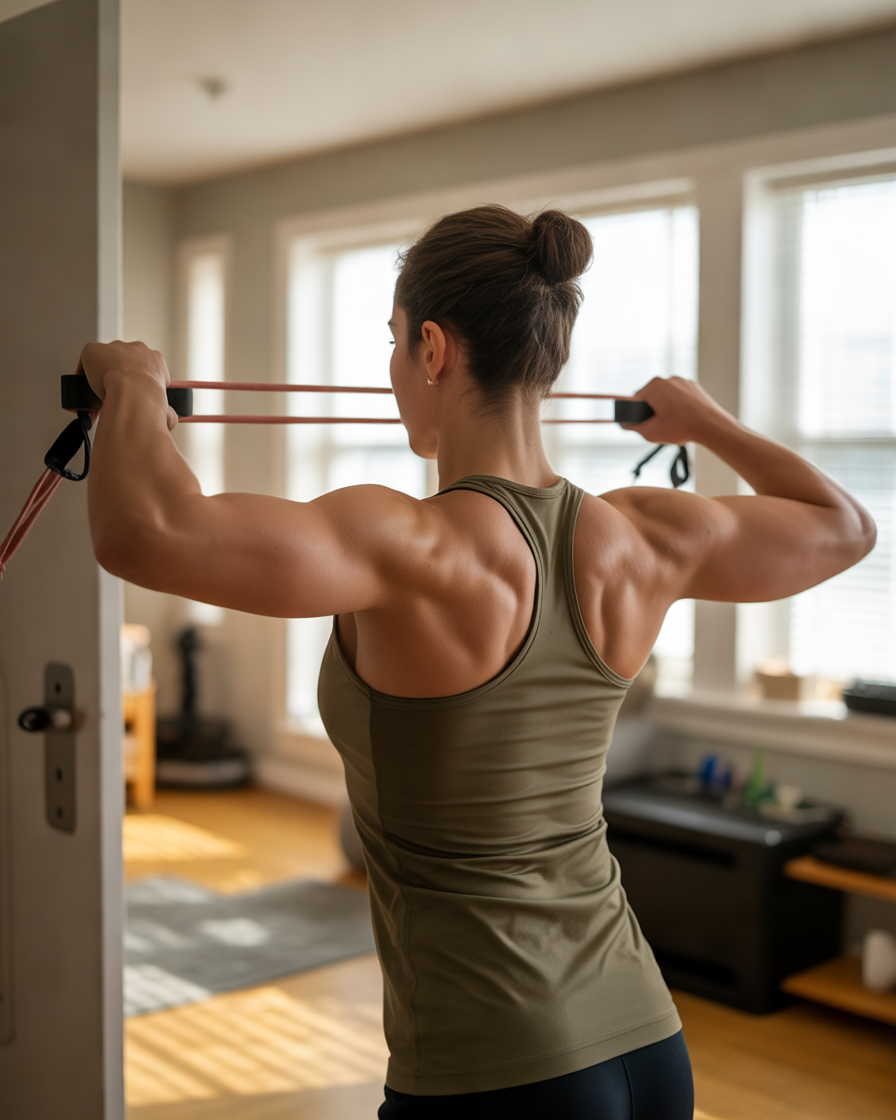
Resistance band rows are an excellent option for people who want to train their pulling muscles at home. While many home exercises focus on pushing movements, strengthening the upper back is equally important for balanced development.
Including pulling exercises in your upper body workout at home can help create a more complete routine.
Benefits
Resistance band rows may help strengthen:
- Upper back muscles
- Rear shoulders
- Arm muscles involved in pulling
Possible benefits include:
- Supporting better posture habits
- Improving upper body balance
- Building pulling strength
- Increasing workout variety
How to Perform Resistance Band Rows
- Secure your resistance band safely around a strong anchor point.
- Hold the handles with both hands.
- Step back until there is light tension in the band.
- Pull your hands toward your ribs.
- Slowly return to the starting position.
Practical Tips
- Keep your chest lifted.
- Avoid using momentum to pull the band.
- Squeeze your shoulder blades gently together.
- Control the return movement.
How to Apply It
For general fitness:
- 3 sets
- 10–15 repetitions
- Rest 45–90 seconds between sets
Adjust resistance based on your strength level.
Who It May Suit
Resistance band rows may suit:
- Beginners and advanced exercisers
- People working on posture habits
- Those wanting more balanced upper body training
- Home exercisers with limited space
Important Considerations
Check your resistance band regularly for damage. Replace worn bands to reduce the risk of snapping.
7. Superman Exercise for Upper Back and Posture Support
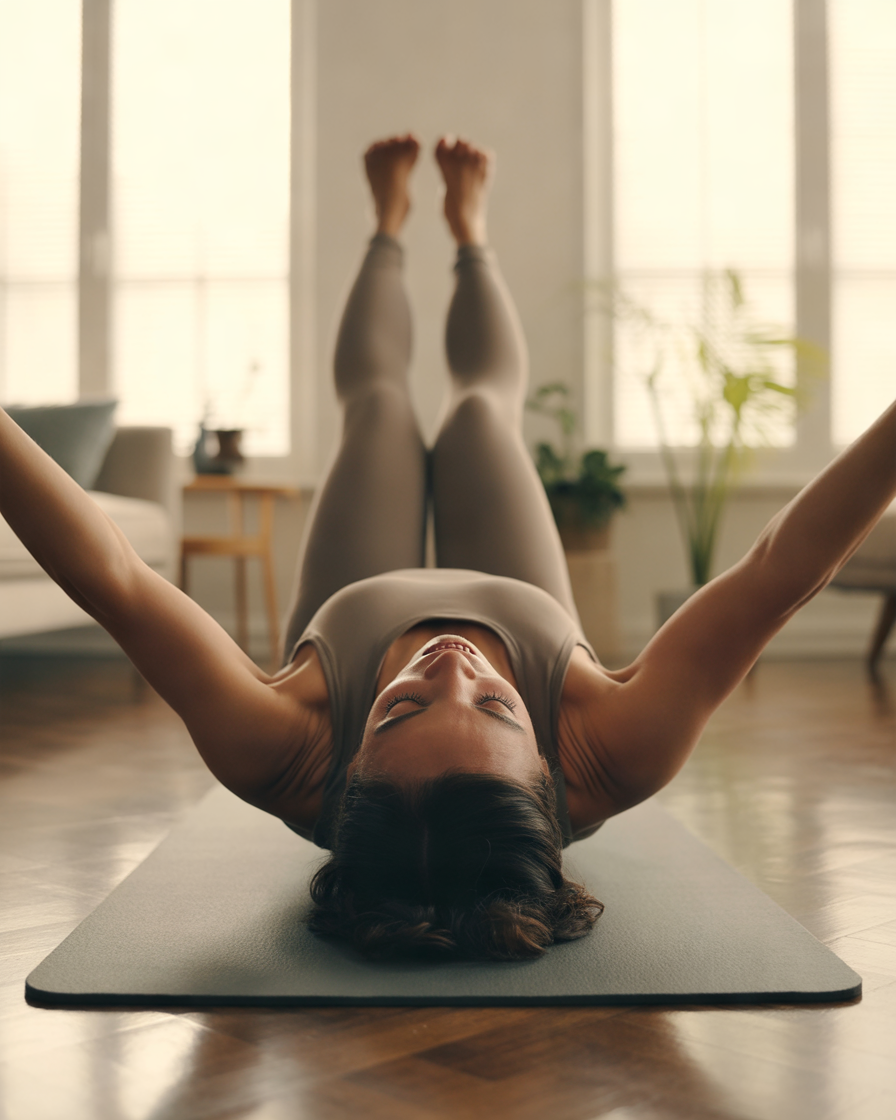
The Superman exercise is a floor-based movement that focuses on the muscles along the back of the body. It is especially useful for people who spend long hours sitting because it encourages awareness of the muscles responsible for maintaining an upright posture.
Although it is not a traditional arm exercise, it complements an upper body workout routine by strengthening supporting muscles around the shoulders and back.
Benefits
Superman exercises may help improve:
- Upper back endurance
- Lower back awareness
- Shoulder stability
- Body control
Additional benefits include:
- Counteracting long periods of sitting
- Improving movement quality
- Supporting balanced training
How to Perform Superman Exercise
- Lie face down on a comfortable surface.
- Extend your arms forward.
- Keep your legs straight.
- Slowly lift your arms and legs slightly off the ground.
- Hold briefly before lowering back down.
Practical Tips
- Avoid lifting too high or forcing the movement.
- Keep your neck relaxed.
- Focus on controlled muscle engagement.
- Breathe naturally throughout.
How to Use It
Try:
- 2–3 sets
- 10–15 repetitions
- Short pauses at the top position
It works well as a warm-up or finishing exercise.
Who It May Suit
This exercise may suit:
- Desk workers
- Beginners
- People improving movement awareness
- Those wanting gentle upper body conditioning
Important Considerations
Anyone with back pain or discomfort should modify the exercise and consider professional advice before continuing.
8. Diamond Push-Ups for Triceps and Chest Activation

Diamond push-ups are a more challenging variation of the traditional push-up that places additional emphasis on the triceps while still working the chest and shoulders. They are a useful progression for people who have already built some confidence with standard push-ups.
Adding diamond push-ups to your upper body workout at home can help increase exercise variety and challenge your muscles in a new way without needing extra equipment.
Benefits
Diamond push-ups may help strengthen:
- Triceps muscles at the back of the arms
- Chest muscles
- Front shoulder muscles
- Core stability
Additional benefits include:
- Improving pushing strength
- Developing upper body control
- Increasing muscular endurance
- Creating a more challenging bodyweight workout
How to Perform Diamond Push-Ups
- Start in a high plank position.
- Place your hands close together under your chest.
- Form a diamond shape by touching your thumbs and index fingers.
- Keep your body straight as you lower your chest toward your hands.
- Push back upward with control.
If the full version feels too difficult, perform the movement from your knees.
Practical Tips
- Keep your elbows close to your body.
- Avoid allowing your shoulders to roll forward.
- Prioritize proper form over completing more repetitions.
- Move slowly during the lowering phase.
How to Apply It
A practical approach:
- Beginners: 2 sets of 5–8 repetitions
- Intermediate: 3 sets of 8–12 repetitions
Include diamond push-ups after regular push-ups to create a gradual progression.
Who It May Suit
Diamond push-ups may suit:
- Intermediate exercisers
- People wanting stronger arms
- Those progressing from standard push-ups
- Individuals looking for challenging no-equipment exercises
Important Considerations
This variation can place more demand on wrists and elbows. Modify hand position if you experience discomfort.
9. Arm Circles for Shoulder Mobility and Endurance
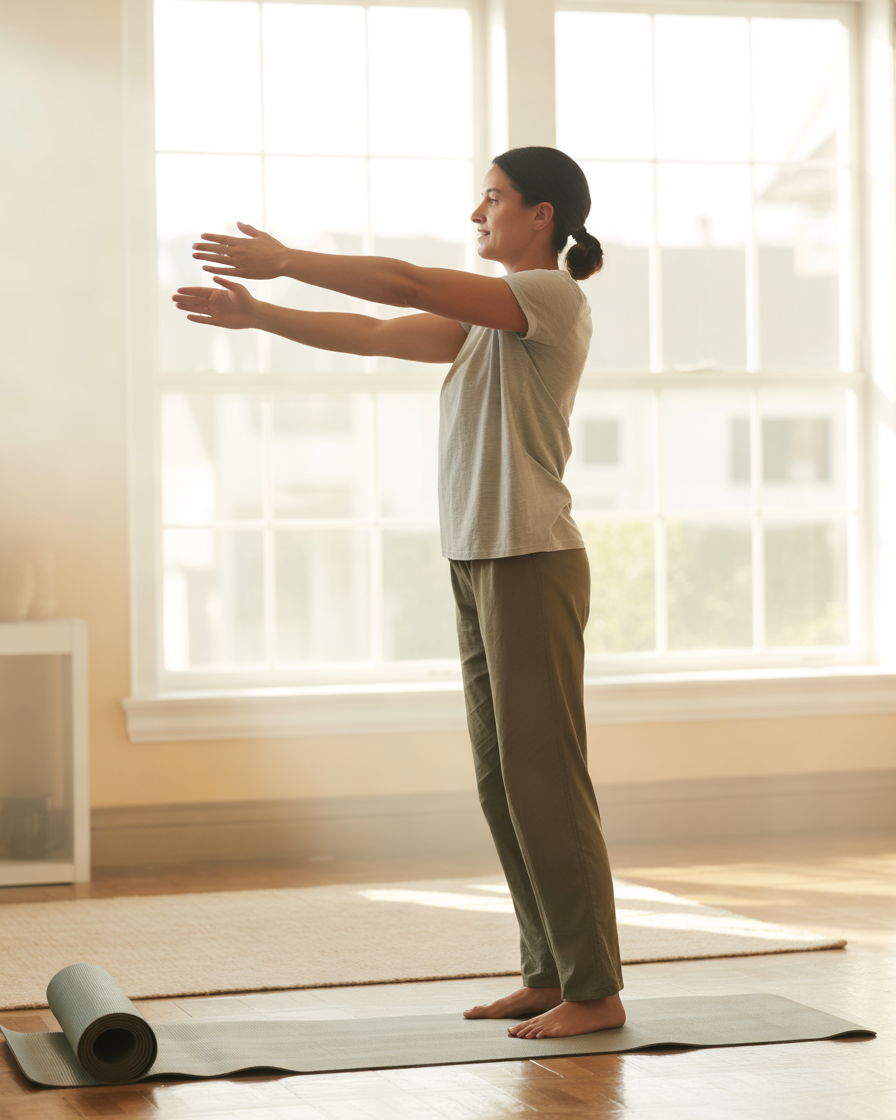
Arm circles are a simple but effective movement that can be used as a warm-up, active recovery exercise, or part of a beginner-friendly home upper body workout.
Although they may appear easy, controlled arm circles help prepare the shoulder joints and improve movement awareness.
Benefits
Arm circles may support:
- Shoulder mobility
- Upper body warm-up preparation
- Shoulder endurance
- Better movement control
They are particularly useful before strength exercises because warm muscles and prepared joints can help create a better workout experience.
How to Perform Arm Circles
- Stand tall with your feet shoulder-width apart.
- Extend your arms out to the sides.
- Make small controlled circles.
- Gradually increase the circle size.
- Reverse direction after several repetitions.
Practical Tips
- Keep your shoulders relaxed.
- Avoid swinging your arms quickly.
- Focus on smooth, controlled circles.
- Maintain good posture throughout.
How to Use It
Arm circles can be used:
- Before a workout as a warm-up
- Between strength exercises as active recovery
- After training as gentle movement
Example:
- 30 seconds forward circles
- 30 seconds backward circles
- Repeat 2–3 times
Who It May Suit
Arm circles may suit:
- Beginners
- Older adults
- People returning to exercise
- Anyone needing a simple mobility exercise
Important Considerations
If you experience shoulder pain or limited movement, avoid forcing the range of motion.
10. Wall Angels for Posture and Shoulder Mobility
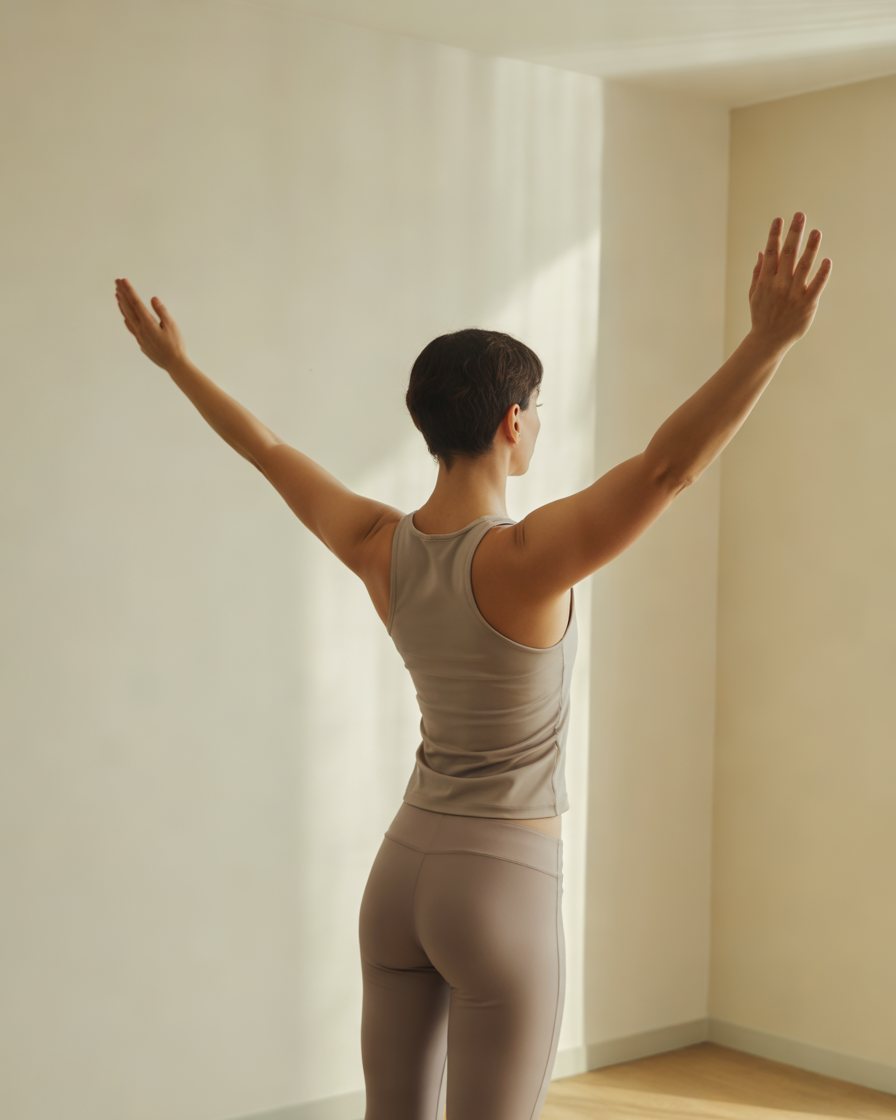
Wall angels are a gentle but valuable exercise that focuses on shoulder movement, upper back awareness, and posture support. They are especially helpful for people who spend significant time sitting at desks or using computers.
Including wall angels in an upper body workout at home can help create a balanced routine that focuses not only on strength but also on movement quality.
Benefits
Wall angels may help improve:
- Shoulder mobility
- Upper back awareness
- Posture habits
- Shoulder control
Additional benefits include:
- Encouraging better body alignment
- Supporting healthy movement patterns
- Providing a low-impact exercise option
How to Perform Wall Angels
- Stand with your back against a wall.
- Keep your feet slightly away from the wall if needed.
- Place your arms against the wall in a goalpost position.
- Slowly slide your arms upward.
- Return them down with control.
Practical Tips
- Keep movements slow.
- Avoid forcing your shoulders into uncomfortable positions.
- Maintain contact with the wall as much as possible.
- Focus on quality rather than speed.
How to Apply It
Try:
- 2–3 sets
- 8–12 controlled repetitions
Wall angels can be performed during warm-ups, cool-downs, or on recovery days.
Who It May Suit
Wall angels may suit:
- Desk workers
- Beginners
- People improving mobility
- Individuals wanting posture-focused exercises
Important Considerations
Everyone has different shoulder mobility. Do not force the movement if your joints feel restricted or painful.
Expert Tips for Getting Better Results From an Upper Body Workout at Home
A successful home workout routine is not only about choosing the right exercises. Consistency, proper technique, and gradual progression are what help create sustainable improvement.
Focus on Quality Over Quantity
Performing 50 repetitions with poor technique is usually less valuable than completing 10 controlled repetitions with good form.
Pay attention to:
- Smooth movement
- Proper breathing
- Full control
- Comfortable range of motion
Create a Balanced Routine
Many people focus only on chest and arms, but balanced upper body training should include:
- Pushing exercises
- Pulling exercises
- Shoulder stability movements
- Mobility exercises
A balanced routine may support better overall movement patterns.
Progress Gradually
Your body adapts when you gradually increase challenge.
Ways to progress include:
- Adding more repetitions
- Increasing sets
- Slowing exercise speed
- Using resistance bands
- Choosing harder variations
Avoid increasing difficulty too quickly.
Schedule Recovery Days
Muscles need time to recover after training. Depending on your fitness level and workout intensity, allow appropriate rest between challenging sessions.
Recovery habits include:
- Getting enough sleep
- Eating balanced meals
- Staying hydrated
- Managing stress
Warm Up Before Training
A short warm-up can prepare your muscles and joints.
Examples:
- Arm circles
- Shoulder movements
- Light cardio
- Dynamic stretching
Listen to Your Body
Normal muscle effort is different from sharp pain.
Stop and adjust an exercise if you experience:
- Joint pain
- Sudden discomfort
- Unusual symptoms
Consult a healthcare professional if you have concerns about starting exercise or managing existing conditions.
Frequently Asked Questions About Upper Body Workout at Home
Can I Build Upper Body Strength With Home Workouts?
Yes, many people can improve upper body strength using bodyweight exercises and simple equipment such as resistance bands. Progress depends on factors like consistency, exercise selection, nutrition, recovery, and individual fitness level.
How Often Should I Do an Upper Body Workout at Home?
Many people include upper body training two to three times per week, depending on their goals, experience level, and recovery ability. Beginners may start with fewer sessions and gradually increase frequency.
Can I Do an Upper Body Workout at Home Without Equipment?
Yes. Exercises like push-ups, planks, chair dips, wall angels, and arm circles require little or no equipment. Resistance bands can also add variety and challenge.
Are Home Upper Body Exercises Good for Beginners?
Yes. Beginners can start with easier variations such as incline push-ups, modified planks, and mobility exercises before progressing to harder movements.
How Long Should an Upper Body Home Workout Take?
A practical workout can range from 20 to 45 minutes depending on the number of exercises, rest periods, and fitness goals.
Do I Need Dumbbells for an Effective Upper Body Workout?
No. Dumbbells can be useful, but they are not required. Bodyweight exercises and resistance bands can provide effective training options.
What Should I Do If an Exercise Causes Pain?
Stop the exercise and review your technique. Consider modifying the movement or consulting a qualified healthcare professional, especially if pain continues.
Conclusion: Build Strength With a Consistent Upper Body Workout at Home
An effective upper body workout at home does not require complicated equipment or a gym membership. With exercises like push-ups, resistance band rows, chair dips, plank shoulder taps, and mobility movements, you can create a practical routine that fits your lifestyle.
The key is consistency, proper technique, and gradual progression. Start with exercises that match your current ability, focus on controlled movements, and slowly challenge yourself as your strength improves.
Whether your goal is improving fitness, building endurance, supporting posture, or simply becoming more active, a well-planned home upper body workout can be a convenient and sustainable part of your wellness routine.
Remember that everyone’s body and fitness journey are different. Choose exercises that feel appropriate for you, prioritize safety, and seek professional advice when needed. Small, consistent steps can create meaningful improvements over time.