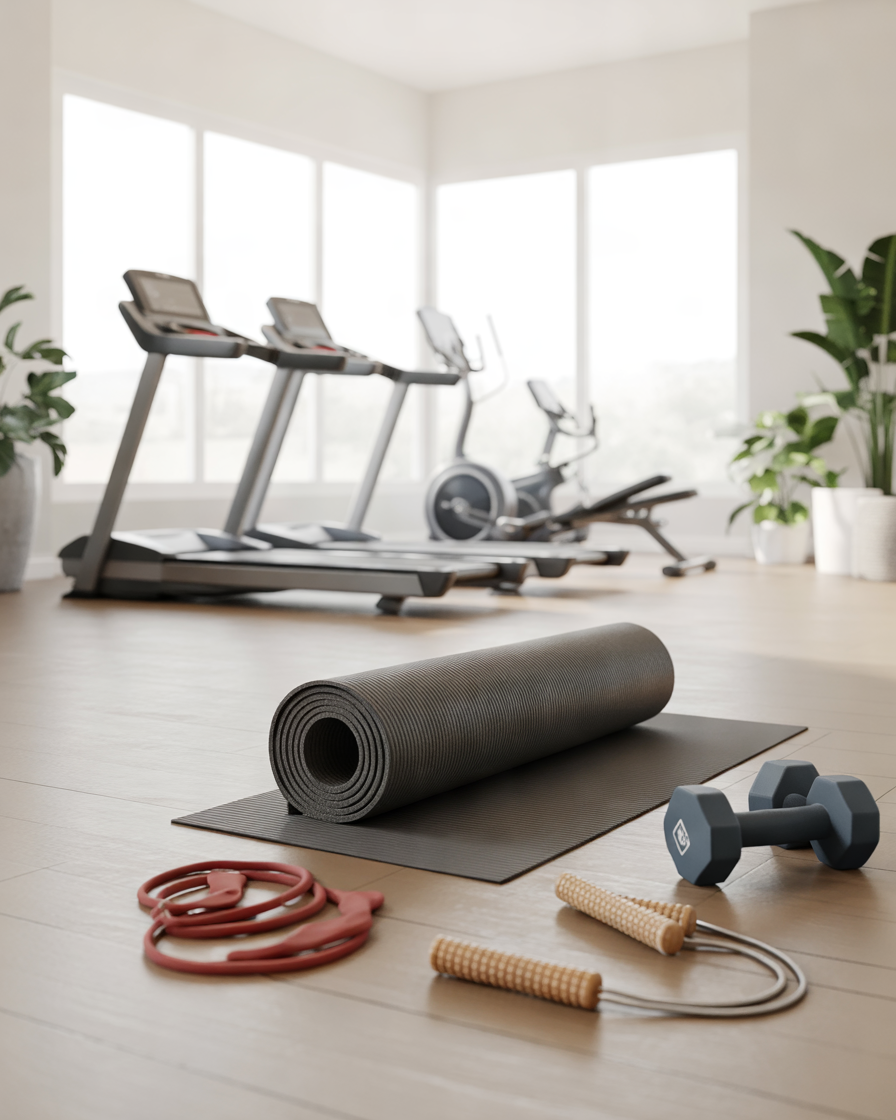
You don’t need an expensive gym membership, complicated machines, or a collection of fitness equipment to strengthen your abdominal muscles. With the right movements and a little consistency, you can perform an effective abs workout at home using nothing more than a comfortable exercise mat and your body weight.
Whether you’re a beginner starting your fitness journey or someone looking to make an existing workout routine more challenging, at-home abdominal exercises offer a convenient way to train your core. You can perform them in your bedroom, living room, or any space where you have enough room to move safely.
Your abdominal muscles do much more than contribute to the appearance of your stomach. They work alongside your back, hips, and pelvic muscles to stabilize your body, support everyday movements, and help you maintain control when bending, twisting, lifting, and exercising.
The good news is that you don’t need to spend an hour doing hundreds of crunches. A balanced routine that includes different core movements can provide a more useful training experience.
In this guide, you’ll discover 12 effective abs workout at home exercises, including beginner-friendly movements, challenging plank variations, and exercises that target different areas of your core. Each exercise includes step-by-step instructions, benefits, practical tips, and modifications to help you get started safely.
1. Dead Bug: A Beginner-Friendly Exercise for Deep Core Strength
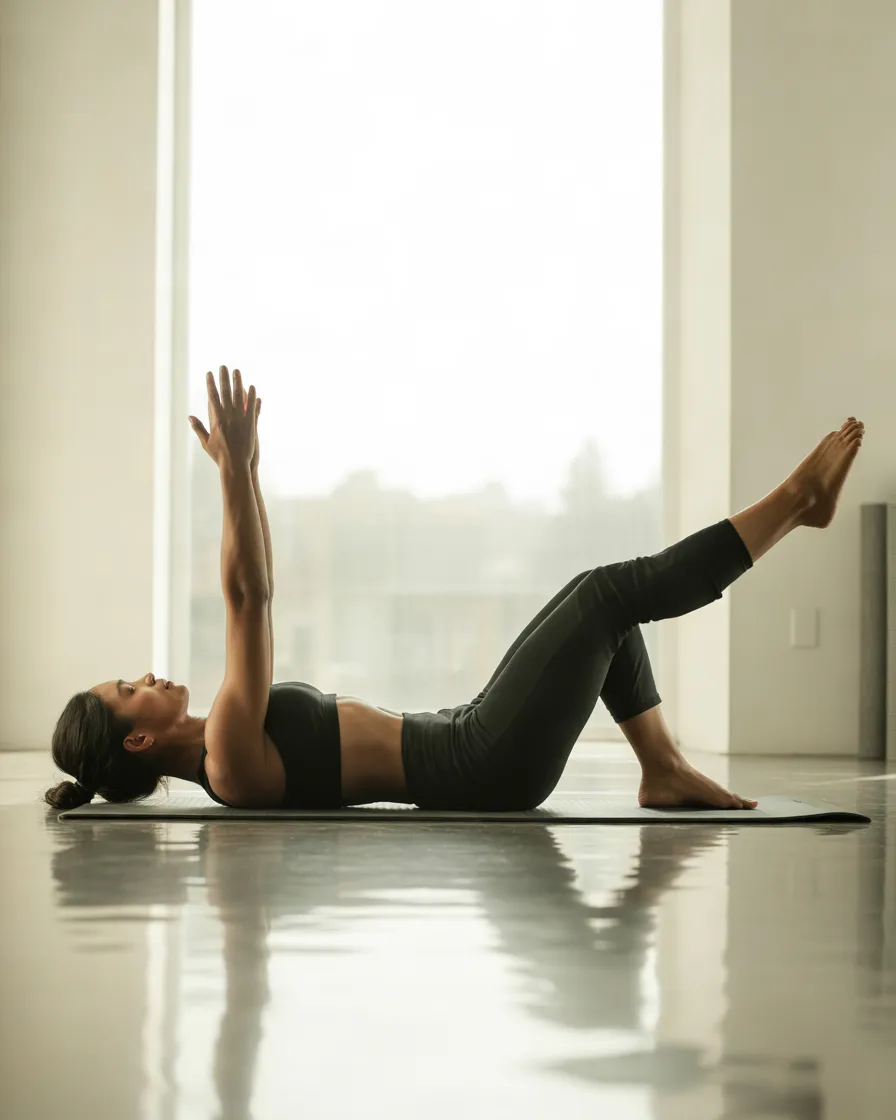
The dead bug is one of the most useful exercises for beginners who want to develop better abdominal control. Unlike traditional crunches, this movement challenges your core to stabilize your spine while your arms and legs move in opposite directions.
It is particularly useful for learning how to maintain a controlled torso position during exercise.
How to Perform the Dead Bug
- Lie on your back on an exercise mat.
- Raise both arms toward the ceiling.
- Lift your legs and bend your knees to approximately 90 degrees.
- Gently tighten your abdominal muscles while keeping your lower back comfortably controlled.
- Slowly extend your right arm behind your head while straightening your left leg toward the floor.
- Stop before your lower back begins to arch.
- Return to the starting position and repeat on the opposite side.
- Continue alternating sides with controlled movements.
Recommended Repetitions: 8–12 repetitions per side for 2–3 sets.
Benefits: The dead bug develops core stability, improves coordination between the upper and lower body, and teaches you to control your abdominal muscles while moving your limbs. It also provides a useful alternative to exercises involving repeated spinal flexion.
Practical Tips: Move slowly instead of trying to touch your hand or foot to the floor. Your ability to maintain control matters more than extending your limbs as far as possible.
How to Apply It: Include dead bugs near the beginning of your abs workout at home, especially when warming up your core for more demanding movements.
Who It May Suit: Beginners, people returning to exercise, and individuals who want to improve basic core control.
Important Considerations: If your lower back arches excessively, reduce the movement range or keep one foot on the floor while moving the opposite arm.
2. Forearm Plank: A Classic Abs Exercise for Total Core Stability
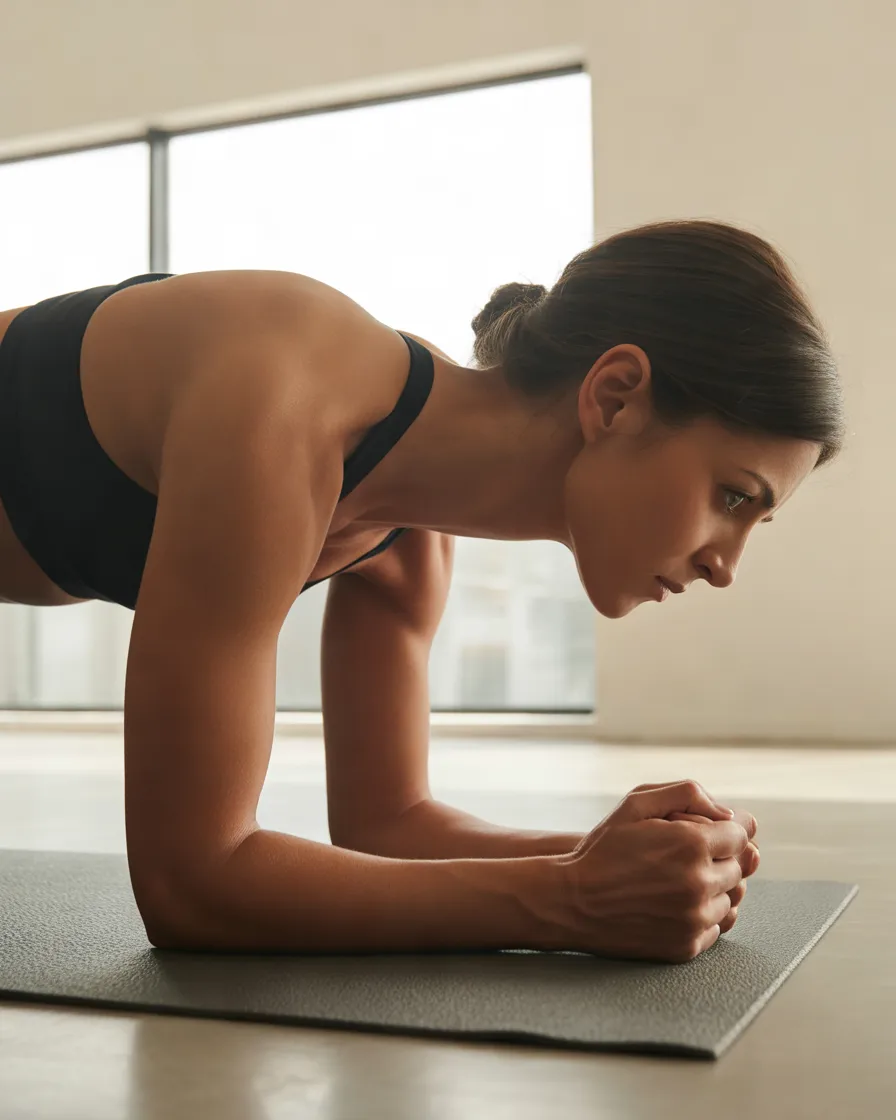
The forearm plank is a classic bodyweight exercise that challenges several muscles working together to stabilize your body. It engages the abdominal muscles while also involving your shoulders, back, hips, and legs.
Unlike crunches, which repeatedly bend your torso, planks require you to maintain a stable position against gravity.
How to Perform the Forearm Plank
- Start by lying face down on an exercise mat.
- Position your elbows directly underneath your shoulders.
- Place your forearms flat on the mat.
- Extend your legs behind you and balance on your toes.
- Lift your body so that your shoulders, hips, and ankles form a relatively straight line.
- Tighten your abdominal muscles and squeeze your glutes gently.
- Keep your head in a neutral position and look toward the floor.
- Hold the position while breathing normally.
Recommended Duration: 15–30 seconds for beginners, gradually progressing toward 45–60 seconds.
Benefits: Forearm planks develop abdominal endurance, improve whole-body coordination, and train your core to resist excessive movement. They also involve the shoulders and gluteal muscles.
Practical Tips: Avoid letting your hips drop toward the floor or lifting them excessively. Think about creating a straight line from your shoulders through your hips to your ankles.
How to Apply It: Perform two or three plank holds after completing your beginner abdominal exercises. Rest for approximately 30–45 seconds between attempts.
Who It May Suit: Beginners who can maintain a comfortable starting position, intermediate exercisers, and people looking for an equipment-free core workout.
Important Considerations: If a full plank feels too challenging, place your knees on the floor. Stop if you experience sharp back, shoulder, or wrist pain.
3. Side Plank: Strengthen Your Obliques and Improve Lateral Stability
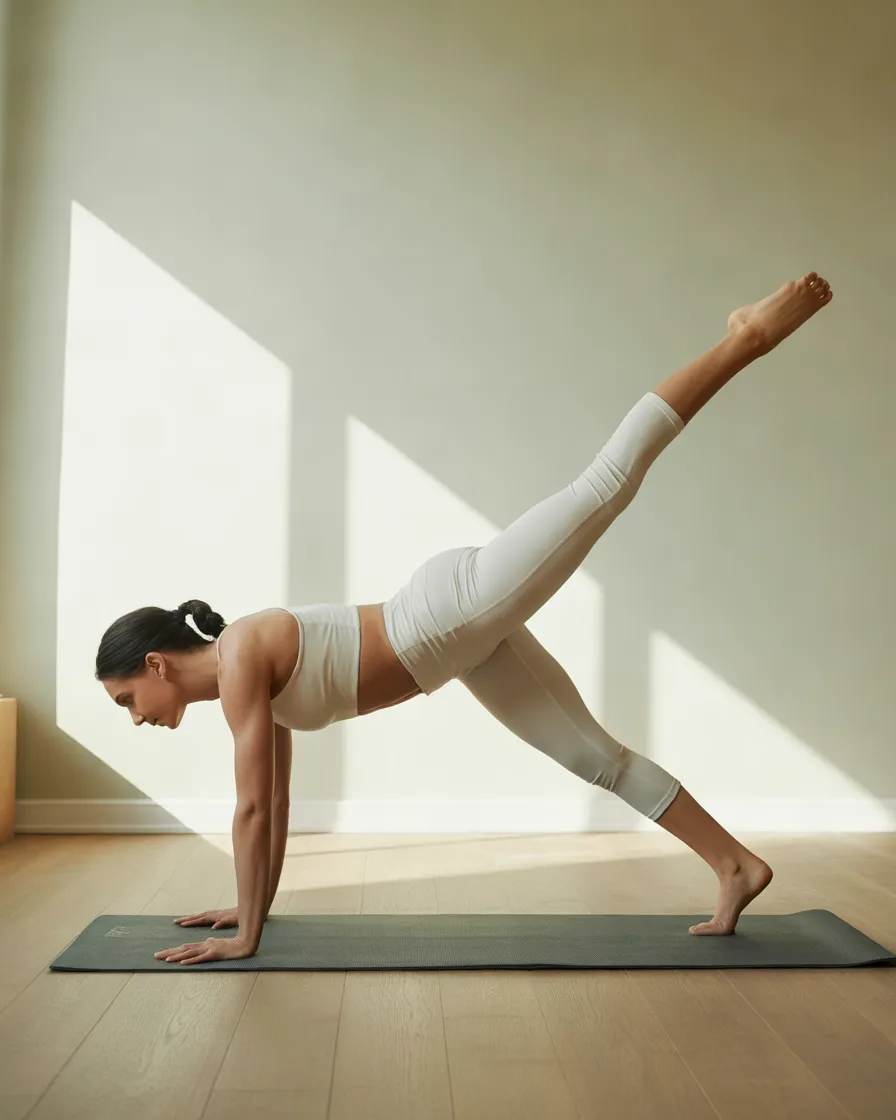
If your current abdominal routine focuses mainly on traditional crunches, adding side planks can help create a more balanced core workout.
Side planks challenge the muscles along the sides of your abdomen, commonly called the obliques. They also involve the muscles around your hips and shoulders.
This exercise is particularly useful because it trains your body to resist sideways movement while maintaining balance.
How to Perform the Side Plank
- Lie on your right side on an exercise mat.
- Place your right elbow directly beneath your shoulder.
- Stack your legs or position one foot slightly in front of the other for additional stability.
- Tighten your abdominal muscles.
- Lift your hips until your body forms a straight line.
- Keep your shoulders stacked and avoid rotating your torso toward the floor.
- Hold the position for the recommended time.
- Lower your hips slowly and switch sides.
Recommended Duration: 15–25 seconds per side for 2 sets.
Benefits: Side planks strengthen the obliques, challenge lateral core stability, and involve the hip muscles that help control your body’s position.
Practical Tips: Keep your supporting shoulder away from your ear. Focus on lifting your hips rather than pushing your body forward or backward.
How to Apply It: Add side planks after regular forearm planks to train your core from a different direction.
Who It May Suit: Beginners using the bent-knee variation, intermediate exercisers, and anyone looking to include more oblique exercises in their home routine.
Important Considerations: If balancing on your feet is difficult, bend your knees and support yourself using your forearm and lower leg. Avoid continuing if your supporting shoulder becomes painful.
4. Bird Dog: Improve Core Control With Opposite Arm and Leg Extensions
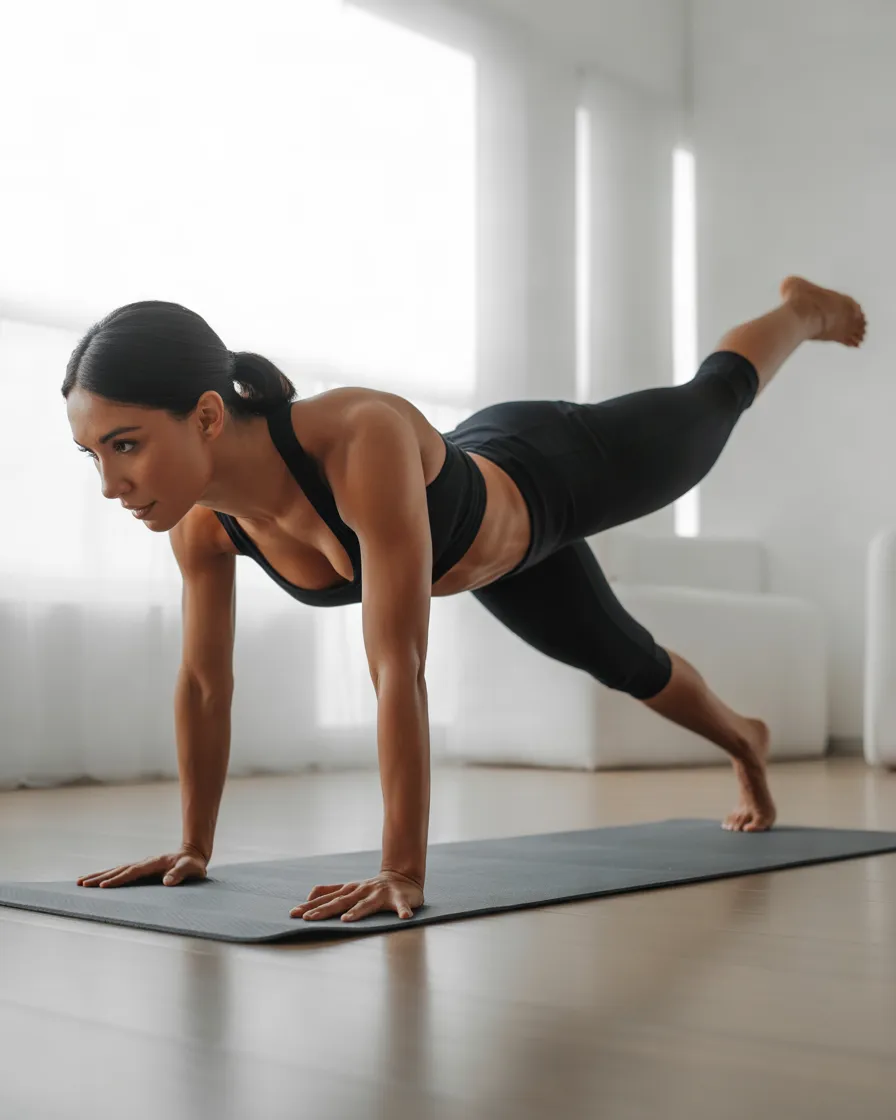
The bird dog is a simple but effective movement that trains your abdominal muscles to stabilize your body while your arms and legs move independently.
It is especially useful for people who want to build foundational core strength without performing many traditional abdominal crunches.
The exercise also involves the glutes, shoulders, and muscles supporting your spine.
How to Perform the Bird Dog
- Start on your hands and knees on an exercise mat.
- Position your hands directly beneath your shoulders.
- Keep your knees underneath your hips.
- Look toward the floor and maintain a comfortable neutral spine.
- Slowly extend your right arm forward.
- At the same time, extend your left leg backward.
- Keep your hips level without rotating your body.
- Hold briefly, then return to the starting position.
- Repeat using your opposite arm and leg.
Recommended Repetitions: 8–10 repetitions per side for 2–3 sets.
Benefits: Bird dogs develop core stability, improve coordination, and train the muscles responsible for controlling your torso during everyday movements.
Practical Tips: Imagine balancing a glass of water on your lower back. This can help you avoid twisting your hips or arching your spine excessively.
How to Apply It: Use bird dogs as a warm-up movement before a more challenging core workout or include them in a beginner abdominal circuit.
Who It May Suit: Beginners, people developing basic core coordination, and individuals who prefer controlled exercises rather than fast-paced abdominal movements.
Important Considerations: Avoid lifting your leg higher than your hip if doing so causes your back to arch. Begin by moving only one limb at a time if necessary.
5. Reverse Crunch: A Controlled Exercise for Your Lower Abdominal Region
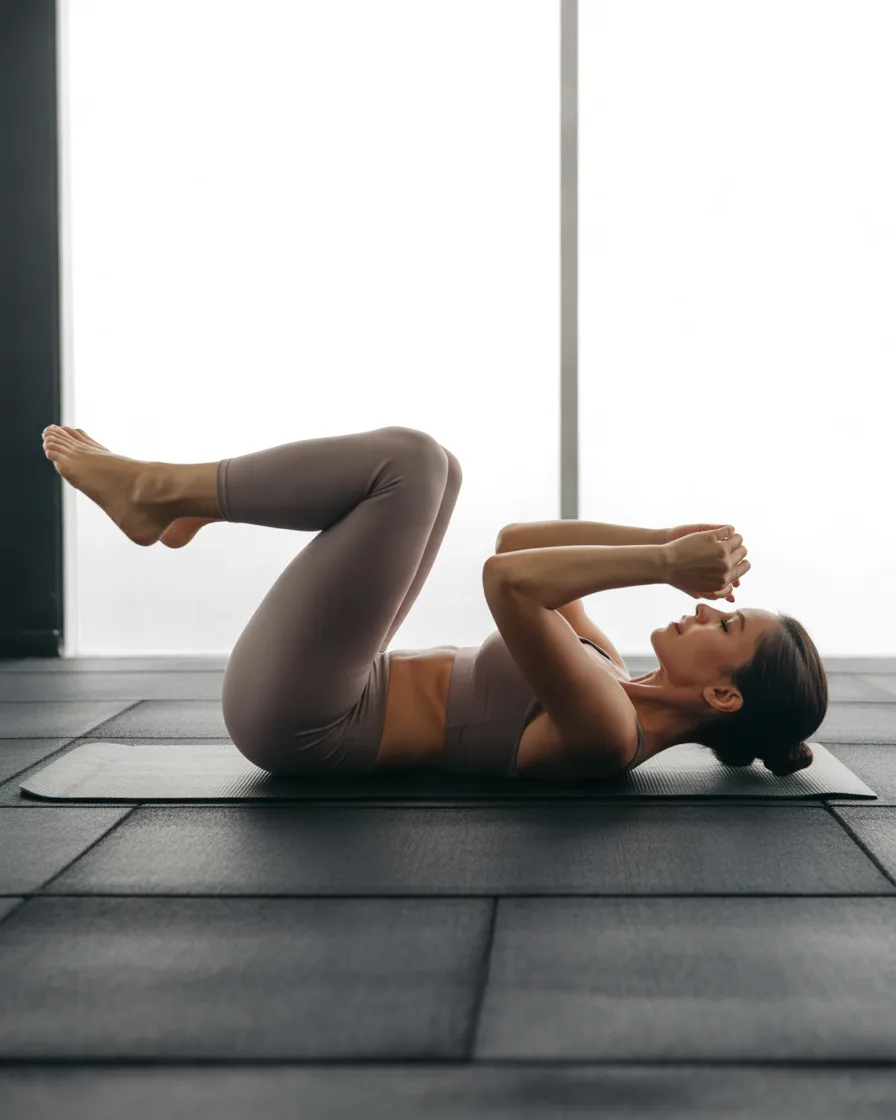
Reverse crunches are a popular addition to at-home ab workouts because they involve lifting the pelvis toward the torso rather than repeatedly raising the shoulders.
Although no abdominal exercise isolates only the lower abs, reverse crunches provide a useful way to challenge the abdominal muscles through controlled pelvic movement.
How to Perform the Reverse Crunch
- Lie on your back with your arms resting beside your body.
- Bend your knees and lift your feet off the floor.
- Position your knees above your hips.
- Tighten your abdominal muscles.
- Slowly curl your pelvis upward, bringing your knees slightly toward your chest.
- Lift your hips only a few inches from the mat.
- Pause briefly at the top.
- Lower your pelvis slowly without swinging your legs.
Recommended Repetitions: 8–12 repetitions for 2–3 sets.
Benefits: Reverse crunches train abdominal strength and control while challenging the muscles involved in posterior pelvic movement.
Practical Tips: Avoid using momentum to throw your legs upward. The movement should come from a controlled curl of your pelvis.
How to Apply It: Perform reverse crunches after basic stabilization exercises such as dead bugs and planks.
Who It May Suit: Intermediate beginners and people who can comfortably control their abdominal muscles during floor exercises.
Important Considerations: If you experience lower-back discomfort, reduce the range of motion or choose a dead bug variation instead. Do not force your knees toward your face.
6. Bent-Knee Crunch: A Simple Upper Abdominal Workout at Home
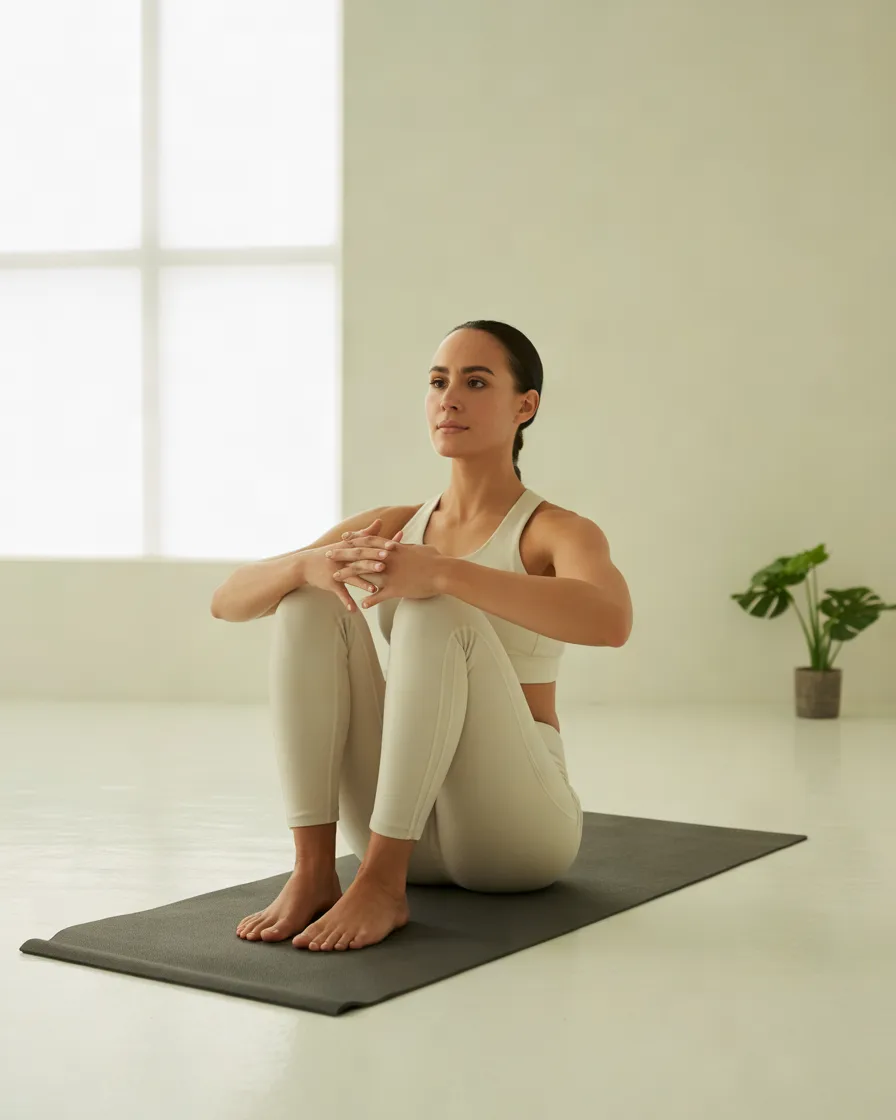
The bent-knee crunch is a familiar abdominal exercise that can be performed without equipment. It is a useful starting point for people who want to introduce controlled spinal-flexion movements into their fitness routine.
The exercise primarily challenges the rectus abdominis, the long abdominal muscle running along the front of your torso.
How to Perform the Bent-Knee Crunch
- Lie flat on your back on an exercise mat.
- Bend your knees and place your feet flat on the floor.
- Position your hands lightly across your chest or beside your head.
- Gently tighten your abdominal muscles.
- Lift your head and shoulder blades off the floor.
- Curl your upper torso slightly toward your knees.
- Pause briefly without pulling your neck.
- Lower yourself slowly to the starting position.
Recommended Repetitions: 10–15 repetitions for 2–3 sets.
Benefits: Crunches strengthen the abdominal muscles and help develop control during trunk-flexion movements.
Practical Tips: Keep your movements small and controlled. Your hands should support your head lightly if placed behind it, rather than pulling your neck forward.
How to Apply It: Add bent-knee crunches to the middle of your abdominal workout, preferably after your core stabilization exercises.
Who It May Suit: Beginners and intermediate exercisers who can comfortably perform basic floor-based movements.
Important Considerations: Crunches involve repeated spinal flexion, so they may not be appropriate for everyone. Choose an alternative if they cause discomfort, especially if you have an existing back condition.
7. Bicycle Crunches: Train Your Abs With a Controlled Rotational Movement
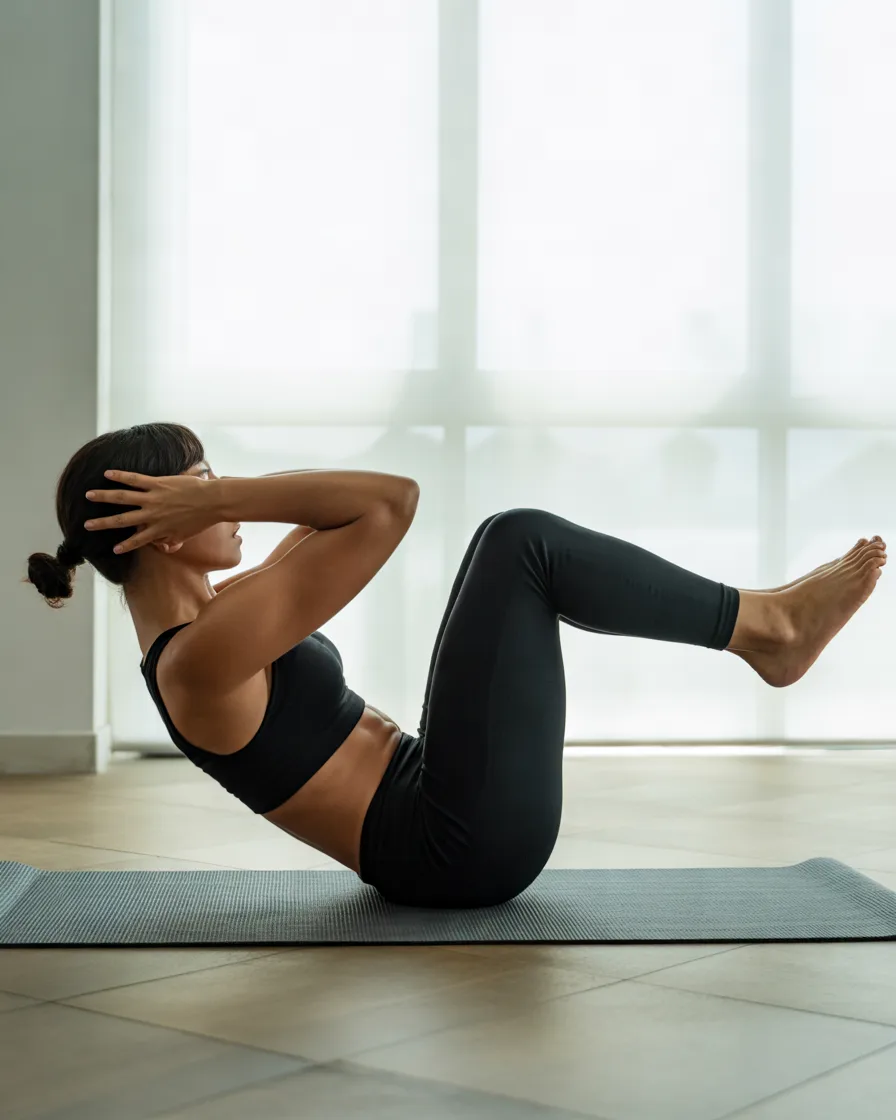
Bicycle crunches combine upper-body rotation with alternating leg movements. They are popular in home abdominal workouts because they challenge the rectus abdominis and oblique muscles.
However, performing them too quickly can reduce movement quality. A slow, controlled technique is much more useful than trying to complete as many repetitions as possible.
How to Perform Bicycle Crunches
- Lie on your back on an exercise mat.
- Place your hands lightly beside your head.
- Lift both legs and bend your knees.
- Raise your shoulder blades slightly from the floor.
- Bring your right elbow toward your left knee.
- Extend your right leg without allowing your lower back to arch excessively.
- Return through the centre.
- Alternate sides, bringing your left elbow toward your right knee.
Recommended Repetitions: 8–12 repetitions per side for 2 sets.
Benefits: Bicycle crunches challenge the abdominal muscles, including the obliques, while improving coordination between the upper and lower body.
Practical Tips: Rotate through your upper torso rather than pulling your elbow toward your knee using your neck. Keep the movement smooth and avoid rushing.
How to Apply It: Include bicycle crunches in an intermediate home core workout after you have developed basic abdominal control.
Who It May Suit: Intermediate exercisers and people comfortable with controlled crunching and rotational movements.
Important Considerations: If your neck or lower back becomes uncomfortable, stop and choose a less demanding exercise, such as dead bugs or heel taps.
8. Heel Taps: An Accessible Exercise for Your Side Abdominal Muscles
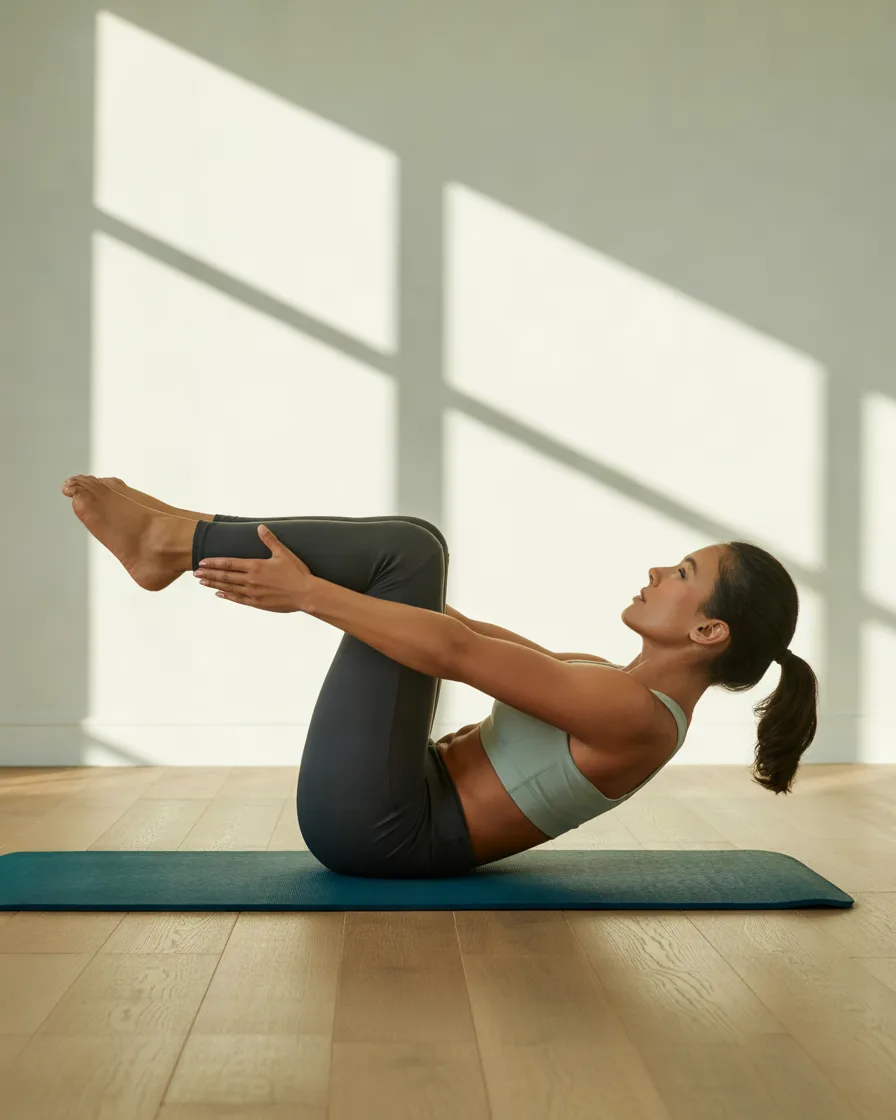
Heel taps are a beginner-friendly abdominal movement that involves reaching from side to side while lying on your back.
They are particularly useful for introducing lateral trunk movement into a home workout without requiring complicated equipment or advanced balance skills.
How to Perform Heel Taps
- Lie on your back with your knees bent.
- Place your feet flat on the floor, approximately hip-width apart.
- Keep your arms extended beside your body.
- Lift your shoulders slightly if comfortable.
- Reach your right hand toward your right heel.
- Return to the centre.
- Reach your left hand toward your left heel.
- Continue alternating sides.
Recommended Repetitions: 10–15 repetitions per side for 2 sets.
Benefits: Heel taps challenge the oblique muscles and encourage controlled side-to-side movement. They also help beginners become familiar with abdominal muscle engagement.
Practical Tips: Keep your feet planted and avoid pulling your head forward. A small reaching movement is sufficient.
How to Apply It: Use heel taps as part of a beginner-friendly abdominal circuit or as a lower-intensity alternative to bicycle crunches.
Who It May Suit: Beginners, people returning to exercise, and anyone who wants a simple home abdominal exercise.
Important Considerations: Keep your movements comfortable. If raising your shoulders causes neck discomfort, keep your head resting on the mat and perform smaller reaches.
9. Glute Bridge: Support Your Core While Strengthening Your Hips
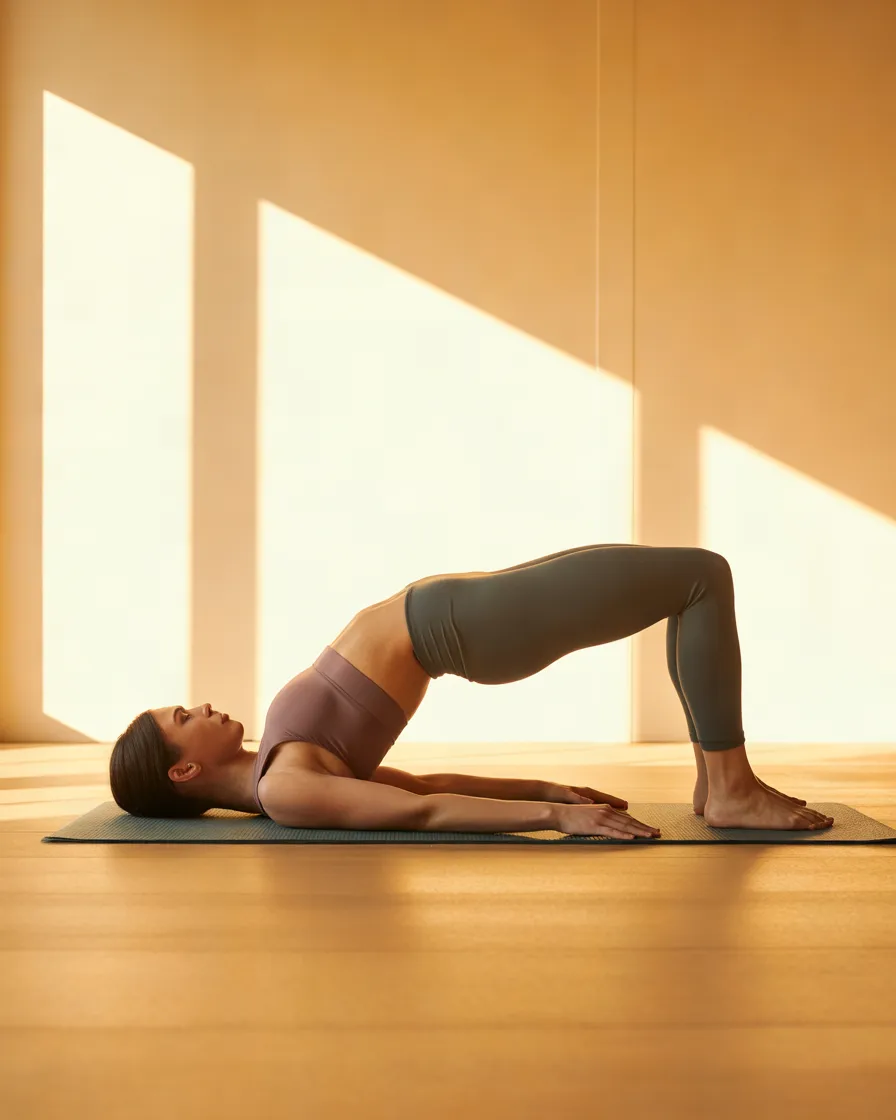
Although glute bridges are commonly associated with glute training, they also involve your abdominal muscles, particularly when performed with proper torso control.
This makes them a valuable addition to a balanced abs workout at home.
The movement strengthens the muscles around your hips and encourages coordination between your pelvis and torso.
How to Perform the Glute Bridge
- Lie on your back on an exercise mat.
- Bend your knees and place your feet flat on the floor.
- Position your arms beside your body.
- Keep your feet approximately hip-width apart.
- Gently tighten your abdominal muscles.
- Press through your feet and lift your hips.
- Stop when your shoulders, hips, and knees form a comfortable diagonal line.
- Squeeze your glutes gently.
- Lower your hips slowly to the starting position.
Recommended Repetitions: 12–15 repetitions for 2–3 sets.
Benefits: Glute bridges strengthen the gluteal muscles, involve the hamstrings, and encourage coordinated control of the pelvis and trunk.
Practical Tips: Avoid pushing your hips so high that your lower back arches excessively. Focus on using your glutes rather than forcing the movement through your back.
How to Apply It: Place glute bridges between abdominal exercises to introduce a complementary hip-strengthening movement.
Who It May Suit: Beginners, people who spend long periods sitting, and intermediate exercisers looking for a more balanced home workout.
Important Considerations: If you feel pressure or pain in your lower back, reduce the height of the bridge and reassess your technique.
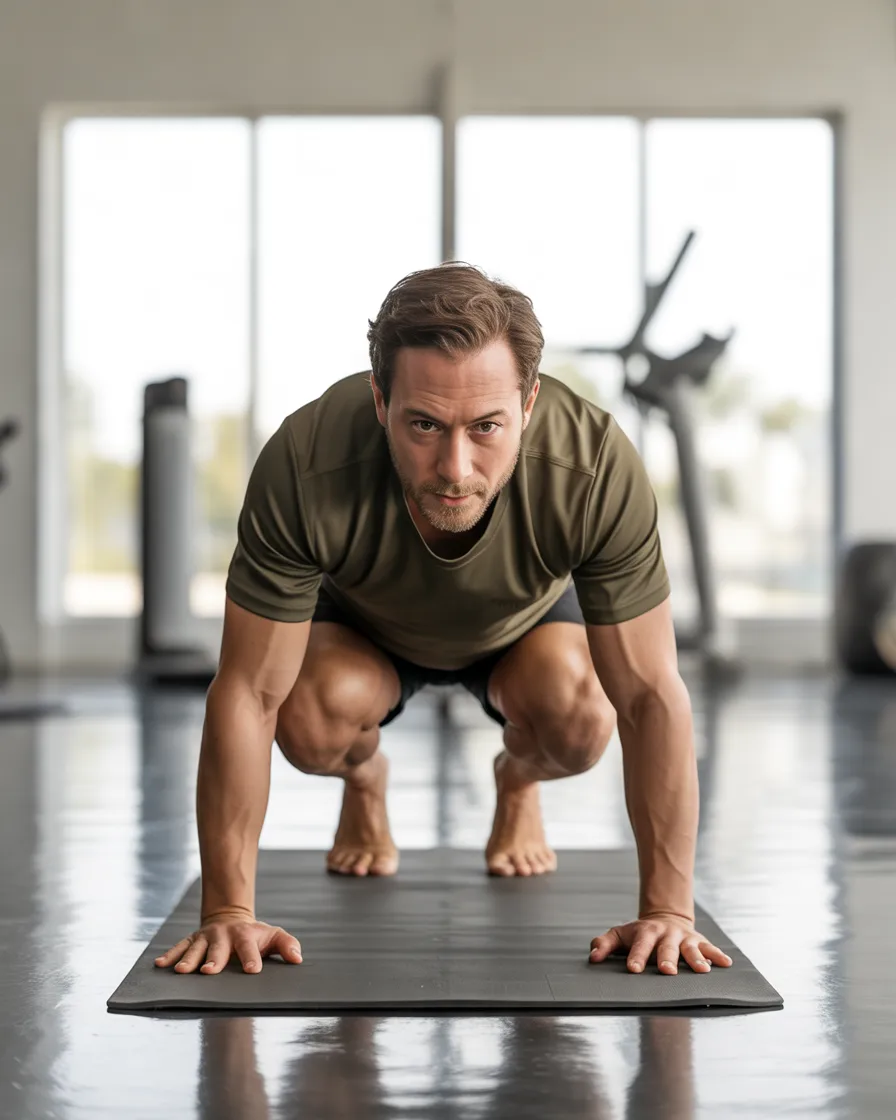
10. Mountain Climbers: Add Movement and Intensity to Your Core Workout
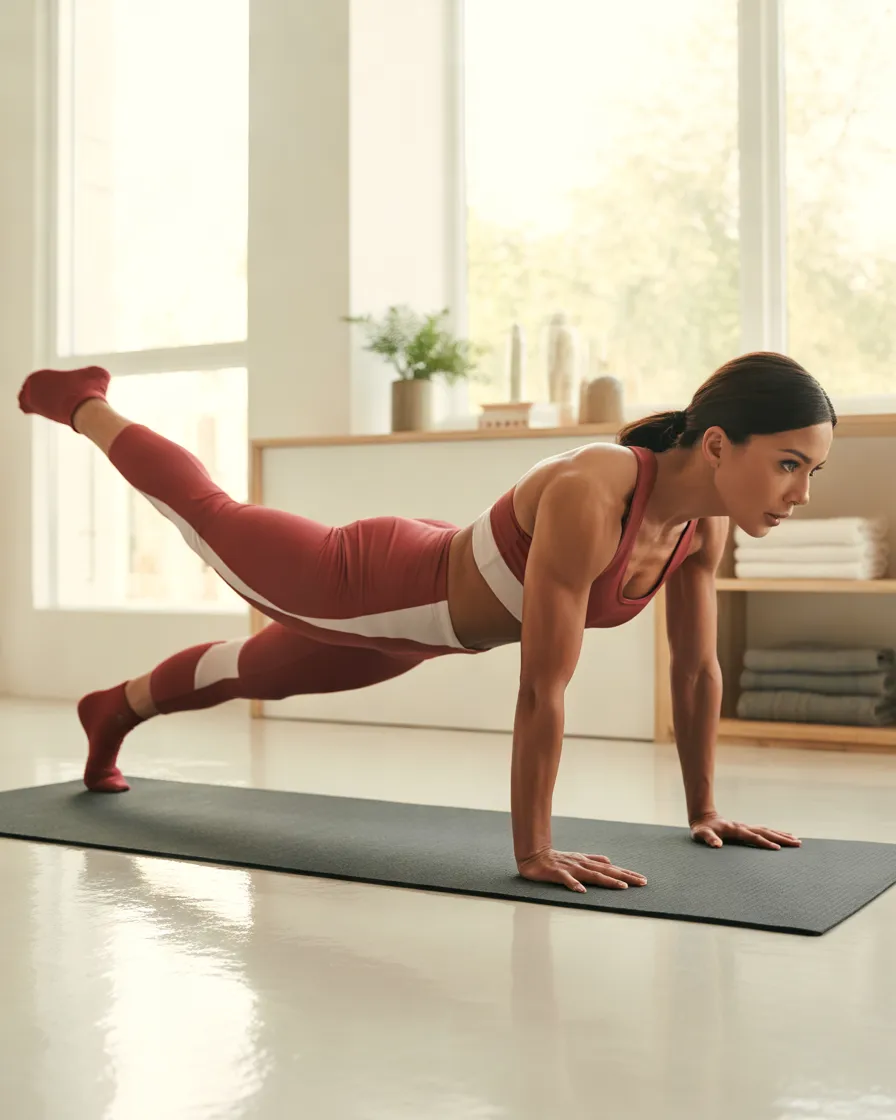
Mountain climbers are a dynamic bodyweight exercise that combines core stabilization with alternating knee drives.
Unlike static exercises such as planks, mountain climbers involve continuous movement and can increase your heart rate when performed at a suitable pace.
They also involve the shoulders, hip flexors, and leg muscles.
How to Perform Mountain Climbers
- Start in a high plank position with your hands directly beneath your shoulders.
- Extend your legs behind you.
- Tighten your abdominal muscles.
- Bring your right knee toward your chest.
- Return your right leg to the starting position.
- Bring your left knee toward your chest.
- Continue alternating legs.
- Maintain a stable upper body throughout the movement.
Recommended Duration: 20–30 seconds for 2–3 sets.
Benefits: Mountain climbers challenge core endurance, coordination, and muscular control while adding a cardiovascular component to your workout.
Practical Tips: Start slowly and focus on keeping your hips relatively level. You do not need to sprint to benefit from the exercise.
How to Apply It: Add mountain climbers toward the end of your home abdominal workout when you want to introduce a more dynamic movement.
Who It May Suit: Intermediate exercisers and beginners who can comfortably maintain a modified high plank.
Important Considerations: If your wrists are uncomfortable, try a standing knee-drive variation. Reduce the speed or duration if your technique starts to deteriorate.
11. Seated Knee Tucks: Challenge Your Abdominal Muscles Without Equipment
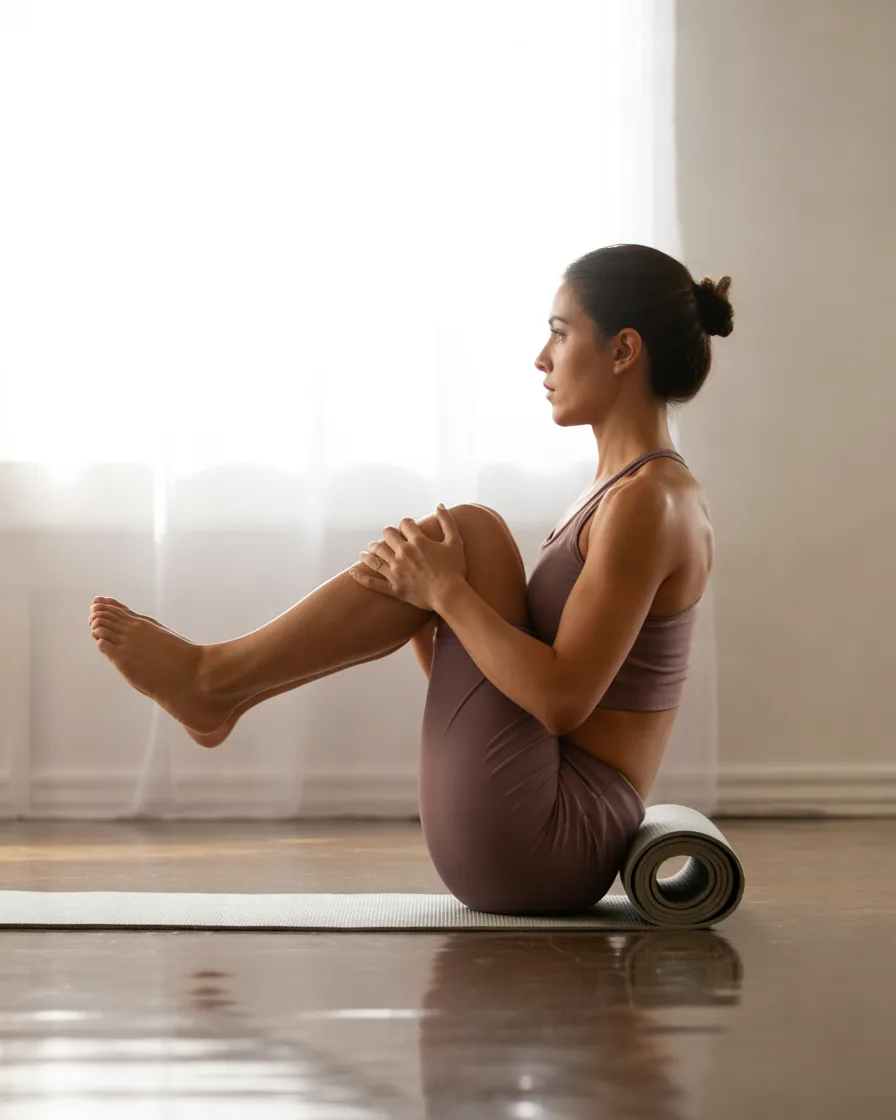
Seated knee tucks are a compact exercise that combines torso stabilization with controlled leg movement.
They can be performed in a small space and provide an alternative to floor-based crunches for people who prefer a seated position.
The exercise primarily challenges the abdominal muscles and hip flexors.
How to Perform Seated Knee Tucks
- Sit on an exercise mat with your knees bent.
- Place your hands beside your hips for support.
- Lean your torso slightly backward while maintaining control.
- Lift your feet a short distance off the floor.
- Bring both knees toward your chest.
- Slowly extend your legs forward without fully relaxing your abdominal muscles.
- Bring your knees back toward your chest.
- Repeat with controlled movements.
Recommended Repetitions: 8–12 repetitions for 2 sets.
Benefits: Seated knee tucks challenge abdominal endurance, coordination, and control during combined hip and trunk movements.
Practical Tips: Avoid leaning too far backward or swinging your legs. Keep the range of movement small enough that you can maintain control.
How to Apply It: Include seated knee tucks in an intermediate bodyweight abdominal routine, especially when you want variety beyond traditional crunches.
Who It May Suit: Intermediate exercisers and people who can comfortably support themselves in a seated position.
Important Considerations: This exercise may be demanding for people with limited hip mobility or lower-back discomfort. Keep your feet on the floor and perform alternating knee lifts as an easier modification.
12. Bear Plank Shoulder Taps: A Challenging Full-Core Stability Exercise
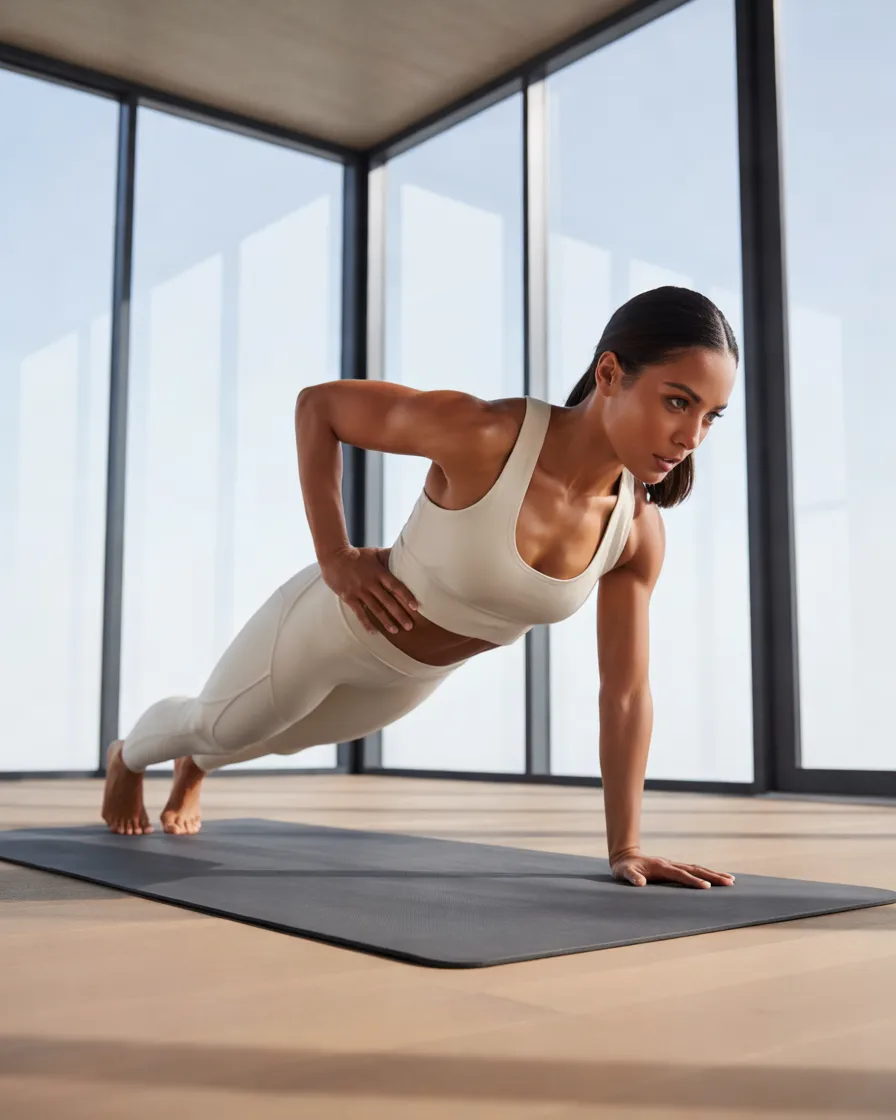
If you are ready to progress beyond traditional planks, bear plank shoulder taps can provide a more demanding challenge.
This movement requires you to stabilize your torso while lifting one hand at a time. It challenges the abdominal muscles, shoulders, and muscles that help prevent your body from rotating.
It is also a useful way to introduce anti-rotation training into your home workout.
How to Perform Bear Plank Shoulder Taps
- Start on your hands and knees.
- Position your hands beneath your shoulders and knees beneath your hips.
- Lift your knees approximately one or two inches off the floor.
- Tighten your abdominal muscles.
- Slowly lift your right hand and touch your left shoulder.
- Return your right hand to the floor.
- Repeat with your left hand touching your right shoulder.
- Alternate sides while keeping your hips as stable as possible.
Recommended Repetitions: 6–10 shoulder taps per side for 2 sets.
Benefits: Bear plank shoulder taps challenge abdominal stability, shoulder strength, balance, and coordination. They also teach your body to resist unnecessary rotation.
Practical Tips: Keep your knees close to the floor and avoid shifting your hips from side to side. Start with very small movements.
How to Apply It: Use this exercise near the end of an intermediate or advanced abs workout at home after mastering standard planks and bird dogs.
Who It May Suit: Intermediate and advanced exercisers who can maintain a stable quadruped position.
Important Considerations: If your wrists or shoulders are uncomfortable, return to a regular bird dog or knee-supported plank. This is a progression, not a necessary exercise for beginners.
Expert Tips to Get More From Your Abs Workout at Home
Choosing good exercises is only one part of developing a stronger core. How you perform them, how consistently you train, and how well you recover also matter.
Here are some practical recommendations to help you build a sustainable routine.
Focus on Proper Form Instead of Completing More Repetitions
One of the most common mistakes during abdominal training is rushing through exercises.
For example, performing 30 poorly controlled bicycle crunches may be less useful than completing 10 slow, controlled repetitions.
Pay attention to your posture, breathing, and movement range. If you cannot maintain proper technique, reduce the repetitions or choose an easier variation.
Learn to Breathe During Abdominal Exercises
Avoid holding your breath throughout an entire exercise.
Generally, exhale during the more demanding part of a movement and inhale while returning to the starting position.
For example, breathe out while curling upward during a crunch and inhale as you lower yourself.
For planks and other stabilization exercises, maintain steady breathing rather than trying to hold your breath.
Train Different Areas and Functions of Your Core
Your core is more than just your visible abdominal muscles.
It includes muscles around your abdomen, back, and pelvis that work together to stabilize and move your body.
For a balanced routine, include:
- Flexion movements, such as crunches.
- Anti-extension movements, such as dead bugs and planks.
- Lateral stability movements, such as side planks.
- Anti-rotation movements, such as bird dogs and bear plank variations.
This approach provides more variety than repeating the same crunch exercise every day.
Start With a Manageable Workout
You do not need to perform all 12 exercises during your first session.
Choose four or five movements that match your current fitness level. Complete one or two sets and gradually increase the difficulty as your technique improves.
Consistency and appropriate progression are more useful than starting with an exhausting routine.
Allow Your Muscles Time to Recover
Your abdominal muscles need recovery just like other muscle groups.
For most beginners, two or three focused core-training sessions per week on nonconsecutive days can be a practical starting point.
You can remain physically active on other days through walking, cycling, or other activities.
Remember That Ab Exercises Do Not Directly Burn Belly Fat
One important fitness misconception is that repeatedly training your abdominal muscles will automatically remove fat around your waist.
Abdominal exercises strengthen the muscles underneath the skin, but they do not selectively burn fat from that particular area.
Visible abdominal definition depends on several factors, including overall body composition, genetics, nutrition, and physical activity.
A balanced approach that combines strength training, regular movement, appropriate nutrition, and adequate sleep is more realistic than relying on crunches alone.
A Simple 15-Minute Abs Workout at Home for Beginners
If you’re unsure how to combine the exercises, start with this simple routine.
You do not need to complete all 12 exercises. The following selection provides a manageable combination of stabilization, abdominal movement, and hip strength.
Beginner 15-Minute Core Routine
| Exercise | Repetitions or Duration |
|---|---|
| Dead bug | 8 per side |
| Bird dog | 8 per side |
| Forearm plank | 15–20 seconds |
| Glute bridge | 12 repetitions |
| Heel taps | 10 per side |
How to Complete the Routine
- Spend approximately three minutes warming up with gentle marching, shoulder movements, and comfortable mobility exercises.
- Complete each exercise using controlled movements.
- Rest for approximately 20–40 seconds between exercises.
- Repeat the circuit twice if your technique remains comfortable.
- Finish with gentle relaxation and comfortable movement.
The workout may take approximately 12–15 minutes, depending on your rest periods and exercise speed.
How to Progress
During the first week, focus on understanding the movements. Once the exercises become easier, gradually increase repetitions, hold times, or the number of rounds.
You can eventually replace beginner exercises with more challenging variations, such as side planks, reverse crunches, or mountain climbers.
How Often Should You Do an Abs Workout at Home?
You do not need to train your abdominal muscles every day to make progress.
For many beginners, two or three focused core sessions per week provide a reasonable starting point. Allow recovery time between challenging sessions, particularly if you experience muscle soreness.
A practical weekly schedule could look like this:
| Day | Activity |
|---|---|
| Monday | 15-minute abs workout |
| Tuesday | Walking or light cardio |
| Wednesday | Full-body strength training |
| Thursday | Recovery or gentle activity |
| Friday | 15-minute abs workout |
| Saturday | Walking, cycling, or recreational activity |
| Sunday | Rest or gentle movement |
Remember that abdominal training should complement your overall fitness routine rather than replace other forms of exercise.
For general health, adults should aim for 150–300 minutes of moderate-intensity aerobic activity each week, alongside muscle-strengthening activities involving major muscle groups on at least two days. These are broader physical activity recommendations, not specific requirements for abdominal training.
Frequently Asked Questions About Abs Workout at Home
1. What Is the Best Abs Workout at Home for Beginners?
A beginner-friendly routine can include dead bugs, bird dogs, knee-supported planks, glute bridges, and heel taps.
These exercises help develop basic core control without requiring advanced movements or gym equipment.
Start with four or five exercises, complete one or two sets, and increase the difficulty gradually.
2. Can You Build Strong Abs Without Going to the Gym?
Yes. You can strengthen your abdominal muscles at home using bodyweight exercises such as planks, reverse crunches, bicycle crunches, and dead bugs.
You do not need gym equipment to begin developing core strength.
However, as your strength improves, you may need to increase exercise difficulty or introduce resistance to continue challenging your muscles.
3. How Many Minutes Should an Abs Workout Last?
A focused abdominal workout can take approximately 10–20 minutes.
The ideal duration depends on your fitness level, exercise selection, rest periods, and overall training schedule.
A shorter session performed with good technique can be more useful than a longer session filled with rushed repetitions.
4. Can I Do Ab Exercises Every Day?
You can perform gentle core movements frequently, but challenging abdominal training does not need to happen every day.
Most beginners can start with two or three focused sessions per week and adjust according to their recovery and training experience.
If your muscles are still sore or your technique has deteriorated, allow additional recovery time.
5. Which Exercise Is Best for Lower Abs?
Reverse crunches and dead bugs are useful exercises for challenging abdominal muscles through controlled pelvic and leg movements.
However, it is important to understand that abdominal exercises do not isolate fat loss in the lower stomach.
A balanced training routine is a better approach to developing overall core strength.
6. Do I Need Equipment for an At-Home Ab Workout?
No. Most of the exercises in this guide use body weight alone.
An exercise mat can make floor-based movements more comfortable, but it is not essential if you have a safe, suitable surface.
As you become stronger, optional equipment such as resistance bands or light weights can help increase exercise difficulty.
7. How Long Does It Take to Notice Improvements in Core Strength?
Progress varies between individuals.
Some people notice improvements in exercise control and endurance after several weeks of consistent practice. Changes in muscle definition may take considerably longer and depend on factors such as nutrition, genetics, training history, and overall body composition.
Focus on improvements in technique, repetitions, and stability rather than expecting a specific visual result by a particular date.
8. Can Ab Workouts Help Reduce Belly Fat?
Abdominal exercises strengthen the muscles around your stomach, but they cannot specifically target belly fat.
Overall body-fat changes are influenced by energy balance, physical activity, dietary habits, sleep, and individual factors.
Combining core exercises with regular aerobic activity and full-body strength training can support a broader fitness plan.
9. Are Planks Better Than Crunches?
Neither exercise is universally better.
Planks train your core to maintain a stable position, while crunches involve controlled spinal flexion and directly challenge the abdominal muscles.
Both can have a place in a balanced workout, depending on your goals, fitness level, and physical comfort.
10. Should I Feel Pain During Ab Exercises?
No. You may experience normal muscular effort or fatigue, but sharp pain, persistent back discomfort, or unusual joint pain should not be ignored.
Stop the movement and reassess your technique. If symptoms persist, seek guidance from a qualified healthcare professional.
Safety Considerations Before Starting Your Home Abdominal Workout
Although most bodyweight abdominal exercises are accessible, they are not suitable for everyone in every circumstance.
Keep these precautions in mind:
- Warm up before performing demanding abdominal exercises.
- Use a stable, non-slip exercise surface.
- Start with easier variations if you are new to fitness.
- Maintain controlled movements rather than relying on momentum.
- Avoid holding your breath during exercises.
- Stop if you experience sharp pain, dizziness, or unusual discomfort.
- If you have a history of back problems, osteoporosis, a hernia, or recent abdominal surgery, seek appropriate medical guidance before beginning.
- If you are pregnant or recently gave birth, consult your healthcare professional about suitable abdominal exercises and progression.
People with existing medical conditions or significant exercise limitations may benefit from an individualized plan prepared with a qualified healthcare professional or physical therapist.
Conclusion: Make Your Abs Workout at Home a Consistent Part of Your Fitness Routine
Building a stronger core does not require expensive equipment or complicated gym routines. With the right combination of bodyweight movements, you can create an effective abs workout at home that fits into your schedule and current fitness level.
Start with accessible exercises such as dead bugs, bird dogs, heel taps, and modified planks. As your technique and endurance improve, introduce more demanding movements such as reverse crunches, bicycle crunches, mountain climbers, and bear plank shoulder taps.
Remember that consistency, proper form, recovery, and balanced physical activity matter more than completing hundreds of repetitions.
Choose exercises you can perform comfortably, progress gradually, and give your body enough time to adapt.
A stronger core is built through regular practice, not overnight transformations. Start with a manageable routine today and make it a sustainable part of your long-term fitness journey.
Sources and Further Reading
For additional evidence-based information about core strengthening and general physical activity: