Can a full body workout at home no equipment routine really build strength without a single dumbbell? Yes — your own body weight is enough resistance to challenge your legs, chest, back, core and arms when the moves are chosen well. With no commute, no waiting for machines and no monthly fee, training at home removes most of the reasons people skip exercise.
This routine brings ten bodyweight moves together into one session, from a gentle warm-up through strength, core and cardio work to a calm cool-down. Every move includes an easier option, and you can adjust the reps to suit your level. Clear a little floor space, put your phone on silent, and let’s get moving.
1. Jumping Jacks Warm-Up for a Full Body Workout at Home With No Equipment
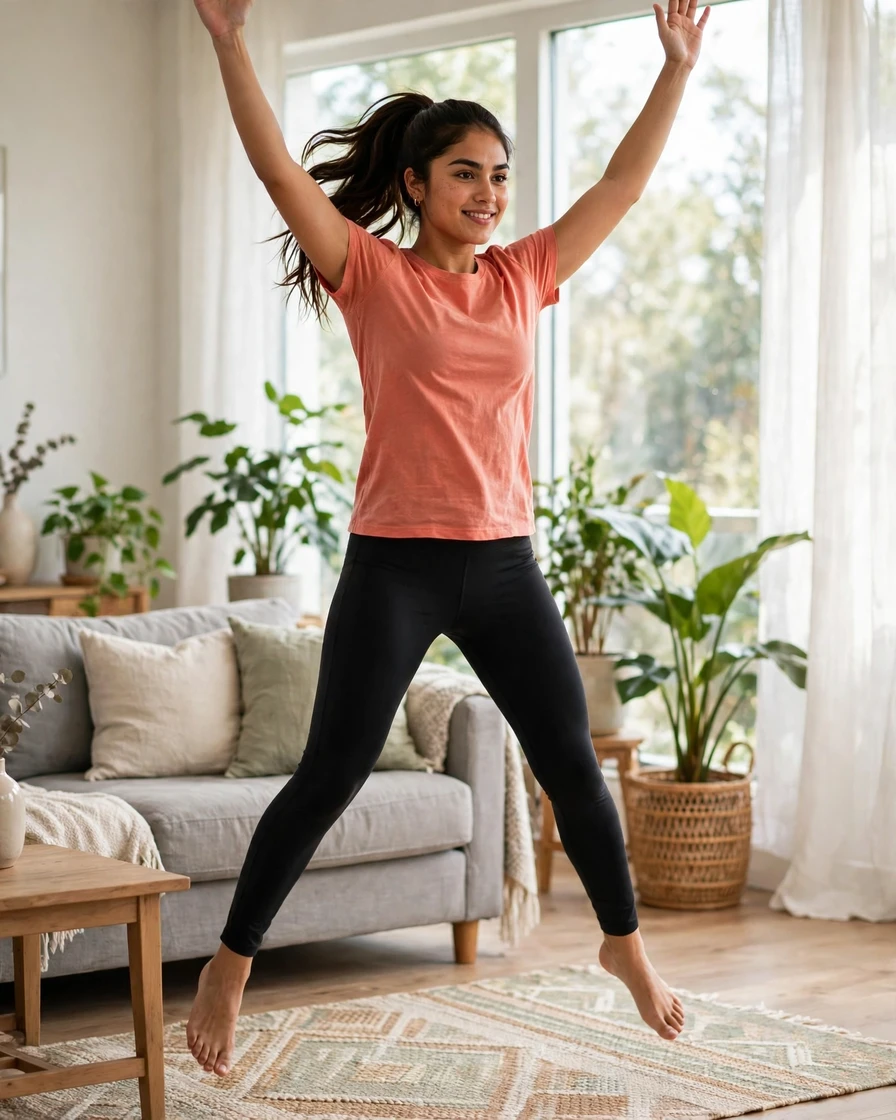
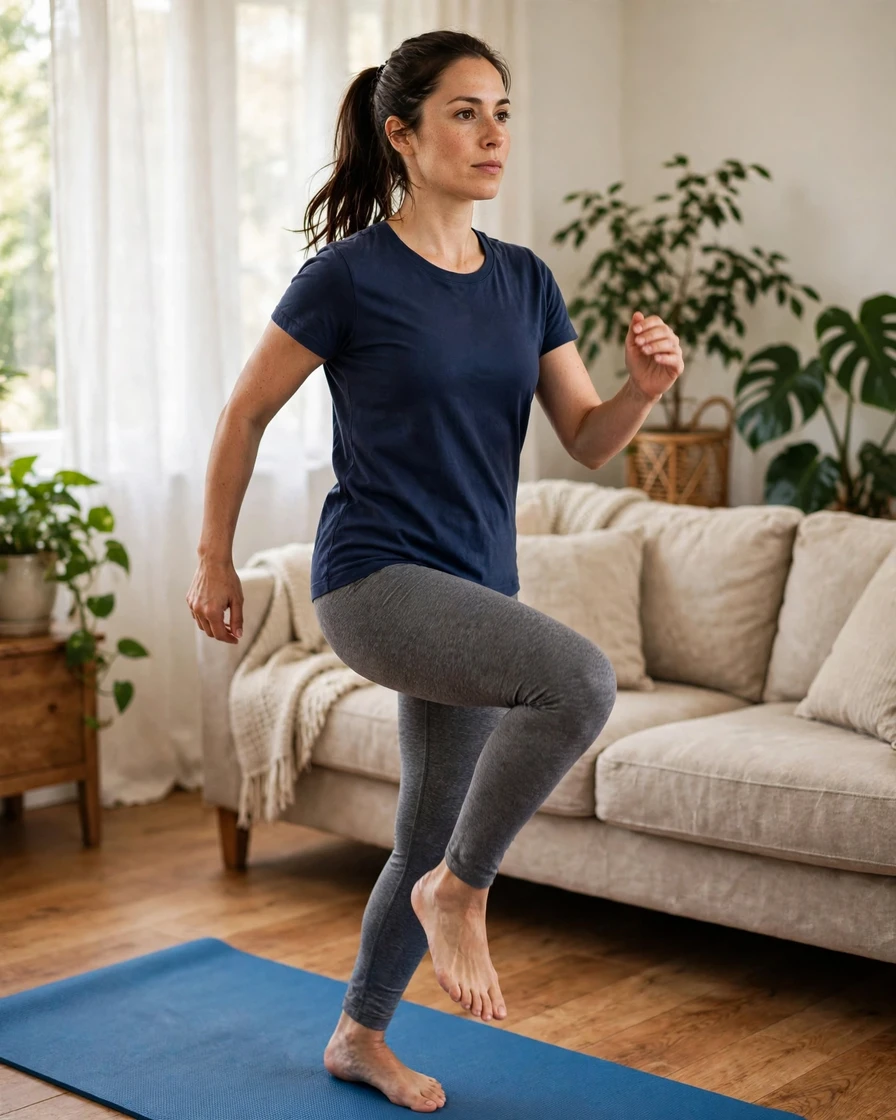
Jumping jacks are a lively way to wake up your whole body and raise your heart rate before the harder work begins. Stand tall with your feet together and arms by your sides, then jump your feet out wide while sweeping your arms overhead, and jump back to the start in one smooth motion. Land softly on the balls of your feet with slightly bent knees, keeping your core gently braced and your shoulders relaxed. Aim for one to two minutes at a steady, comfortable rhythm, letting the movement feel light and springy rather than heavy.
This warm-up suits most people, including beginners, because it gets blood flowing to your muscles and prepares your joints for exercise. If you have a health condition, an injury, or you are pregnant, check with a healthcare professional before starting this or any new workout. For a gentler version, step one foot out at a time instead of jumping while still raising your arms. If jumping feels easy, pick up the pace slightly or add a small squat as your feet land wide. Stop and rest if you feel dizzy or short of breath.
Quick Tip: Do your jumping jacks on a mat or rug to soften the landing and protect your knees and your neighbours’ ceilings.
2. Jump Squat
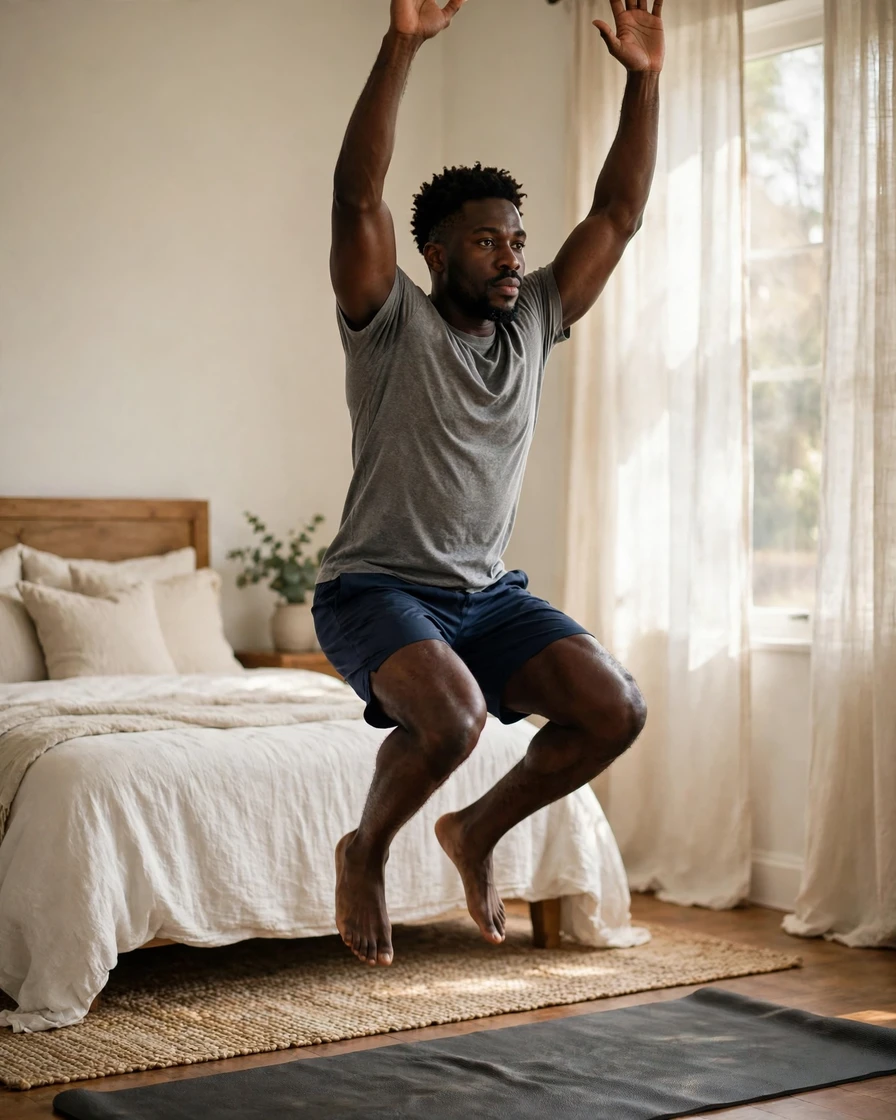
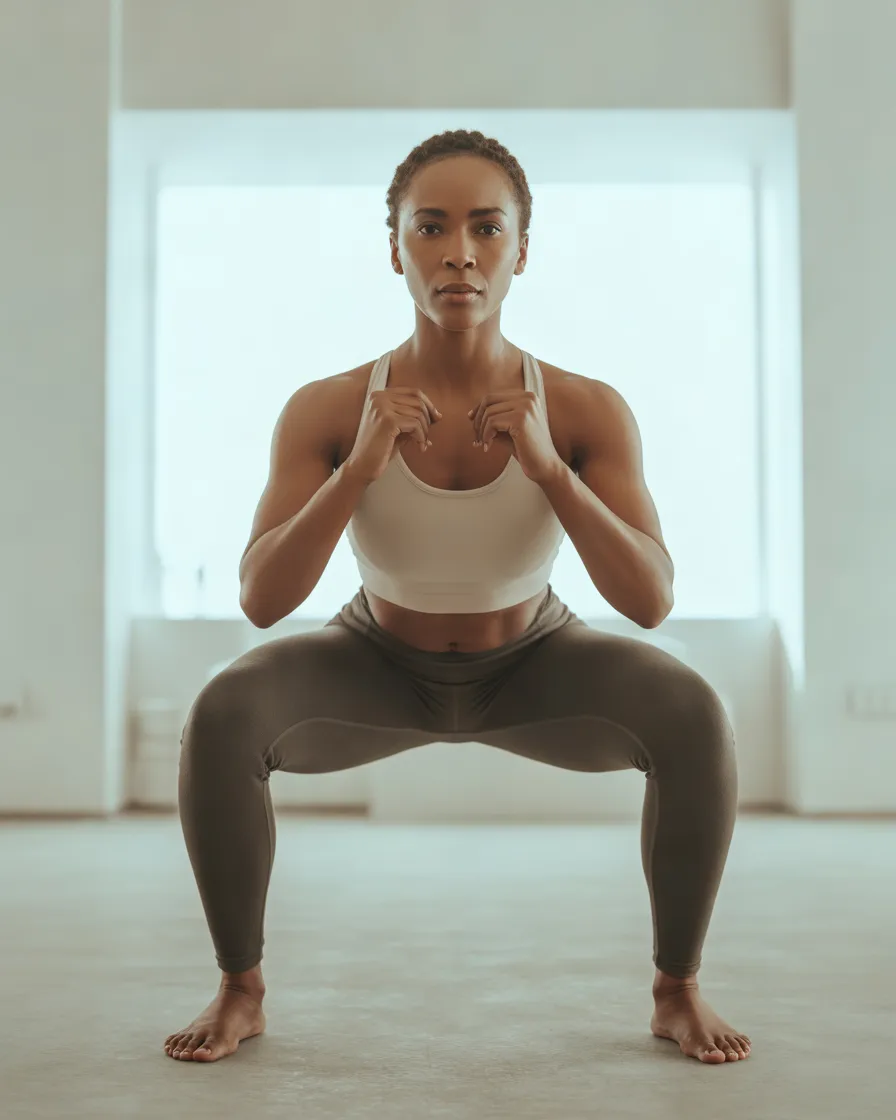
Jump squats add power to the classic squat, turning a strength move into a burst of cardio too. Stand with your feet about shoulder-width apart and toes turned slightly out. Lower into a squat by pushing your hips back and bending your knees until your thighs are roughly parallel to the floor, then drive through your feet and jump up, reaching your arms overhead. Land softly with bent knees and sink straight into the next squat, keeping your chest lifted throughout.
This move may help build explosive leg strength and raise your heart rate quickly, which can support fitness and everyday movements like climbing stairs. Try two or three sets of eight to ten reps, resting for about a minute between sets. If jumping feels too much, do regular squats and rise onto your toes instead. To make it harder, jump a little higher or shorten the rest between sets. Land quietly every time, and stop if your knees or ankles feel sharp pain.
Quick Tip: Land as softly as you can — quiet landings mean your muscles, not your joints, are doing the work.
3. Push-Up
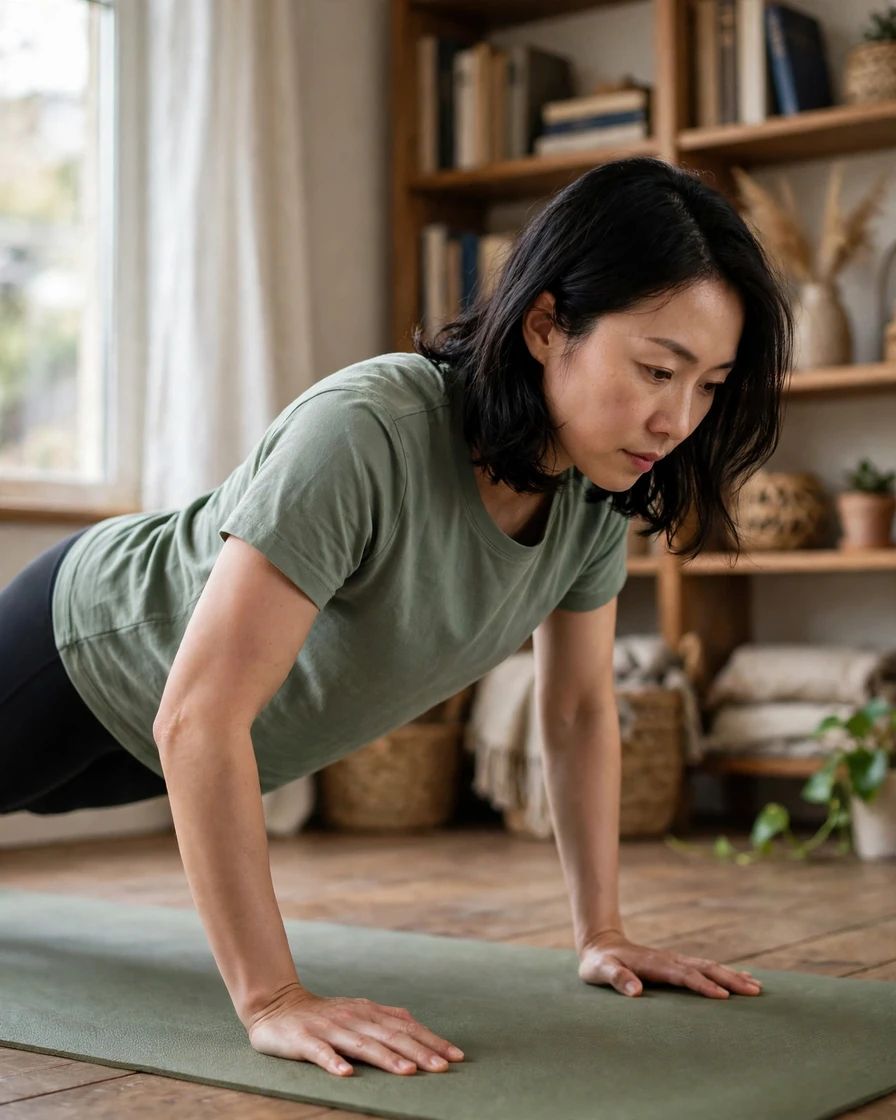
Push-ups are the best-known bodyweight move for a reason, working your chest, shoulders, triceps and core in one smooth motion. Start in a high plank with your hands under your shoulders and your body in a straight line from head to heels. Bend your elbows to lower your chest toward the floor, keeping your elbows angled slightly back rather than flared wide, then push the floor away to return to the start. Keep your hips level and your neck in line with your spine.
Aim for two or three sets of six to twelve reps, depending on your strength. This move may help build upper-body strength that supports everyday tasks like lifting, carrying and pushing. If full push-ups are too hard, drop your knees to the floor or try wall push-ups with your hands against a wall. To progress, slow the lowering phase to three seconds or add an extra rep each week. Keep your stomach gently braced and breathe out as you push up, stopping if your shoulders feel pinchy.
Quick Tip: Place your hands slightly wider than your shoulders if your wrists feel sore — a small change in hand position can make a big difference.
4. Curtsy Lunge

Curtsy lunges are a graceful twist on the classic lunge, targeting your glutes and inner thighs while challenging your balance. Stand tall with your feet hip-width apart, then step your right foot back and across behind your left leg, as if curtsying, and lower both knees until they are bent at roughly right angles. Keep your torso upright and your front knee tracking over your ankle, then push through your front foot to return to standing. Repeat on the other side.
Try two or three sets of eight to ten reps per leg. This move may help strengthen your legs and glutes while improving balance and coordination, which can support steadier movement in daily life. Hold a wall or sturdy chair lightly for balance if you need to, and take a shorter step back if the full move feels wobbly. To make it harder, hold the bottom position for two seconds or add a knee lift as you return to standing. Move slowly and stop if your knees feel uncomfortable.
Quick Tip: Imagine a straight line behind you and step your foot back along it — this keeps your hips square and your balance steady.
5. Single-Leg Glute Bridge
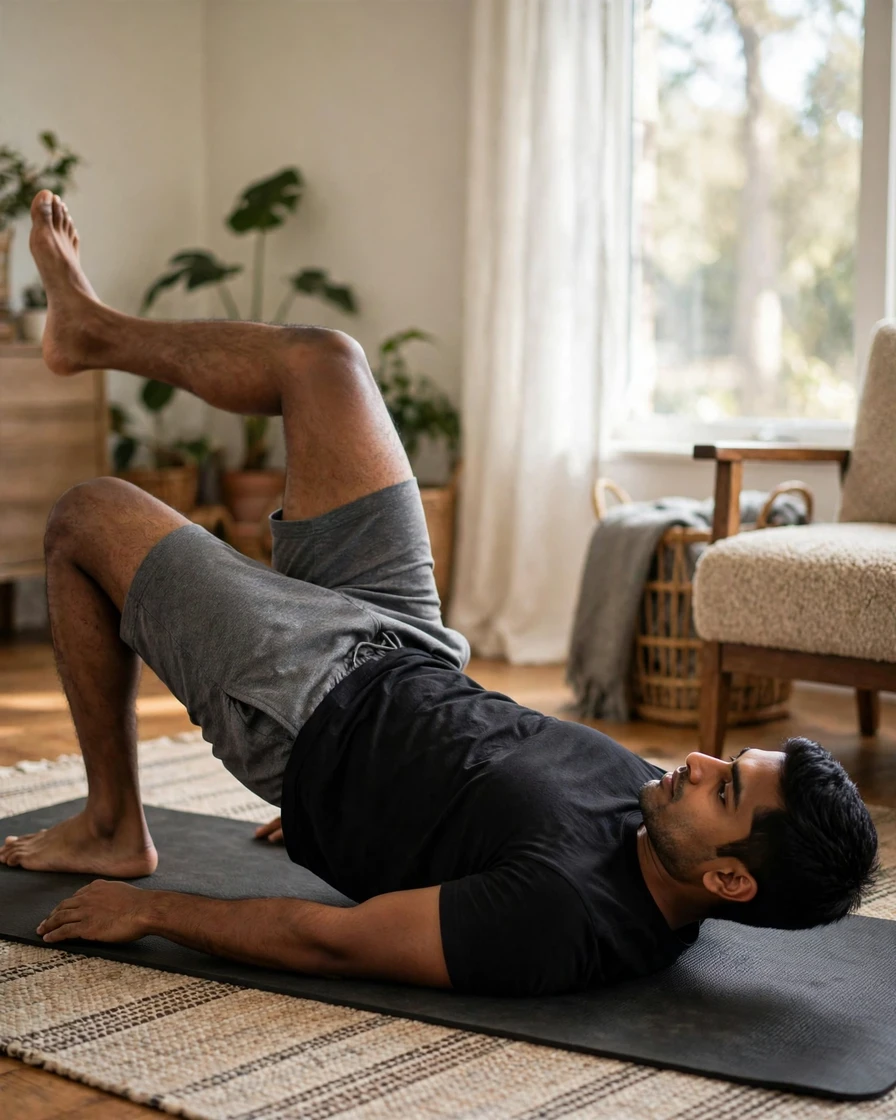
Single-leg glute bridges take the familiar hip lift and make each leg work on its own, which can expose and correct imbalances between your sides. Lie on your back with your knees bent and feet flat on the floor, then lift one foot a few inches off the floor with that knee still bent. Press through the heel of the foot on the floor to lift your hips until your body forms a straight line from shoulders to knee, squeeze your glute gently at the top, then lower slowly.
Aim for two sets of eight to ten reps per side. This move may help build hip and glute strength that supports your lower back during walking, climbing stairs and standing. If your hips tilt or twist, you are lifting too high, so lower the range until you can keep your pelvis level. If you feel the work mainly in your lower back, move your foot a little closer to your hips. For a harder version, hold the top position for five seconds or extend the lifted leg straight.
Quick Tip: Keep your pelvis level like a tray of drinks — if it tips, your range is too big.
6. Forearm Plank Hold
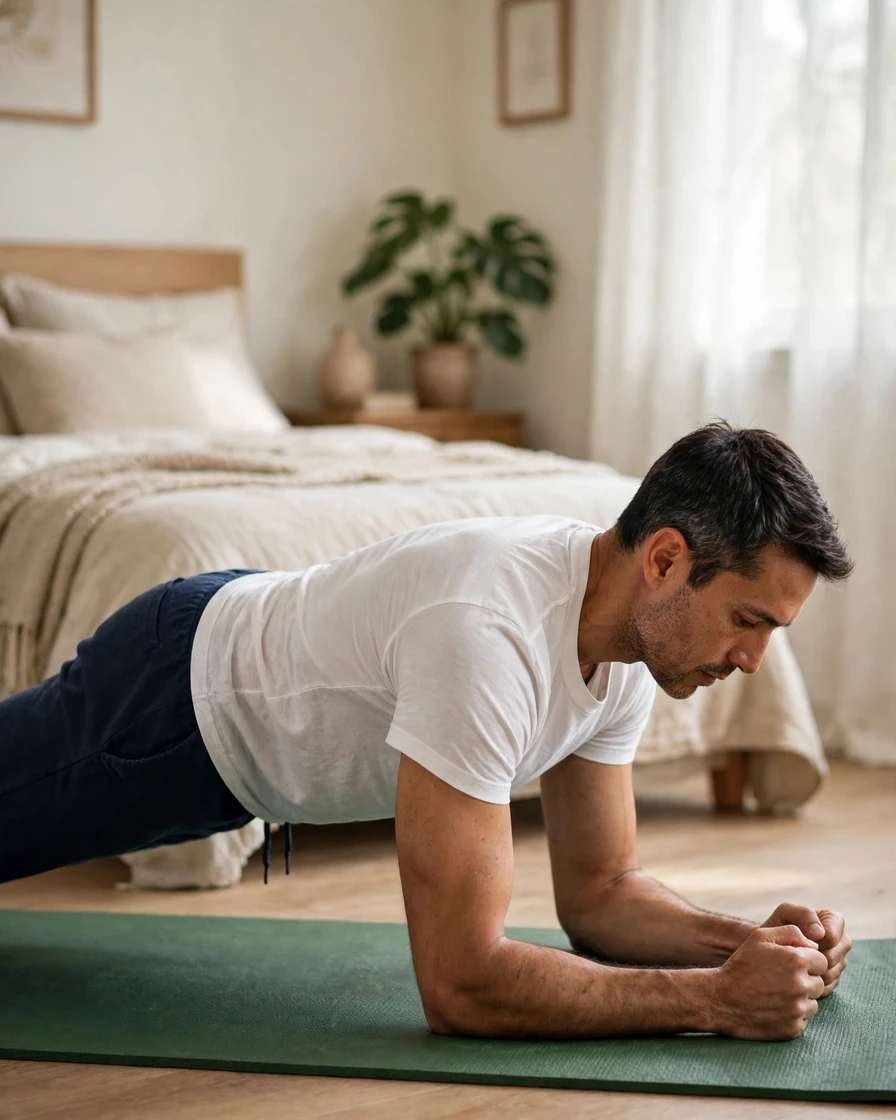
Forearm planks train your whole midsection at once, building the deep core strength that supports your posture and balance. Lie face down, then lift yourself onto your forearms with your elbows directly under your shoulders and your legs extended behind you. Your body should form one long line from your head to your heels, with your stomach gently braced and your gaze down at the floor. Keep breathing steadily and resist the urge to let your hips sink or rise.
Hold for twenty to forty seconds to start, rest for half a minute, then repeat two or three times. A strong core may help support better posture and protect your lower back during daily lifting and bending. If the full hold is too much, drop your knees to the floor and keep the line from knees to head. To progress, add five seconds each week or lift one foot slightly off the floor. Quality matters more than time, so stop the hold as soon as your form starts to break down.
Quick Tip: Squeeze your glutes gently during the hold — it stops your hips from sagging and switches your whole core on.
7. Mountain Climbers
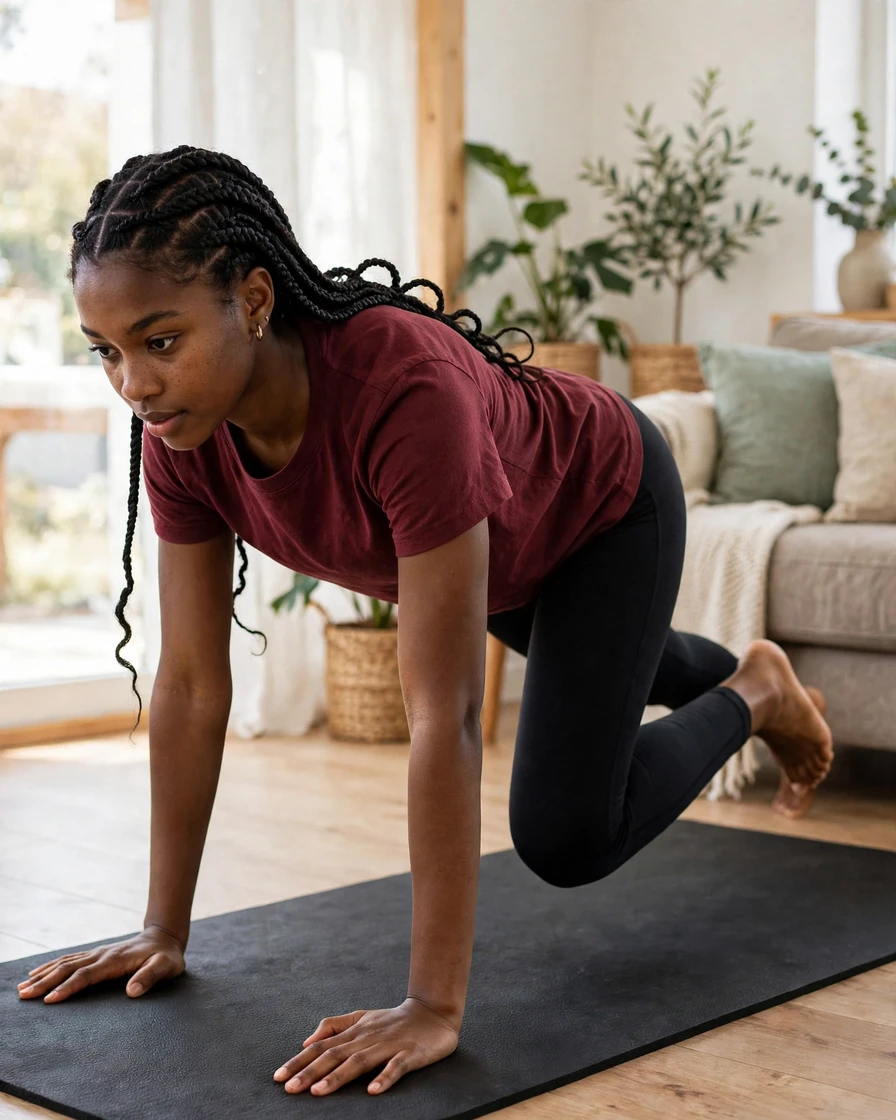
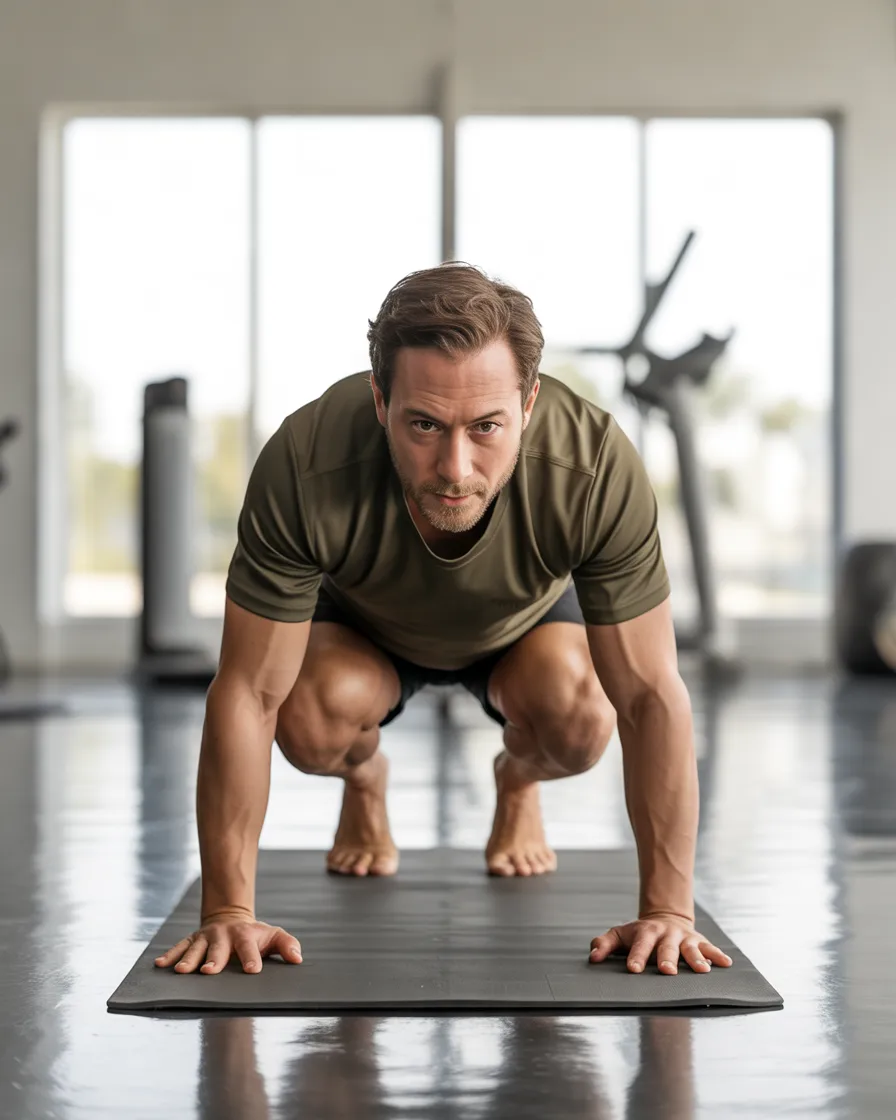
Mountain climbers bring a burst of cardio into the session, raising your heart rate while your core works hard to keep your body steady. Start in a high plank with your hands under your shoulders and your body in one straight line from head to heels. Drive one knee in toward your chest, then switch legs in a smooth, running rhythm, keeping your hips level and your shoulders stacked over your wrists. Aim for quick, controlled steps rather than wild speed.
Try three rounds of twenty to thirty seconds, resting briefly between rounds. This move may help improve cardiovascular fitness and coordination while challenging your shoulders and core at the same time. If the fast pace feels too much, slow it right down and step one knee in at a time. For a harder version, add a few extra seconds each week or drive each knee toward the opposite elbow. Stop and catch your breath if you feel dizzy, and keep your landings soft on the balls of your feet.
Quick Tip: Pretend you are running on the spot in a plank — the rhythm should feel smooth, not frantic.
8. Bird-Dog
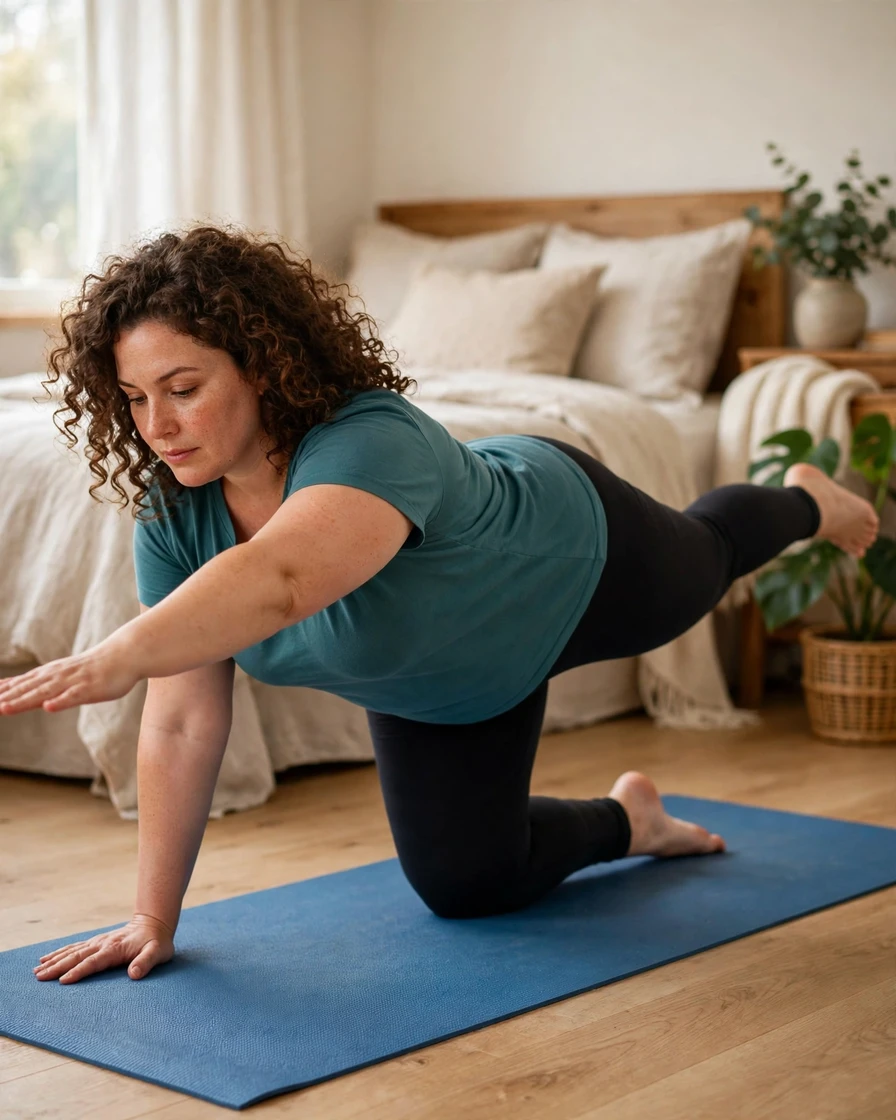
Bird-dog is a slow, controlled move that trains balance, coordination and deep core strength without any jumping or impact. Start on all fours with your hands under your shoulders and your knees under your hips. Slowly reach your right arm forward and your left leg back until both are straight and roughly level with your body, keeping your hips square and your back flat. Hold for two or three seconds, return to the start with control, then switch sides.
Try two sets of eight to ten reps per side. This move may help improve balance and core control, which can support steadier walking and everyday movement, and it is often a comfortable option for people who find other core exercises hard on their neck. If balancing feels tricky, start by lifting just one arm or one leg at a time. For a harder version, draw your elbow and knee together underneath you before extending again. Keep your gaze down at the mat so your neck stays in a comfortable line.
Quick Tip: Move as slowly as you can — the slower the extension, the harder your core has to work to keep you steady.
9. Burpee
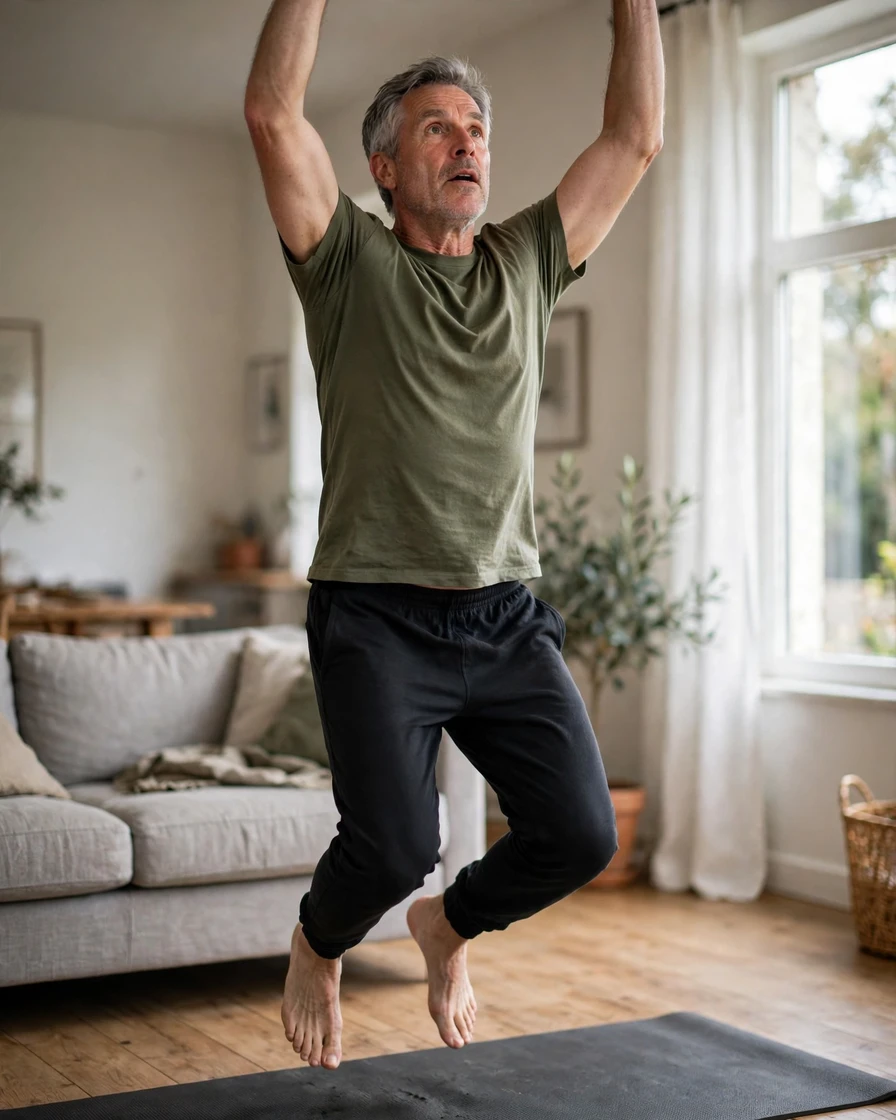
Burpees are the most demanding move in this routine, combining a squat, a plank and a jump into one full-body effort. Stand tall, then squat down and place your hands on the floor in front of you. Jump or step your feet back into a plank, lower your chest to the floor if you can, then push back up, jump your feet forward to your hands and explode into a jump with your arms overhead. Land softly and flow straight into the next rep.
Try two or three sets of five to eight reps, resting for a minute or more between sets. This move may help build strength and cardiovascular fitness at the same time, which can support energy and stamina in daily life. If the full version feels too hard, skip the jump, step your feet back one at a time and leave out the chest-to-floor part. To make it harder, add a push-up at the bottom or jump a little higher. Stop and rest if you feel dizzy or your form falls apart.
Quick Tip: Break the burpee into its parts and practise each one slowly first — the full move feels much easier once the pieces are familiar.
10. Cat-Cow and Child’s Pose Cool-Down for Your Full Body Workout
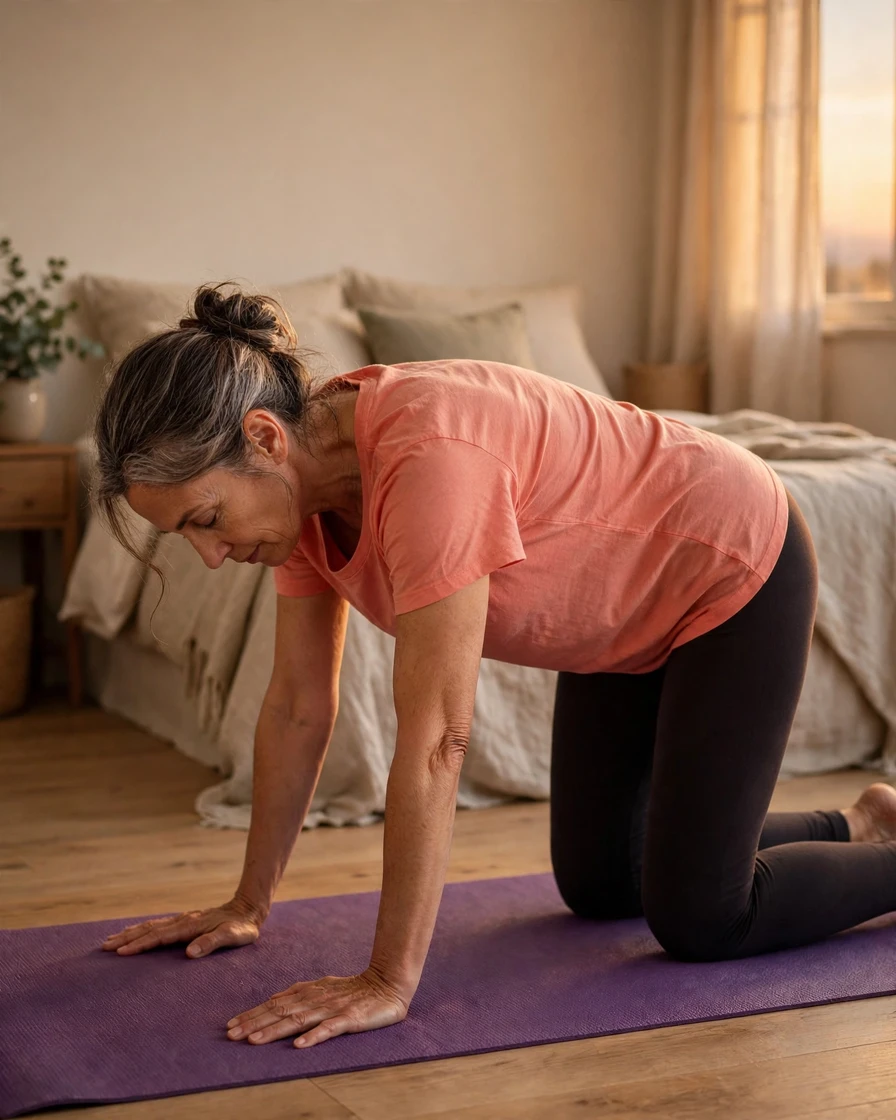
Cat-cow and child’s pose are the perfect way to close your session, gently moving your spine as your breathing slows and your heart rate settles. Start on all fours with your hands under your shoulders and your knees under your hips. As you breathe in, let your belly drop toward the floor and lift your head and tailbone into cow. As you breathe out, round your spine toward the ceiling, tuck your chin and draw your belly in for cat. Flow slowly between the two positions for eight to ten rounds.
Then sit your hips back toward your heels, stretch your arms forward and rest your forehead on the floor in child’s pose for five or six slow breaths. This gentle finish may help ease tension in your back and neck after your workout and support flexibility over time. Move only within a comfortable range and skip any position that feels pinchy or painful. If your wrists feel sore, make fists or rest on your forearms instead, and stand up slowly when you are done.
Quick Tip: Let each breath set the pace — inhale into cow, exhale into cat, and never rush the flow.
Expert Tips
– Warm up and cool down every time: the jumping jacks and the closing stretches are part of the workout, not optional extras. Skipping them may increase the chance of stiffness or a pulled muscle.
– Progress a little each week: add one or two reps, five extra seconds on your holds, or one more round of cardio. Small steps add up quickly and help your body adapt without strain.
– Listen to your body and get advice when needed: mild muscle effort is normal, but sharp pain, dizziness or chest discomfort are signs to stop and rest. If you have a health condition, an injury, or you are pregnant, speak to a healthcare professional before starting this routine.
– Schedule your sessions: aim for three or four sessions a week with at least one rest day between hard efforts. Rest days matter — muscles recover and grow stronger while you rest.
– Keep your form honest: fewer perfect reps beat many sloppy ones. If your form breaks down, stop the set, rest, and start again when you are ready.
Final Thoughts
A full body workout at home no equipment plan does not need to be complicated or punishing to work. Ten simple moves, a small patch of floor and around thirty minutes are enough to build strength, support your heart and lift your mood — and because the routine lives in your home, there is nothing standing between you and your next session. Start gently, progress a little each week, and remember that a short workout you actually do beats a perfect one you keep postponing.
How long does this full body workout at home no equipment take?
The full session takes about thirty minutes, including the warm-up and cool-down. The jumping jacks warm-up runs for one to two minutes, the strength and core moves take roughly twenty minutes, and the closing stretches finish things off in three or four minutes. If you are short on time, do one set of each move instead of two or three.
Can beginners do this no-equipment full body workout?
Yes, this routine suits beginners. Every move includes an easier option, such as knee push-ups or step-out jacks, so you can start at a comfortable level and progress gradually. Take longer rests if you need them and focus on good form rather than speed. If you have not exercised in a while, consider checking with a healthcare professional first.
Do I need any equipment for this workout?
No equipment is needed at all. All ten moves use only your body weight, so a mat or rug for comfort, enough floor space to stretch out, and comfortable clothes are all you need. A sturdy chair nearby is useful for balance during the curtsy lunge. To make moves harder, add reps, slow the tempo, or shorten your rest periods.
How many days a week should I do this workout?
Three or four days a week works well for most people, with at least one rest day between sessions. Your muscles need recovery time to adapt and strengthen, so avoid doing the full session every single day without a break. On rest days, a gentle walk or some light stretching keeps you active while your body recovers.
When will I see results from a home workout with no equipment?
That depends on your starting point, consistency, sleep and overall lifestyle, so there is no fixed timeline. Many people notice small changes first, such as feeling steadier on stairs or finding the moves easier after two or three weeks. Visible changes in strength and fitness usually take longer, so focus on showing up regularly and celebrating small progress.