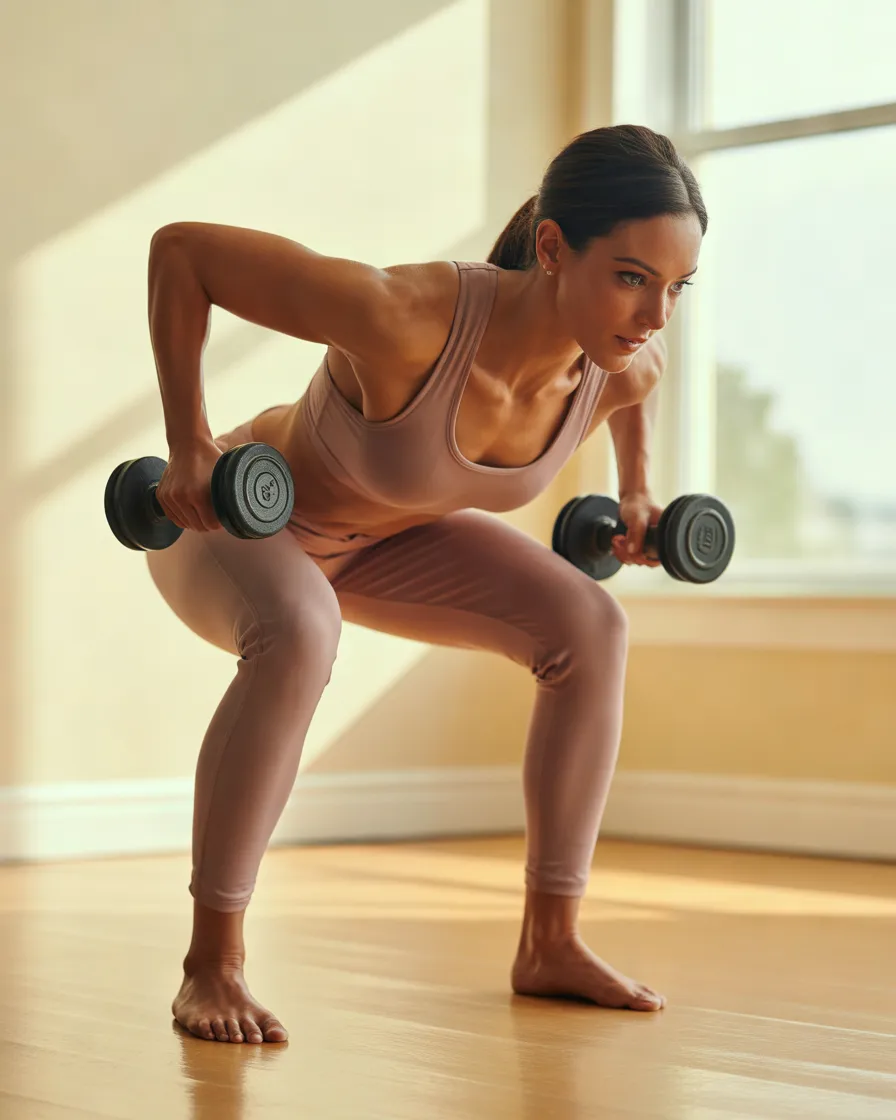
A slim legs at home workout does not need a gym, fancy equipment, or hours of your day. With a small clear space and your own body weight, you can work the muscles that shape your legs — thighs, glutes, and calves — in about 20 to 30 minutes.
It is worth being honest about one thing first: no exercise can remove fat from one spot only. These moves strengthen and tone the leg muscles, and combined with regular movement and balanced eating, they help your legs look and feel firmer over time.
In this guide, you will find 14 slim legs exercises you can do at home, each with clear steps, practical tips, and honest notes on who each one may suit. Start with a few moves, build up slowly, and listen to your body.
1. Bodyweight Squats
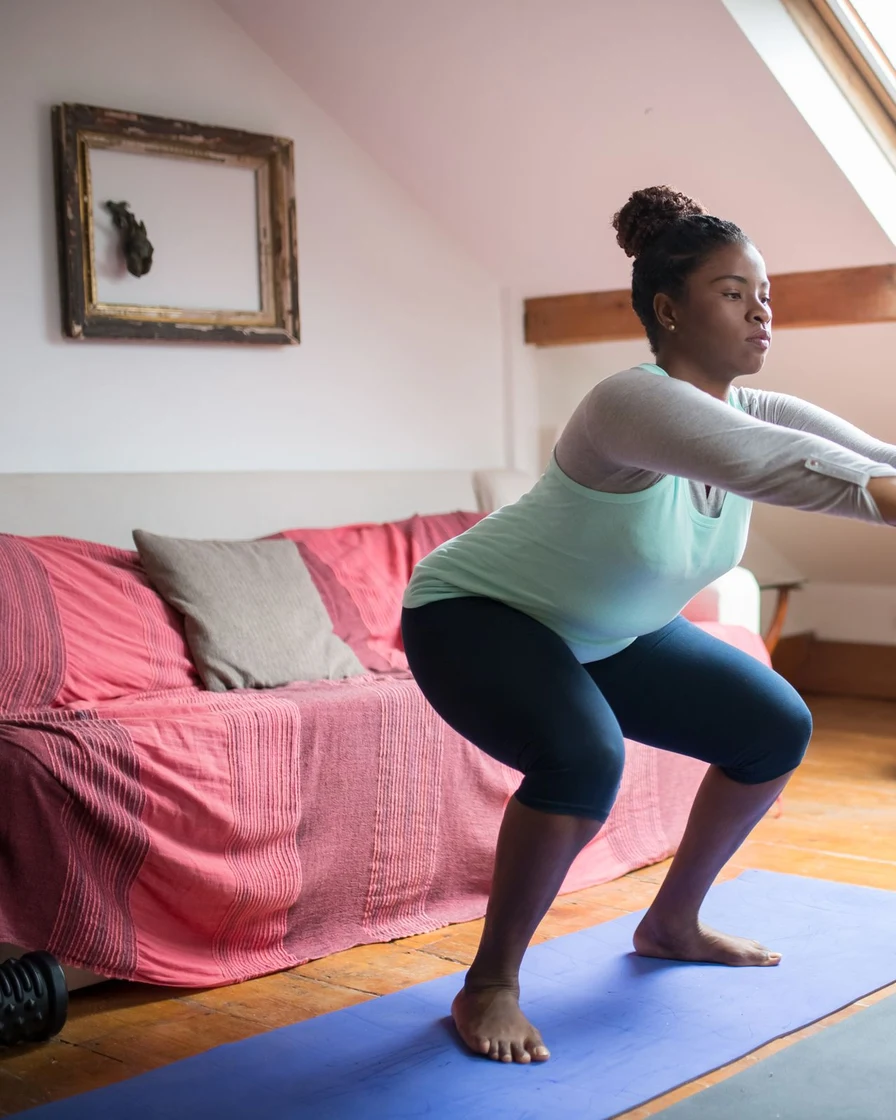
The squat is the foundation of almost every leg workout. It works the thighs, glutes, and calves together, and it uses a movement pattern you already use every day — sitting down and standing up.
Benefits: Squats strengthen the quadriceps, hamstrings, and glutes in one move. They also build balance and help everyday movements like climbing stairs feel easier.
How to do it: Stand with feet shoulder-width apart, toes slightly out. Push your hips back and bend your knees as if sitting into a chair, keeping your chest up. Lower until your thighs are roughly parallel to the floor, then press through your heels to stand. Aim for 3 sets of 12–15 reps.
Practical tips: Keep your knees tracking over your toes, not collapsing inward. If balance is tricky, hold a chair lightly for support.
Who it may suit: Almost everyone — squats suit beginners and experienced exercisers alike, and the depth can be adjusted.
Things to keep in mind: If you have knee pain, try a shallower squat or hold the bottom position for less time. Stop if you feel sharp pain, and check with a clinician if knee problems persist.
2. Forward Lunges
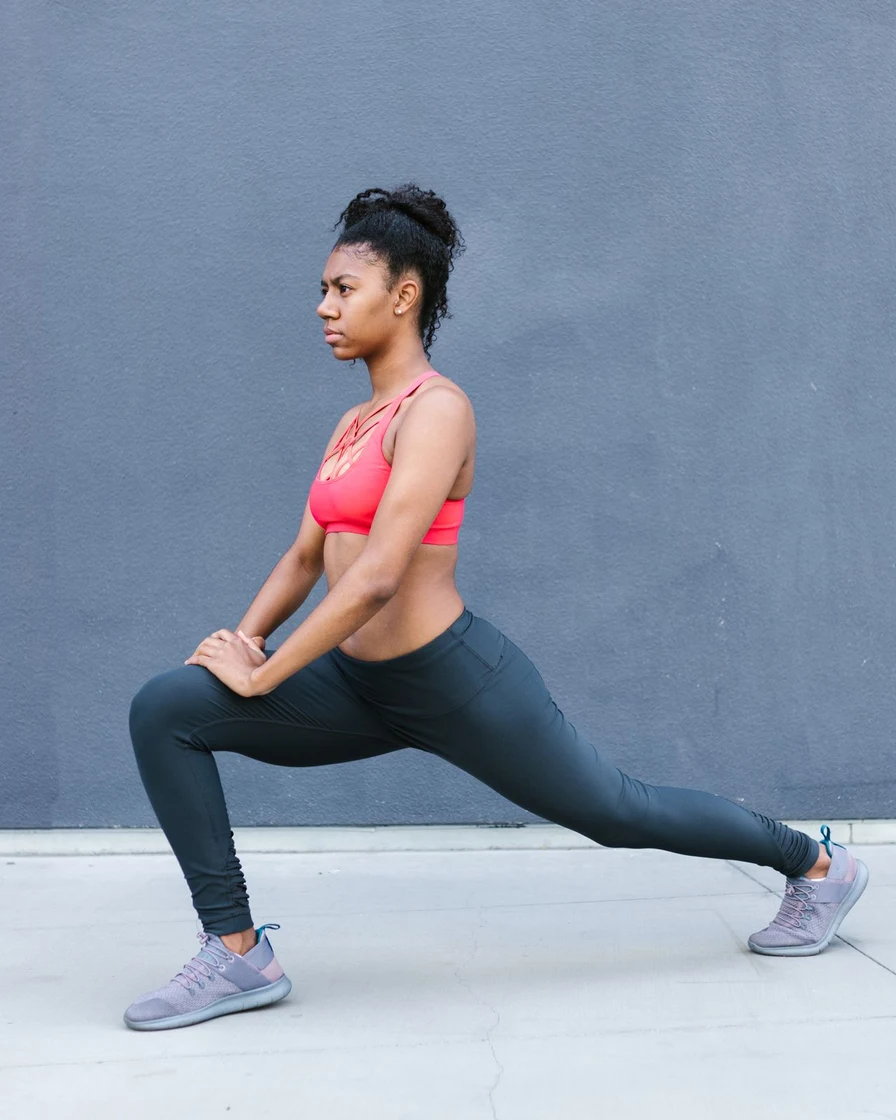
Lunges work each leg separately, which helps balance and evens out strength differences between your left and right sides. They target the thighs and glutes while challenging your stability.
Benefits: Lunges strengthen the quadriceps, glutes, and calves, and improve balance and coordination. They also stretch the hip flexors of the back leg.
How to do it: Stand tall, step forward with one foot, and lower your body until both knees are bent at about 90 degrees. Keep your front knee behind your toes and your torso upright. Push through your front heel to return. Aim for 3 sets of 10 reps per leg.
Practical tips: Take a long enough step that your front knee stays over your ankle. Hold a wall or chair if balance is a problem at first.
Who it may suit: Good for anyone who wants stronger, more balanced legs, including runners and walkers.
Things to keep in mind: Lunges can be hard on the knees — if they hurt, try a shorter step or swap to glute bridges. People with knee injuries should check with a clinician first.
3. Glute Bridges
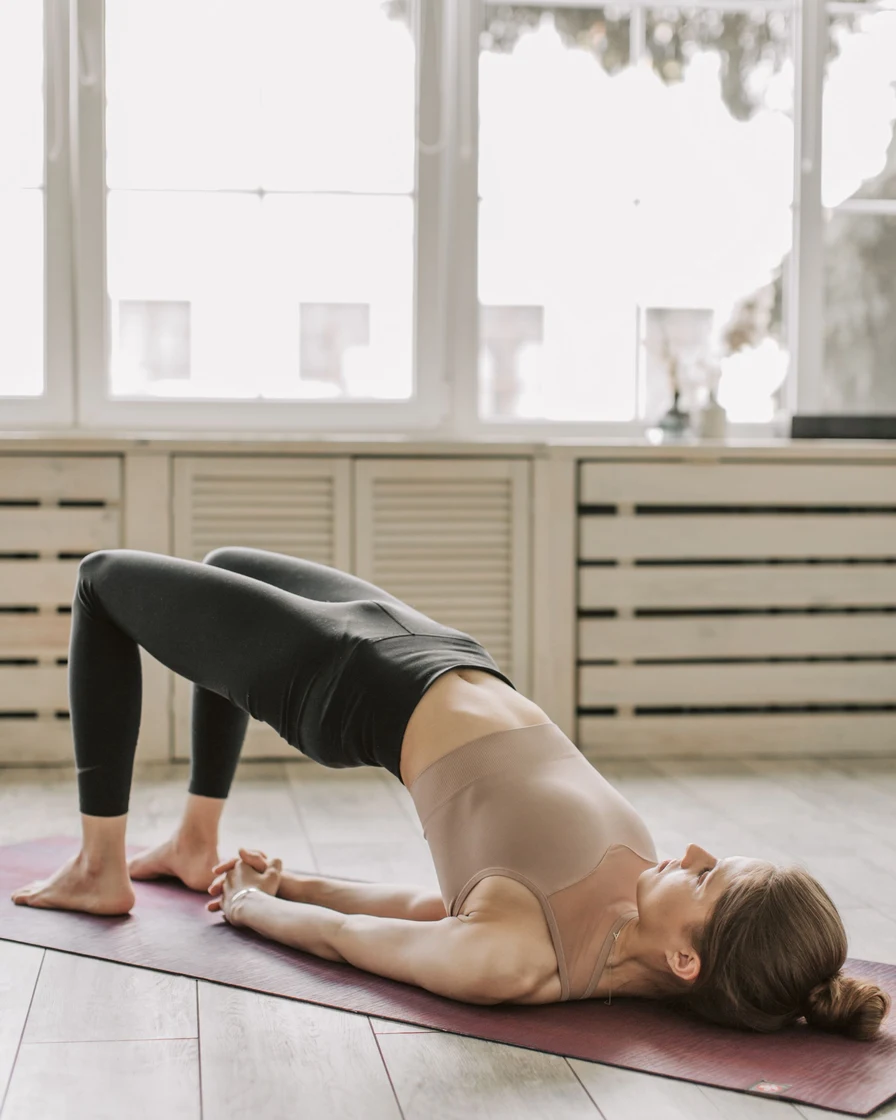
Glute bridges are a gentle floor exercise that wakes up the glutes and hamstrings. They are a good choice if standing exercises bother your knees, because the work happens lying down.
Benefits: Bridges strengthen the glutes and hamstrings and support the lower back. They are also a useful warm-up before squats and lunges.
How to do it: Lie on your back with knees bent and feet flat on the floor, hip-width apart. Press through your heels and lift your hips until your body forms a straight line from shoulders to knees. Squeeze your glutes at the top, then lower slowly. Aim for 3 sets of 15 reps.
Practical tips: Do not arch your lower back at the top — think about tucking your pelvis slightly. Hold the top position for 2 seconds to make it harder.
Who it may suit: Beginners, people with knee sensitivity, and anyone who sits a lot during the day.
Things to keep in mind: Keep the movement slow and controlled. If your hamstrings cramp, move your feet a little further from your hips.
4. Wall Sit

The wall sit is a simple hold that builds strength in the thighs without any movement at all. You slide down a wall, hold the position, and let your muscles do the work.
Benefits: Wall sits build endurance in the quadriceps and glutes and are easy on the joints because there is no impact. They also teach you what good squat posture feels like.
How to do it: Stand with your back flat against a wall, feet about 60 cm in front of you. Slide down until your knees are bent at about 90 degrees, as if sitting on an invisible chair. Hold for 20–30 seconds, then slide back up. Aim for 3 holds.
Practical tips: Keep your knees over your ankles, not past your toes. Breathe normally — do not hold your breath during the hold.
Who it may suit: A good option for beginners and for anyone who wants a low-impact way to build leg strength.
Things to keep in mind: If 90 degrees is too much, slide up a little — a shallower hold still works. Stand up slowly afterwards to avoid dizziness.
5. Calf Raises
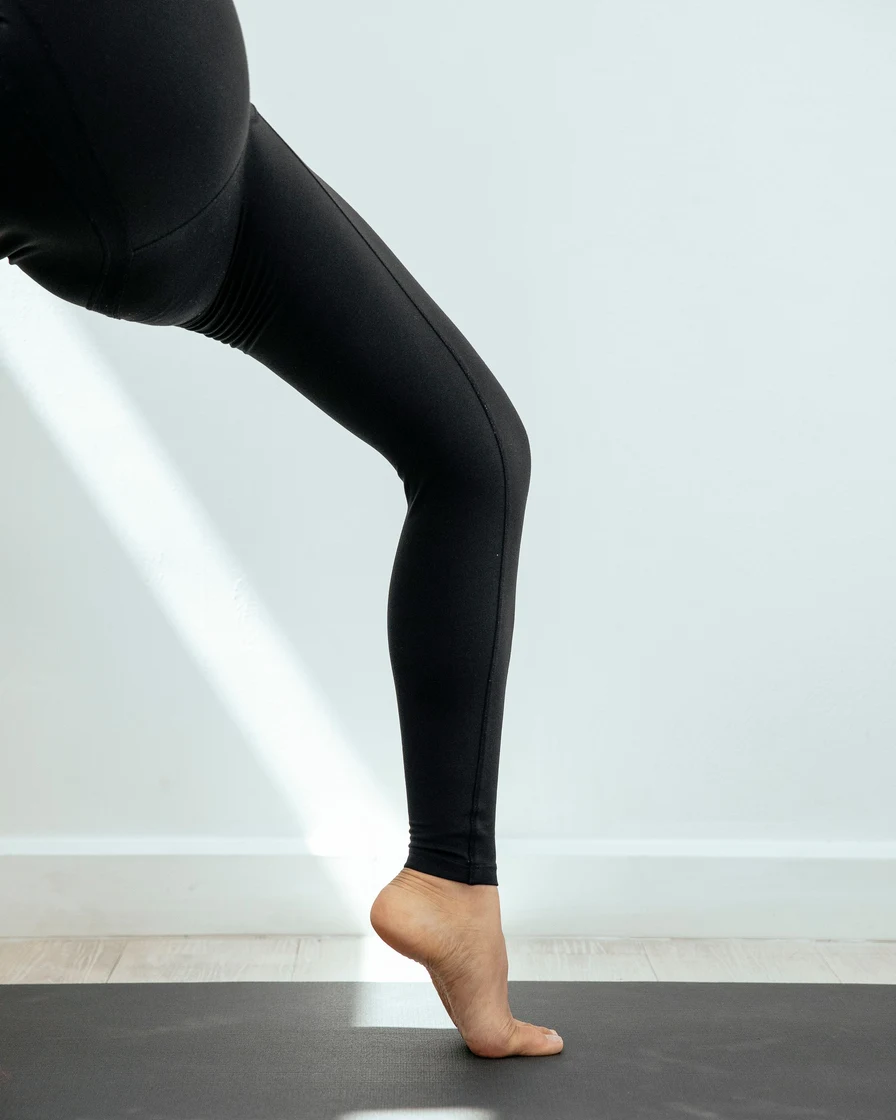
Calf raises target the lower leg, an area that squats and lunges do not reach as directly. Strong calves support walking, running, and balance.
Benefits: Calf raises strengthen the gastrocnemius and soleus muscles, improve ankle stability, and help with everyday activities like climbing stairs.
How to do it: Stand with feet hip-width apart, holding a chair for balance. Rise onto your toes as high as you can, pause for a second, then lower slowly. Aim for 3 sets of 15–20 reps.
Practical tips: Lower slowly — the lowering phase is as valuable as the lift. For a bigger range, do them on the edge of a step with your heels hanging off.
Who it may suit: Anyone who walks, runs, or wants more defined lower legs.
Things to keep in mind: If you have Achilles tendon problems, start with a small range and stop if it hurts. A clinician can advise on safe loading.
6. Side-Lying Leg Lifts
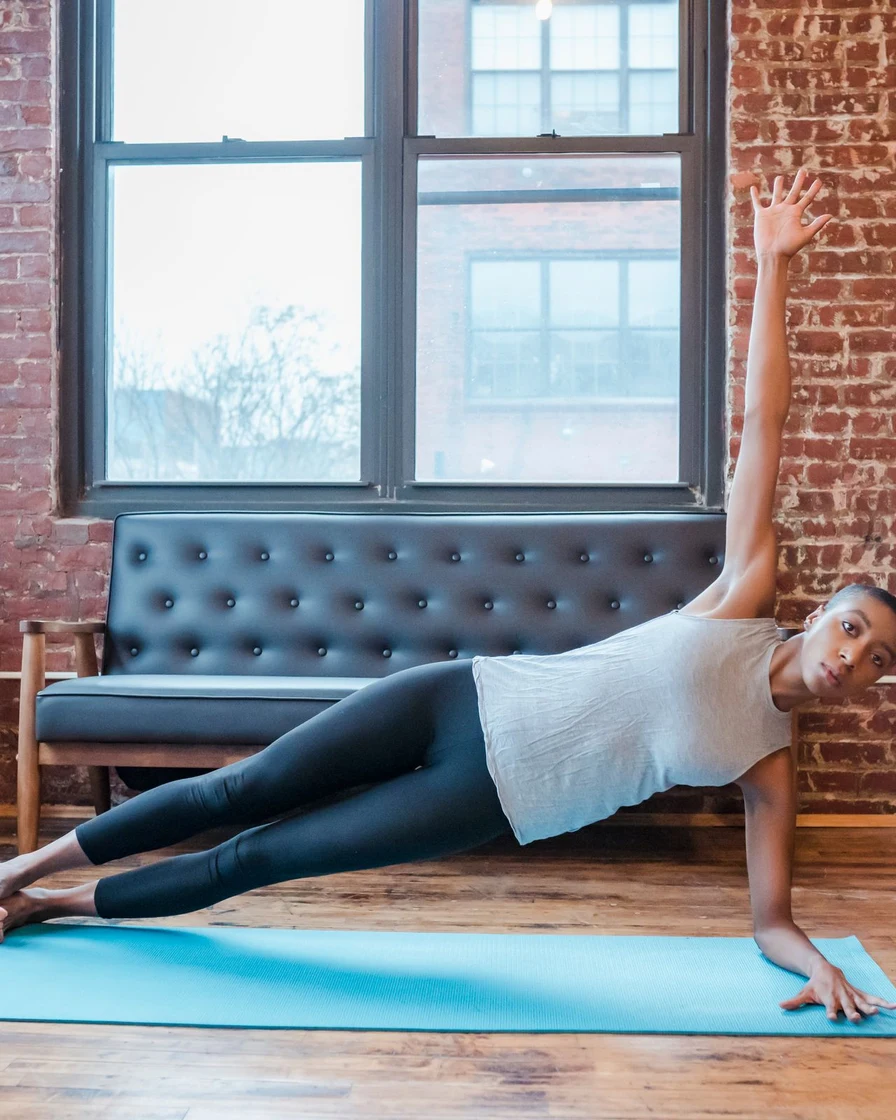
Side-lying leg lifts work the outer thigh and hip muscles that keep your pelvis stable when you walk. They are gentle, need no equipment, and are easy to do on a mat or carpet.
Benefits: They strengthen the hip abductors and outer thighs, which support balance and help prevent the knees from collapsing inward during squats.
How to do it: Lie on one side with your legs straight and stacked. Support your head on your hand. Lift the top leg slowly to about 45 degrees, keeping it straight, then lower with control. Aim for 3 sets of 12 reps per side.
Practical tips: Keep your hips stacked — do not roll forward or back. The movement should come from the hip, not the waist.
Who it may suit: Good for beginners and for anyone working on hip stability or recovering leg strength.
Things to keep in mind: Use a mat or carpet for comfort. If your hip clicks painfully, reduce the range or check with a clinician.
7. Donkey Kicks
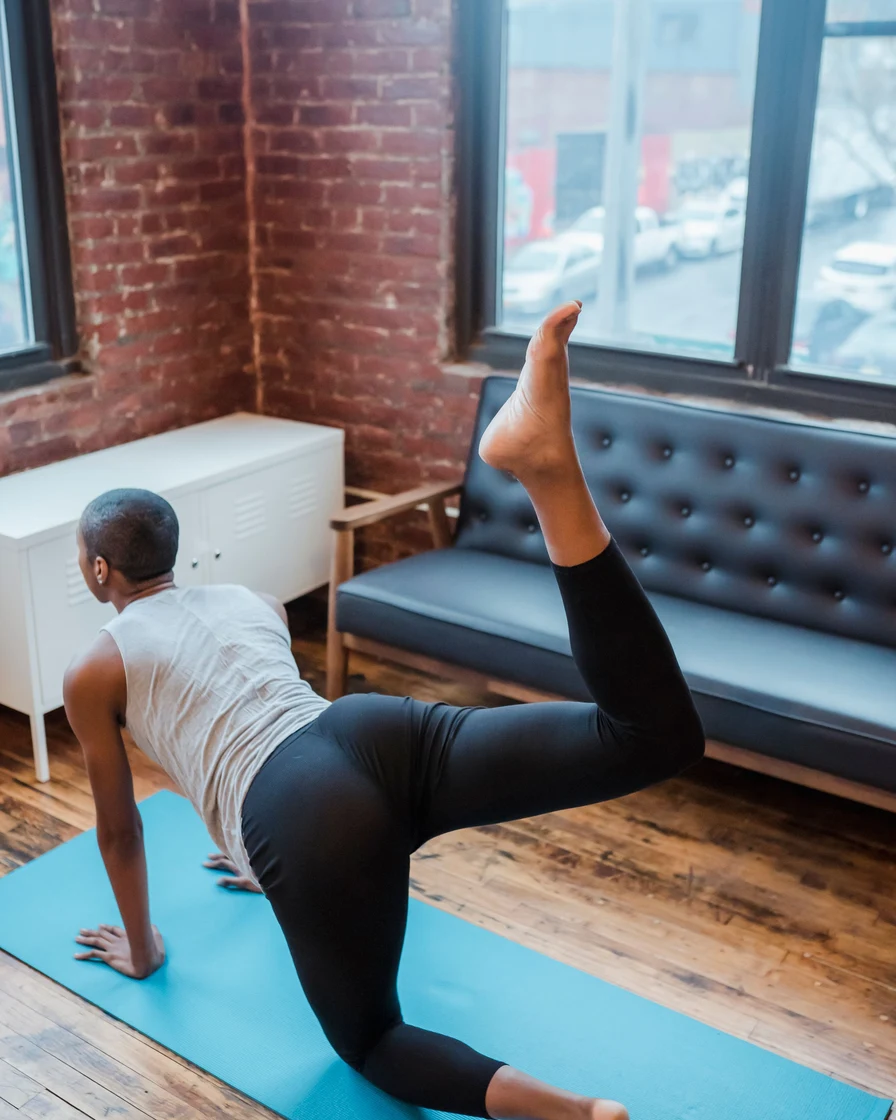
Donkey kicks are a floor exercise that targets the glutes. You stay on all fours and push one heel up toward the ceiling — simple, focused, and effective.
Benefits: They isolate the glute muscles and strengthen the back of the thigh. Because you are on all fours, the lower back stays supported.
How to do it: Start on all fours with hands under shoulders and knees under hips. Keeping the knee bent at 90 degrees, lift one foot toward the ceiling until your thigh is roughly in line with your body. Lower with control. Aim for 3 sets of 12 reps per leg.
Practical tips: Keep your back flat and your core engaged — do not let your lower back arch as the leg lifts. Small, controlled movements work better than big swings.
Who it may suit: Anyone who wants to target the glutes, including beginners.
Things to keep in mind: Use a mat to protect your knees. If your wrists ache, do the exercise on your forearms instead.
8. Fire Hydrants
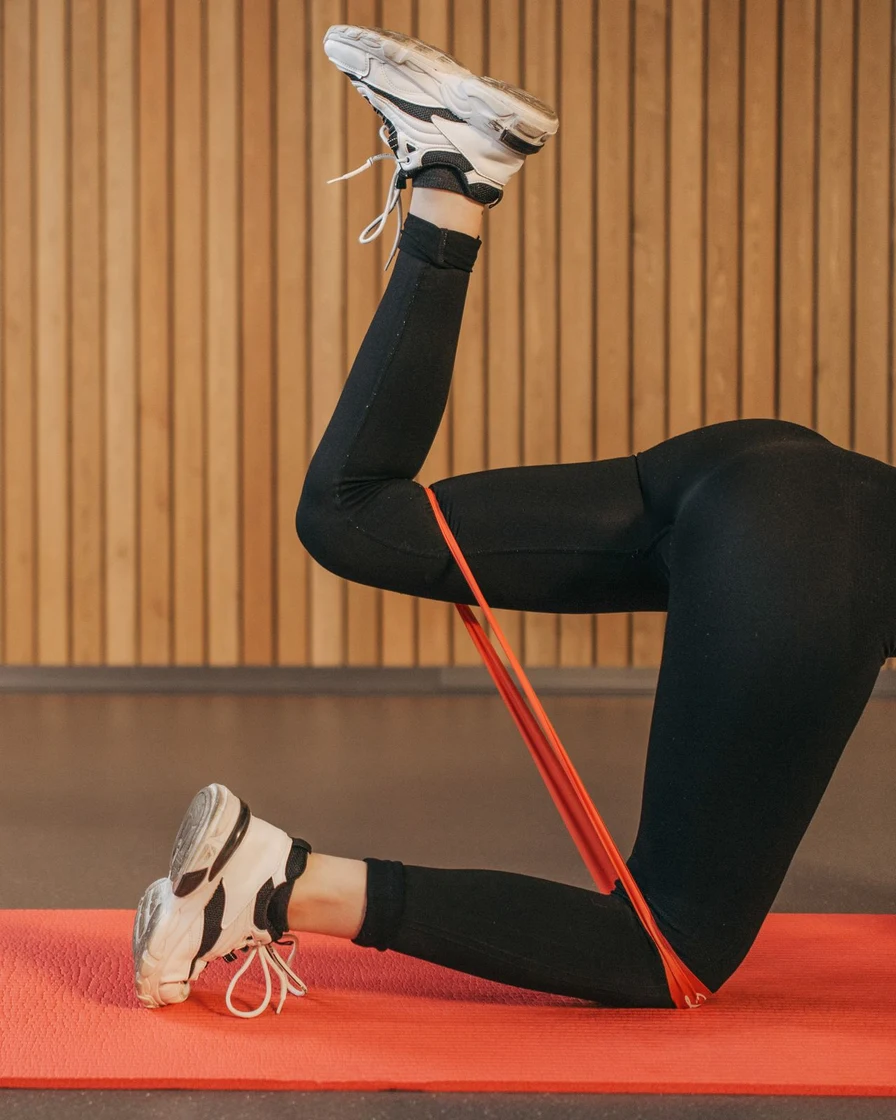
Fire hydrants work the outer hips and glutes from an all-fours position. The leg lifts out to the side, like a dog at a fire hydrant — hence the name.
Benefits: They strengthen the hip abductors and glutes, improve hip mobility, and help stabilise the pelvis during walking and running.
How to do it: Start on all fours. Keeping the knee bent, lift one leg out to the side until the thigh is roughly parallel to the floor. Pause briefly, then lower with control. Aim for 3 sets of 12 reps per leg.
Practical tips: Keep your hips level — do not shift your weight to one side. Move slowly and keep the rest of your body still.
Who it may suit: Good for anyone working on hip strength and stability, including runners.
Things to keep in mind: Use a mat for your knees. If the movement feels pinchy in the hip, reduce the height of the lift.
9. Step-Ups
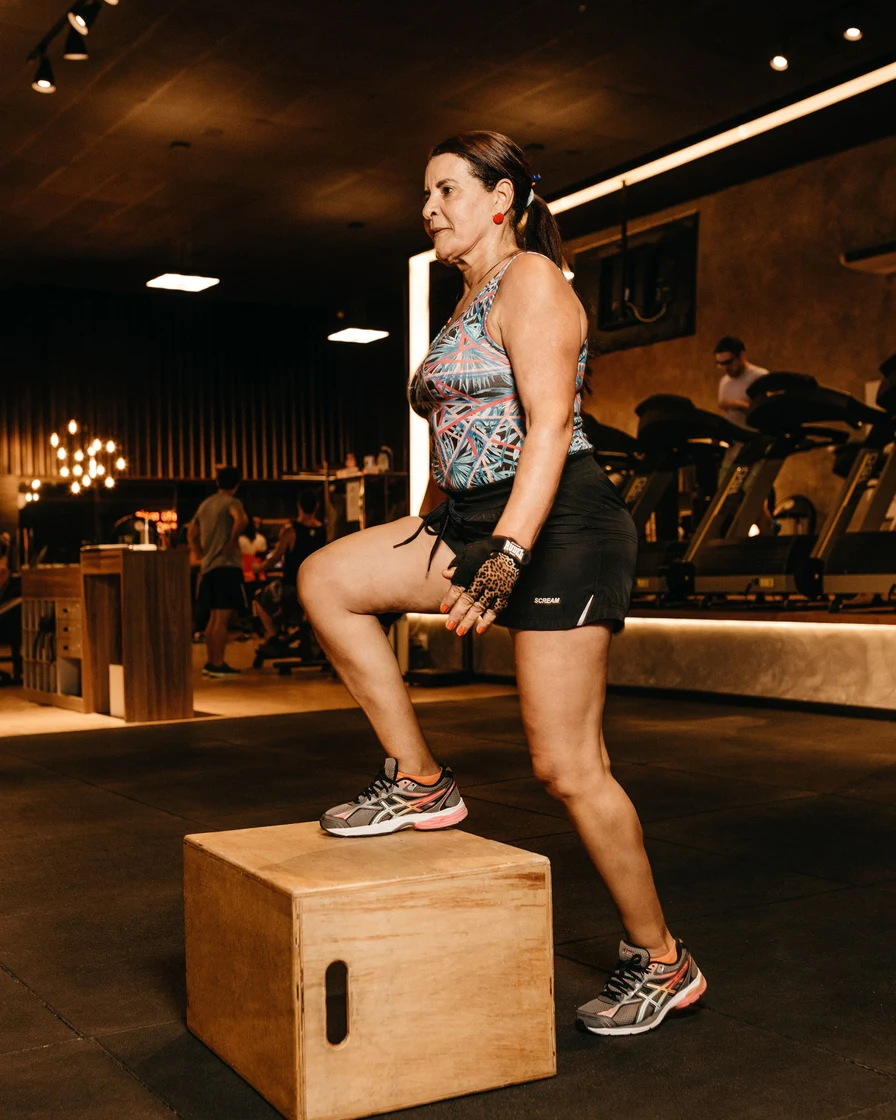
Step-ups mimic climbing stairs and work the thighs and glutes one leg at a time. All you need is a sturdy chair, a low step, or the bottom stair of a staircase.
Benefits: They build single-leg strength and balance, and they translate directly to everyday movements like climbing stairs and walking uphill.
How to do it: Stand in front of a sturdy chair or step. Place one foot on it, press through that heel, and step up until both feet are on the surface. Step down with control. Aim for 3 sets of 10 reps per leg.
Practical tips: Choose a height where your knee bends to about 90 degrees when your foot is on the step. Keep your chest up and avoid pushing off with the back foot.
Who it may suit: Good for most people, including older adults working on stair confidence — hold a rail or wall at first if needed.
Things to keep in mind: Use a stable, non-slip surface that will not move. If you have knee pain, use a lower step.
10. Sumo Squats
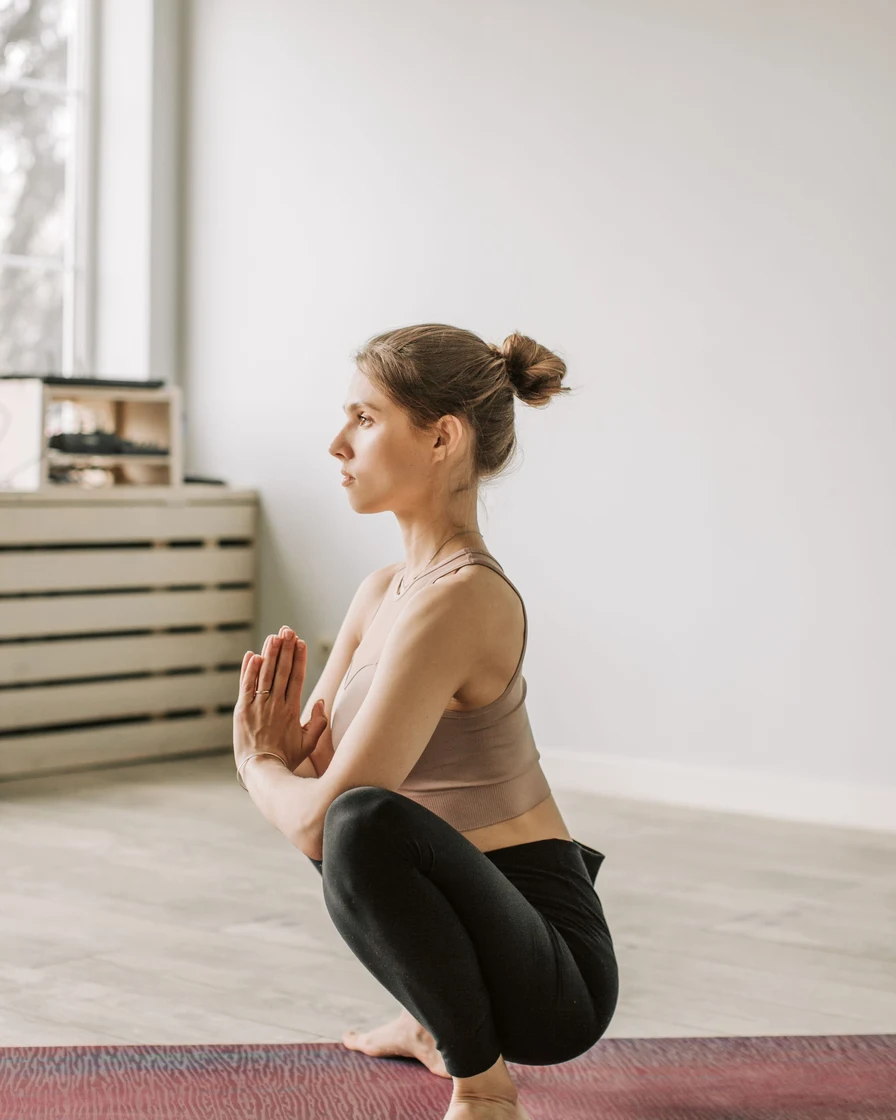
Sumo squats use a wide stance with toes turned out, which shifts more of the work to the inner thighs and glutes. They are a useful variation once regular squats feel comfortable.
Benefits: They target the inner thighs (adductors) and glutes more than a standard squat, and the wide stance can feel more stable for some people.
How to do it: Stand with feet wider than shoulder-width, toes turned out at about 45 degrees. Bend your knees and lower your hips, keeping your chest up and knees tracking over your toes. Press through your heels to stand. Aim for 3 sets of 12–15 reps.
Practical tips: Keep your knees in line with your toes — do not let them collapse inward. Go only as low as feels comfortable.
Who it may suit: Anyone who wants to work the inner thighs, and a good squat variation for people with longer legs.
Things to keep in mind: If the wide stance bothers your knees or hips, narrow it slightly. Stop if you feel pain in the inner knee.
11. Chair-Assisted Bulgarian Split Squats
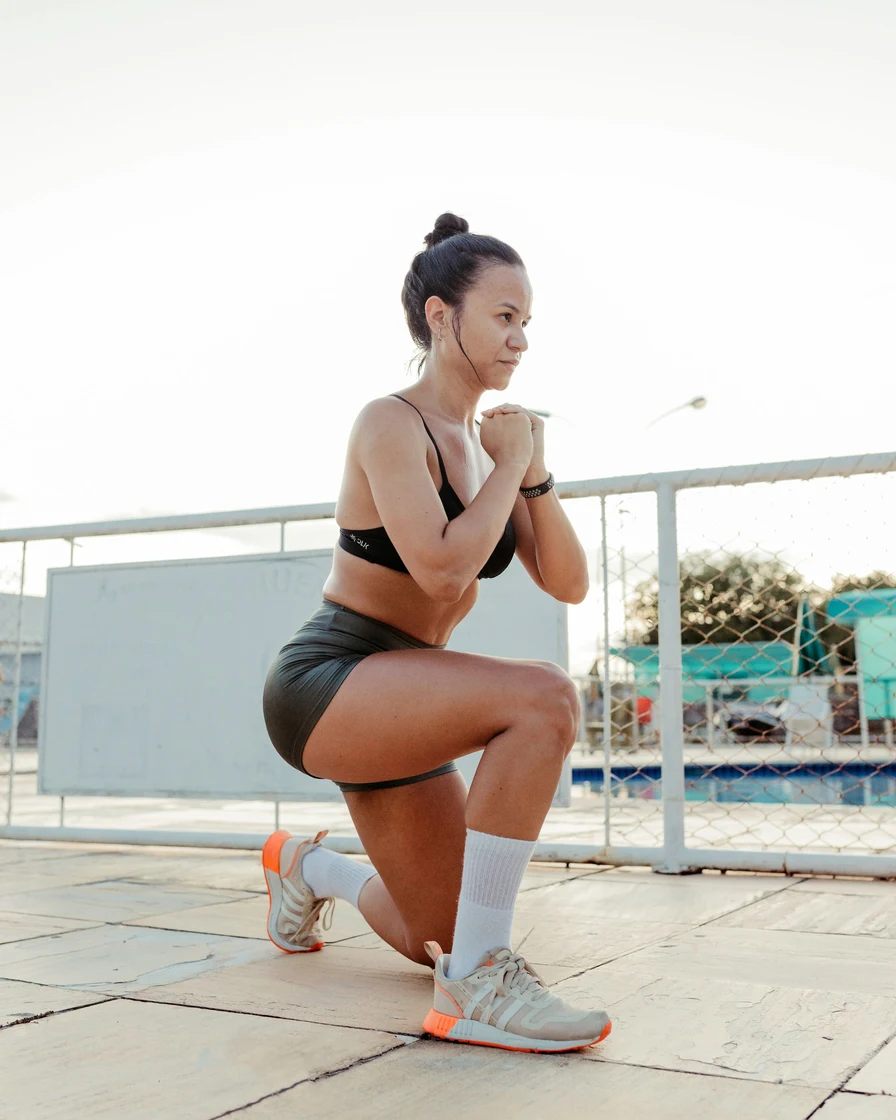
The Bulgarian split squat is a single-leg exercise that builds serious thigh and glute strength. Your back foot rests on a chair behind you while the front leg does the work.
Benefits: It strengthens the quadriceps and glutes of the front leg, improves balance, and stretches the hip flexor of the back leg.
How to do it: Stand a step in front of a sturdy chair, facing away from it. Place the top of one foot on the chair behind you. Bend the front knee and lower your body until the front thigh is roughly parallel to the floor, then press up. Aim for 3 sets of 8–10 reps per leg.
Practical tips: Keep most of your weight on the front foot. Hold a wall for balance the first few times — this exercise challenges stability.
Who it may suit: Best for people who are comfortable with lunges and want a harder single-leg exercise.
Things to keep in mind: This is a challenging move — start with a shallow range. People with knee problems should check with a clinician before trying it.
12. Standing Hamstring Curls
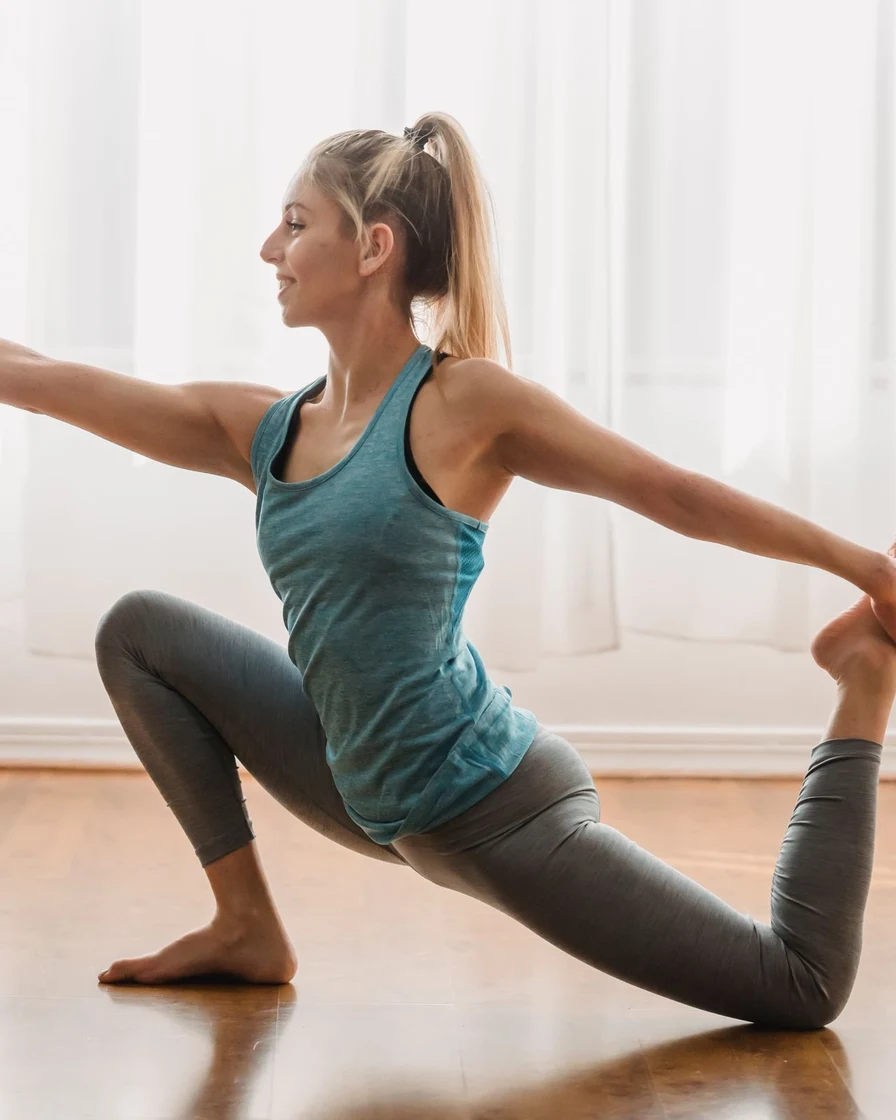
Standing hamstring curls work the back of the thigh, a muscle group that squats alone do not fully reach. You simply bend one knee and bring the heel toward your glutes.
Benefits: They strengthen the hamstrings, which support the knee joint and help balance the stronger quadriceps at the front of the thigh.
How to do it: Stand tall, holding a chair for balance. Bend one knee and bring your heel toward your glutes as far as comfortable, then lower slowly. Aim for 3 sets of 12 reps per leg.
Practical tips: Keep your thighs close together and your standing leg slightly bent. Move slowly — do not swing the leg.
Who it may suit: Good for beginners and for anyone whose hamstrings feel weak compared with their quadriceps.
Things to keep in mind: If you feel cramping in the hamstring, reduce the range. Hold a chair until your balance is confident.
13. Inner Thigh Raises
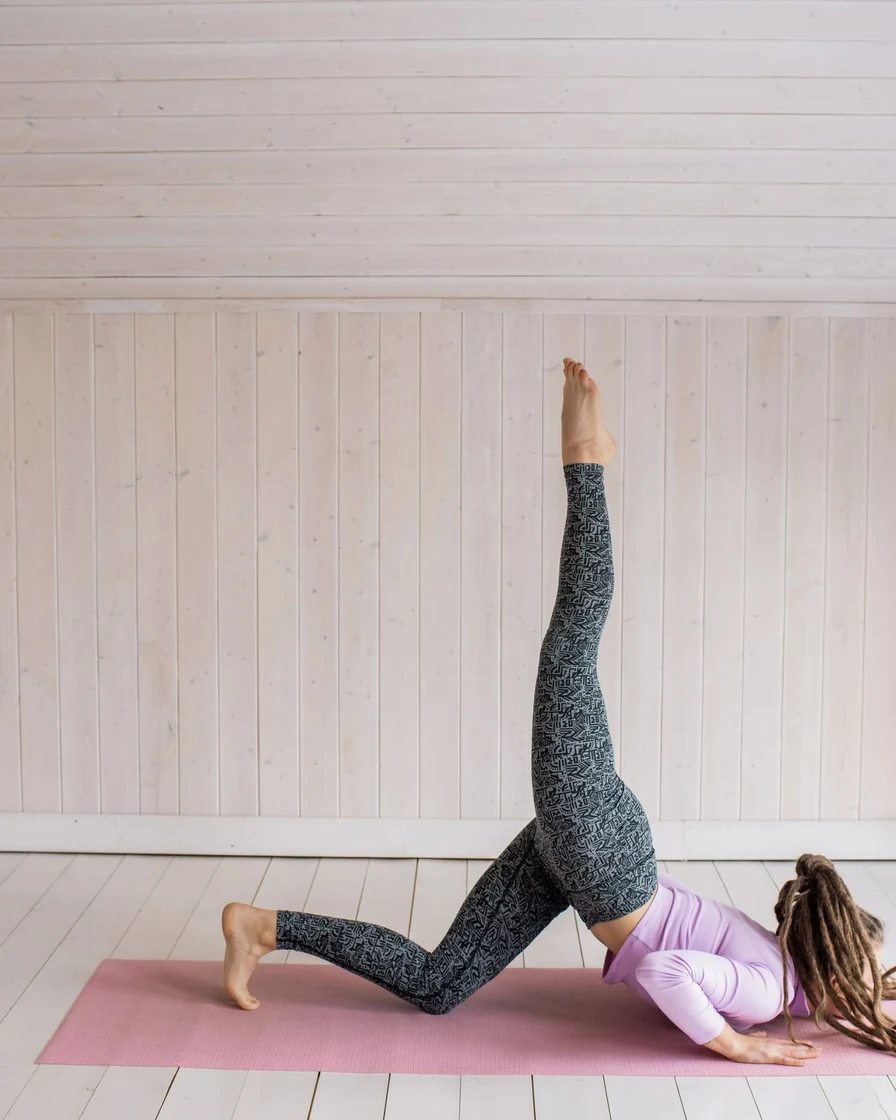
Inner thigh raises target the adductor muscles on the inside of the thigh. They are done lying on your side, lifting the bottom leg — a small movement that works a hard-to-reach area.
Benefits: They strengthen the inner thighs, which help stabilise the pelvis and support the knees during walking and squatting.
How to do it: Lie on one side with your bottom leg straight and your top leg bent, foot flat on the floor in front of you for support. Lift the bottom leg slowly a few inches, then lower with control. Aim for 3 sets of 12 reps per side.
Practical tips: Keep the lifting leg straight and the movement small — a few inches is enough. Point the toes slightly to feel the inner thigh working.
Who it may suit: Anyone who wants to strengthen the inner thighs, including people returning to exercise.
Things to keep in mind: Use a mat for comfort. If the hip feels pinchy, reduce the range of the lift.
14. Squat Pulses
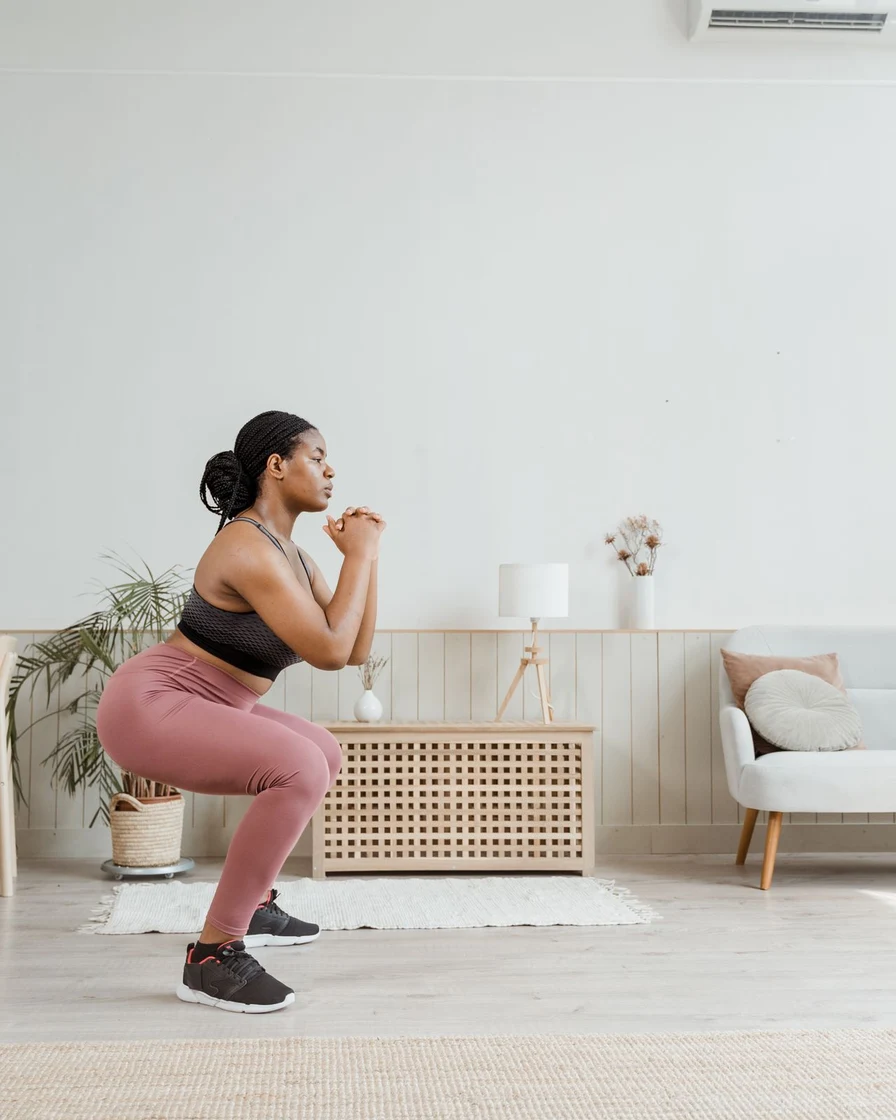
Squat pulses add a small bouncing movement at the bottom of a squat, keeping the muscles under tension for longer. They are a simple way to make bodyweight squats harder without any equipment.
Benefits: They build endurance in the quadriceps and glutes and increase the time your muscles spend working, which can help tone the thighs.
How to do it: Lower into a squat until your thighs are roughly parallel to the floor. Instead of standing up, pulse up and down a few inches — small, controlled bounces. Do 10 pulses, then stand. Aim for 3 sets.
Practical tips: Keep your chest up and your weight in your heels. The pulses should be small — a few inches is plenty.
Who it may suit: Good for people who find regular squats too easy and want more challenge without weights.
Things to keep in mind: If your knees ache, make the pulses smaller or return to regular squats. Stop if you feel sharp pain.
Expert Tips for Your At-Home Leg Workout
These tips apply to every exercise in this list and will help you train safely and get more from each session.
- Warm up first. Spend 5 minutes marching in place, swinging your legs gently, and doing easy squats before the main exercises.
- Form beats reps. Ten well-formed squats are worth more than twenty sloppy ones. Slow down and check your posture.
- Breathe normally. Exhale as you push up, inhale as you lower — and never hold your breath through a hard rep.
- Rest between sets. Take 30 to 60 seconds between sets, and rest a day between leg sessions so muscles can recover.
- Progress gradually. Start with 2 sets of each exercise, then add a set or a few reps each week as you get stronger.
- Wear supportive shoes or go barefoot on a mat. Either works — just avoid slippery socks on hard floors.
- Pair exercise with everyday movement. Walking, taking stairs, and standing more often all support the same goal.
- Listen to your body. Muscle effort is normal; sharp pain is not. If something hurts, stop and check with a healthcare professional.
Frequently Asked Questions
Can I slim my legs with exercise alone?
Exercise strengthens and tones the leg muscles, which can change how your legs look and feel. But fat loss happens across the whole body, not one spot — so overall activity, balanced eating, and sleep all play a part. No single workout can guarantee slimmer legs.
How often should I do this workout?
Two to three times a week works well for most people, with at least one rest day between sessions. Your muscles need recovery time to get stronger, so daily leg workouts are not better.
How long until I see results?
Most people notice strength gains within a few weeks, while visible changes take longer — usually 6 to 12 weeks of consistent training. Progress depends on many factors, including how often you train and your overall activity level.
Do I need equipment for these exercises?
No. Every exercise in this list uses only your body weight and a sturdy chair or a wall. If you want more challenge later, a resistance band or a pair of light dumbbells can be added.
Are these exercises safe for bad knees?
Many of them can be adapted — shallower squats, shorter lunges, and floor exercises like glute bridges are often kinder to knees. But if you have a knee condition or injury, check with a clinician or physiotherapist before starting, and stop if anything causes pain.
Conclusion
These 14 slim legs exercises give you a complete at-home leg workout with no equipment and no gym membership. Done two or three times a week, they can help your legs feel stronger, more stable, and more toned over time.
Start where you are — even a few exercises done well is a good session — and build up gradually. Pair the workout with regular walking and balanced eating for the best overall results.
And remember, the goal is not perfection. Strong, capable legs that carry you through your day comfortably are worth far more than any single measurement. If you have a health condition or injury, a quick check with a healthcare professional before starting is always sensible.